Showing posts with label Cards for Kids. Show all posts

Wednesday, 24 July 2019

Ride with Me for Inspire. Create. Challenge #48

Hello!
And welcome to another Inspire. Create. Challenge.
This fortnight is the best and easiest challenge in the universe (IMO) as it's probably the most made card by anyone - Birthdays! Any birthday card or project will be eligible to entered (see all the guidelines HERE) and we'd love to see your creations!
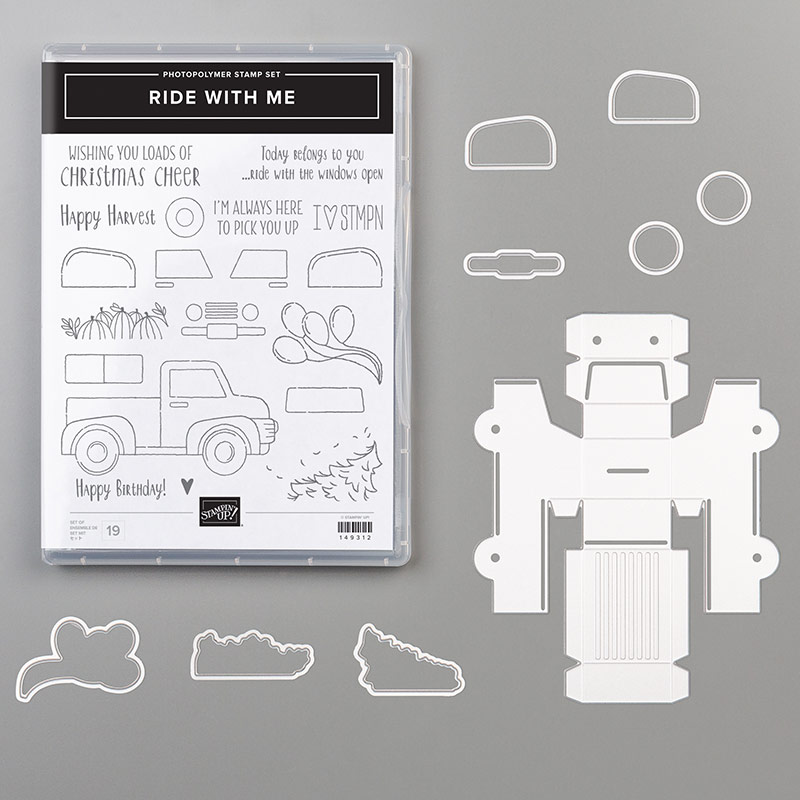
I made this card using the new Ride with Me bundle for our grandsons birthday recently and well, it's just perfect for this challenge, see...
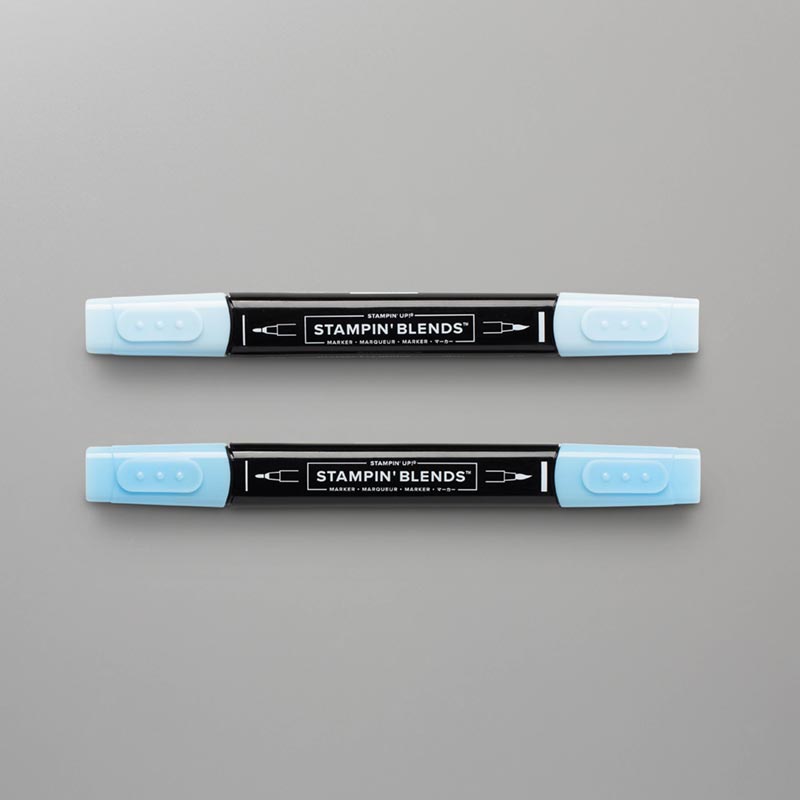
I die cut Jacksons name (three times) with the new Hand Written Prose dies and coloured the top layer with my Blends for an ombre look before layering the letters together for more impact.
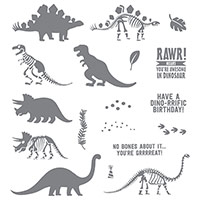
 I coloured the truck and balloons with Blends too and added a little stamped star from the Little Twinkle stamp set, topping them with sequins, of course!
And that's that, all done. I hope you share your Birthday makes with us on the challenge blog and if you're looking for some inspiration please do head over to the ICC blog for tons of inspiration from the very clever DT :-)
Thanks so much for looking today,
Shop Online With ME! 
Host code for July spends over £25 and under £150 is WYYEQYWQ 


Stampin' Hugs,

Friday, 19 January 2018

Pink Converse with Epic Celebration - A FREE Sale-a-Bration Stamp Set

Hello there,
Today's fun card uses the awesome Epic Celebration (FREE SaB) samp set! This is a fantastic set for those tricky males/teens but, as you'll see here, it is also awesome for a more feminine card too, see...
 I stamped the converse trainers with memento ink onto thick white card then coloured them with Pink Pirouette ink and a touch of smoky slate using a blender pen.
 I heat embossed the sentiment in silver (from the same set) and die cut it using the smallest stitched edge framelits before rolling it through the same pink pirouette ink pad to give it a little pop without adding lots of layers :-)
 Of course I topped the shoes with a swish of clear wink of stella glitter! *heart eyes* and finished the card by adding the front panel onto a basic grey card base leaving just a 2.5mm border either side.
OK, that's all from me for today, I'll be back tomorrow with another card.
'till then, happy samping!
 Shop Online With Me
Stampin' hugs,

Sunday, 30 July 2017

'A Little Wild' Lion by Stampin' Up!

Hello!
I'm back with another "A Little Wild" card! This time I've used the little lion to make another peek-a-boo card, notice the little loop of twine under the lion?
 I teamed him with some paper from the wood textures pad for a rustic look, lets see shall we?
I die cut a circle from the paper using the stitched edge framelits (have you noticed how much I adore these??) and added a little **Halloween Night bakers twine** around the bottom before adhering it flat then popped the circle up on dimensionals.
**At the time of writing this post this twine is still available on the clearance rack for just £2.20 - and thats for two spools!! Go, go, go!!!**
I die cut the stamped and coloured lion from shimmer card using the matching framelits. I then die cut a second, plain layer so I could add the loop of twine between the layers to keep it hidden. Stamp the sentiment and we are good to go!
How super cute are these little guys?!
And before I go I just wanted to share a full shot of the lion (I trimmed the tag topper away) with it's front and back. I am hoping to make a spinner card with this guy soon...
OK, that's all from me for now. Are you a fan of "A Little Wild" now too?
   Shop Online With Me
Stampin' Hugs,

Sunday, 21 June 2015

Sunday Sharing! X-ray Dinosaur with No Bones About It by Stampin' Up! FREE Tutorial!

Hi There,
Yesterday I realised I needed just one more like over on my Facebook Page to make it to the fab 400 mark! I achieved that and so, as I promised, I posted a Facebook first card over there :-) I also post most of my Instagram feed to my Facebook page so if it's quiet here on my blog you can usually find out what's going on with me by looking in either of these places ;-)
OK, so this is the card I shared over there today but for my lovely blog followers I have made a little tutorial on making the X-ray part of this card easily! You're welcome ;-) 
So, let's see the card first shall we?
 I stamped the solid dino in Crumb Cake and added the little eye and mouth as seen on the "bones only" matching stamp.
I wrapped linen thread around the bottom of the card and then unravelled it and bunched it together for this look.
 The X-ray part was positioned over the solid dino as if he was walking behind the screen. You could stamp the solid dino in any colour to suit your theme though - I like the thought of a girly version... watch out for that soon!
 And a top view to finish the photos today, but please don't go yet! 
Scroll down just a bit to see how to achieve this X-ray Effect easily :-)
Please feel free to PIN this picture to find this tutorial it again easily!! 
TIP: Hover over this (or any other) picture on here and the "Pin It! logo should be in the top left hand corner.
And here is today's tutorial for this X-ray look:
 And a little gratuitous collage of the card to finish today!! ;-)
Well, I hope you liked this card and tutorial for today?
And remember if you have a go at making it please remember to share it with me and link back here too :-)
Thanks for stopping by today,
Stampin' Hugs,
Products Used to create this project:
Related Posts Plugin for WordPress, Blogger...