Hi there,
Now, those of you who follow me on Facebook will have seen my pictures last week of these items and I asked you what you thought I might be doing with them. (You do have the slight advantage of a blog post title here btw ;-)) And thanks again if you had a guess x
 |
| Thin wooden coasters with white painted bottoms (M&S) |
 |
| Wooden Spool Thingies ;-) (Antiques hall) |
Unfortunately my mini DIY project with these was put on hold this week what with me breaking finger and all, but (due to plenty of Arnica being taken initially, I'm sure) I am much better now, the bruising has gone down and it's quite OK as long as I don't hit it! So this is what happened when I popped them together...
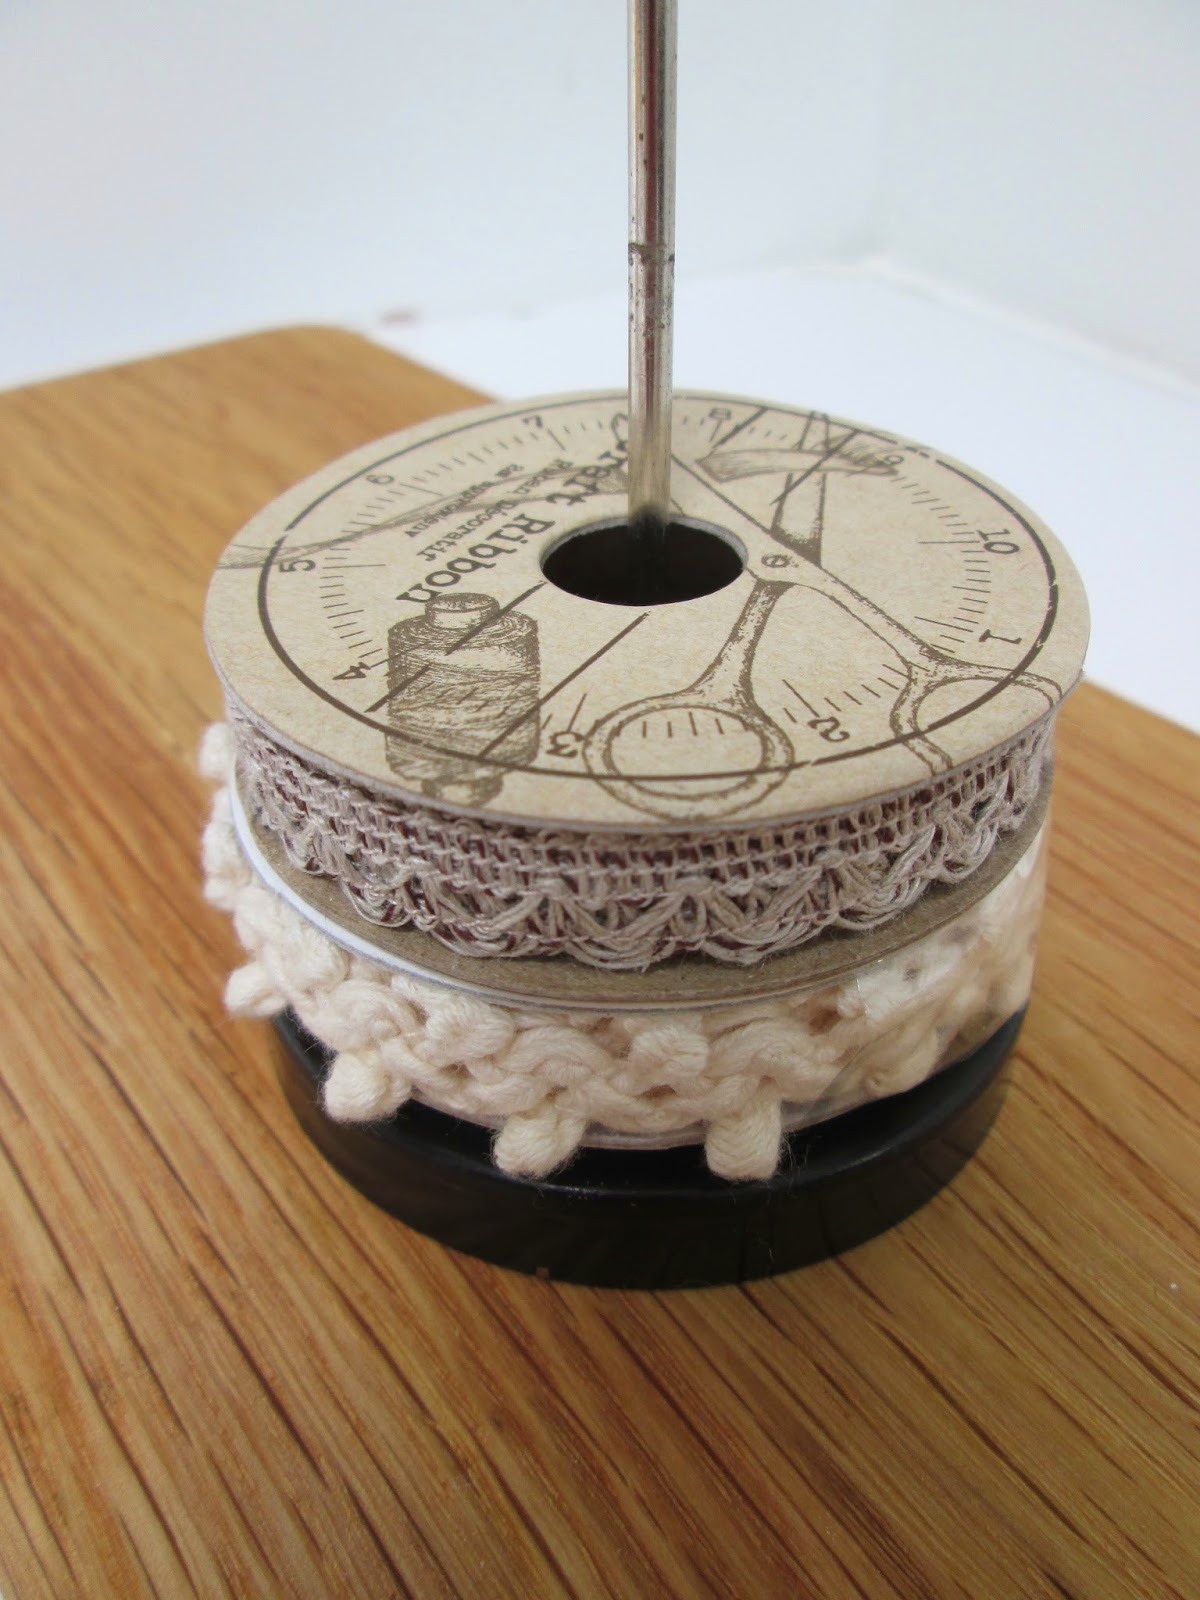
I made Washi Tape Holders!!
Just by screwing them together
Ta dah!
So, I did previously use this restaurant spike as I have shown before but as the centres of the tape are large and the pin is (obviously) thin they tended to get a bit messy as in the first picture. Now, if I push them about the worst they can look is like the second picture {which is already much neater than the thin spike} but hopefully they will look like the third picture most of the time ;-)
While I was in M&S I also purchased a matching small tray which I am currently storing my extra markers in.
*ahem* I may have a slight "pretty storage" obsession?? Lol!
And not to worry I will still use my spike but it is much better at storing ribbon reels with small holes...
OK, a quick tutorial on how to make these beauties
Start by drawing round your coaster onto printer paper
cut it out
and fold it into quarters
then trim the tiny point away
unfold and you can see the little hole in the very centre
centralise the circle on the bottom of the coaster, it is a tad smaller than the coaster as these are curved but just make sure the borders are even all the way round, I found this to be the easiest and quickest way to find the middle point
drill a tiny hole in the coaster and also the centre of the spindle
and add a wood screw to secure together
Job Done!!
OK, that's me done for today, I have cards to make for next weeks class as well as house business to be sorting.
Thanks for stopping by today and I hope you enjoyed today's project.
Stampin' Hugs,


.JPG)

Brilliant!! I have a pretty storage fetish as well! Everything that sits on my bookcase is stored in old vases or jars. Although, I'm not so sure it's as much a pretty compulsion as it is being able to leave things out where I can see them. Pretty just makes it look a little better! :)
ReplyDelete