Wednesday, 13 November 2013

5 Cards with the Circles Thinlits. FREE Full Tutorials with my top tips included!

Hello,
I am here today with the tutorial I promised you. I wanted to get full value for money with this die set and so came up with several ways to use the Circles Thinlits dies to make both flip cards an easel style and a gift card holder as well, but just so you know this is a l-o-n-g post, so please, grab a cuppa and enjoy! ;-)
Please note: This tutorial is in a mixture of centimetres and inches 
*Please, click on any picture to see it larger*
My first TOP TIP for you is: use relatively new cutting plates ie: ones without too many lines in them as you will be seeing both sides of the card once folded,
Cards 1 & 2
Now, onto cutting: you can get 2 standard cards from one sheet of A4 card, simply cut it in half at 14.8cm, and die cut each piece like so, you have a small-ish band of waste at the bottom but it's a usable sized piece so it's not all bad ;-)
 This will give you cards like these, to get the flipped circle at the bottom of your card simply turn over the die cut shape and work with the "rear", folding accordingly 
1.2.
 Now, to make your paper fit around the flip area simply cut to size and run through with the die again.
The paper will be 13.3cm high by (L-R) 5cm and 7cm wide.

TOP TIP: Make sure you butt the inside edges up to the very edge of the die. Also make sure your patterns match and are the same way up. 


Also ensure that both pieces are at the same height with an even border all around before you cut, remember there is no moving the paper around on the card front once you have cut!
 Now, lets make this die really work for it's money!!
Card 3
First we have a tri-fold card. No I didn't "invent" this myself, there are quite a few  tons of other tutorials out there on the www, but I have tweaked all these measurements 'till I found the easiest way I thought was possible!!
So, the measurements you need for this are 8.5 inches x 5+7/16 inch. Now, I know a lot of other tutorials say 5+1/2" but I found I struggled to get the card to slot in the die at this width so I trimmed a bit away, then a bit more 'till I took a whole 1/16" away, this way the edges don't snag and look untidy (bad) and it fits through the die like a dream (good!) ;-)))
TOP TIP: I know it seems obvious but remember to keep the bottom of the card over the top of the die, I can't tell you how many times I forgot and cut the bottom section away too when I was practising!
Feed the card up from the front and bottom to make this easier and also there is less chance of chopping the bottom off too!
 and this makes this card. Trim the first two panels of DSP with the die as before with the last section (whole piece) the measuring 13.3cm x 6cm wide, (panel widths L-R: 5cm, 7cm and 6cm)
3.
Card 4
And now, even more value for money an easel card too! 
This idea is all my own. I designed it for my class as I wanted to share how many ways this die can be used, please remember to link back here if you use or blog this idea, thank-you for your understanding.
4.
 
So, the dimensions are the same as before (5+7/16" x 8.5"), slide in from the bottom 'till the card is butted up to the top edge 
<<<<< (this picture showing the rear of die)

the front just showing where you have just the smallest circle section showing like so....
Remember to leave the bottom section over top of the die!
Again, feed the card up from the front and bottom to make this easier
this is what you will get, reinforce the folds inwards with a bone folder, 
the only section actually cut should be the smallest half circle
and the panels for this card measure 13.3cm x 8.5cm for the top piece and 13.3cm x 6cm for the inside.
Die cut the larger piece making sure the side and bottom edges are even again and the card or paper is just at the top of the small circle.
This should be what you have once cut
 the sides of the circle will only be scored, you need to trim away along the score lines
 to end up with this, decorate as you like now
The top piece butts right up along the folded edge with a small 5mm gap around the sides and bottom, the bottom section has a 5mm gap all around, I will post more pics on this tomorrow ;-)
Card 5
So, finally for today I have a Gift Card Holder too!! 
This is also my own design and I would love for you to use it I just again I ask if you do use this tutorial that you link back to me on this blog, thanks again :-)
5.


The measurements to make this Gift Card Holder are as follows: 
7+1/2" x 5+7/16"
<<<<<< Die cut the same as Easel card

To get this.... which is just the same as before but with a shorter end, reinforce score lines with your bone folder

 Repeat the die cutting for the top section from the easel card (13.3cm x 8.5cm) and cut a piece 13.3cm x 3.8cm for the inside, decorate each piece (or use DSP for speed ;-))
 add tape to each end of the inside small flap to hold the gift card
to make this pocket, add the decorated the small white card to the front of the pocket. You could also add a message here if desired :-)
 Side view of the Holder
 secure closed with a ribbon bow (or knot for a male)
Phew!!! That was one almighty post!! My thanks for sticking with me!
If this post has you wanting this fabulous and versatile die (and who wouldn't!?) then please do visit it at my shop HERE
I really hope that today's tutorial is useful to you and I look forward to seeing your creations too :-)
Thanks for visiting,
Stampin' Hugs,
 

Tuesday, 12 November 2013

Circles Thinlits Flip card using Warmth and Wonder

Hello there,
Today I have another card using the Circles Thinlits (LOVING this die set right now) and the cute Warmth and Wonder stamp set, this is a hostess only set but YOU can be a hostess without the hassle of a workshop in my new Virtual hostess Club starting this month, SEE HERE for more details :-) and then EMAIL ME to join in :-)))
I actually sent one of these kits out as this months card club kit, one kit per position is included with each months order in the club... 
(contained no stamped images) Paper is the Season's of Style pack
 and this is the card I made with the kit :-)))) I added some of the lovely new punched Chevrons to decorate the front
 Sentiment is from the stamp set too along with the little snowflake which I stamped using Gold Ink
 You can really see the sparkle of the ink here, the white circle was made with the 2+1/2" circle punch. It fits on the flip part perfectly but you do also get a lovely scalloped circle included in with the die.
 and here they are together...
OK As you may know I did a whole class on this Circle flip card die this week and so I have a few tutorials and top tips to share with you. 
I will be posting this tomorrow!!! So please do pop back and have a look :-)
Thanks for visiting today and I hope you come back for a visit to see the tutorials,
Stampin' Hugs,
 

Sunday, 10 November 2013

Chalk Talk Tag

Hello,
A really quick post today just to share with you a really simple way to give a party favour. I made these for Zack's birthday favours instead of party bags (most of which gets chucked away within a week anyway!) 
I purchased boxes of Malteasers and simply wrapped them with a band of (retired) DSP. Such a great way to use up the stacks of paper we all have huh? I then wrapped the boxes with an (also retired) sweater trim bow and added a stamped Chalk Talk tag....
 The tag was stamped using Midnight Muse ink
 and with Cherry Cobbler trim too :-)
Well, I did say it would be quick and it is, surprisingly, for me!
I hope you found today's idea a help and I would love to see your party favours too...
I'll be back later tomorrow with a new card from my Flip Card class I am hosting in the morning,
Stampin' Hugs from me for now,
 

Friday, 8 November 2013

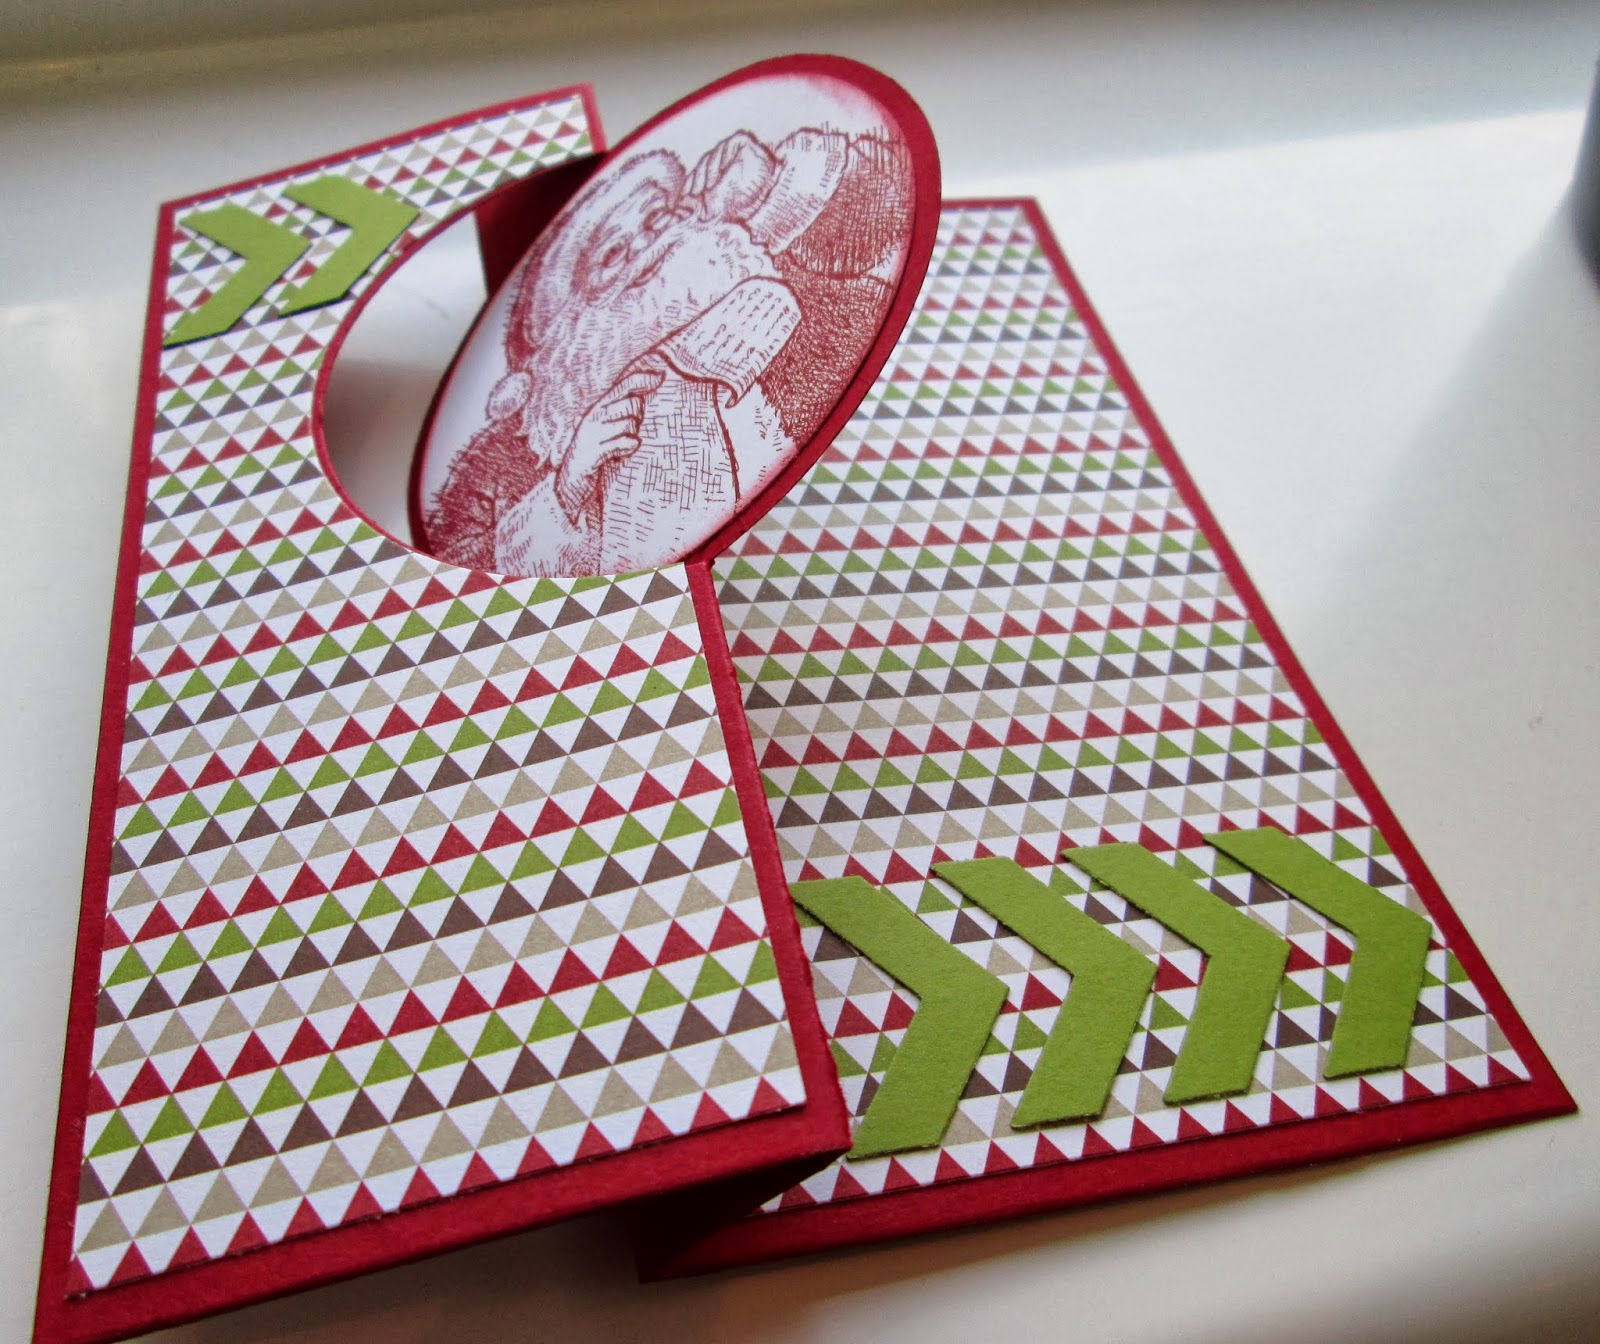
Santa's List Flip Card

Hi there,
I have another card made with the Circles Card thinlits die today, I love these flip cards and will be doing a whole class on them next week, message me to come along :-)
Anyway, back to today's share, I used the very popular Santa's List stamp with this new die and also the 2+1/2" circle punch which fits the centre circle perfectly!
 this sentiment is from the same stamp set and the paper is the Season of Style pack
 a close up of Santa, I'm really excited about Christmas this year, we even had festering music playing last night and everyone was joining in, you just can't help but sing along ;-)
 and to finish I decorated the card front with punched shapes made with the Chevron Border punch
OK, I'm off for today, I had a mini disaster this morning with some of my convention swaps so need to re-do those. Fail!
Thanks for visiting today,
Stampin' Hugs,
 

Wednesday, 6 November 2013

Beautiful Baroque Thanks

Hi there,
I have a really simple little make for you today using the Beautifully Baroque stamp, this is a really good size image and as such I think it is just perfect pretty much alone on a card!
Here I have stamped the Beautiful Baroque image in Crisp Cantaloupe, hanging it over the edge, and popped the card front on a Coastal Cabana card base, adding a "thanks" using Midnight Muse
 Super quick to make and pretty cute too ;-)
Short and sweet from me today,
I'll be back soon with more though!
Stampin' hugs,
 

Tuesday, 5 November 2013

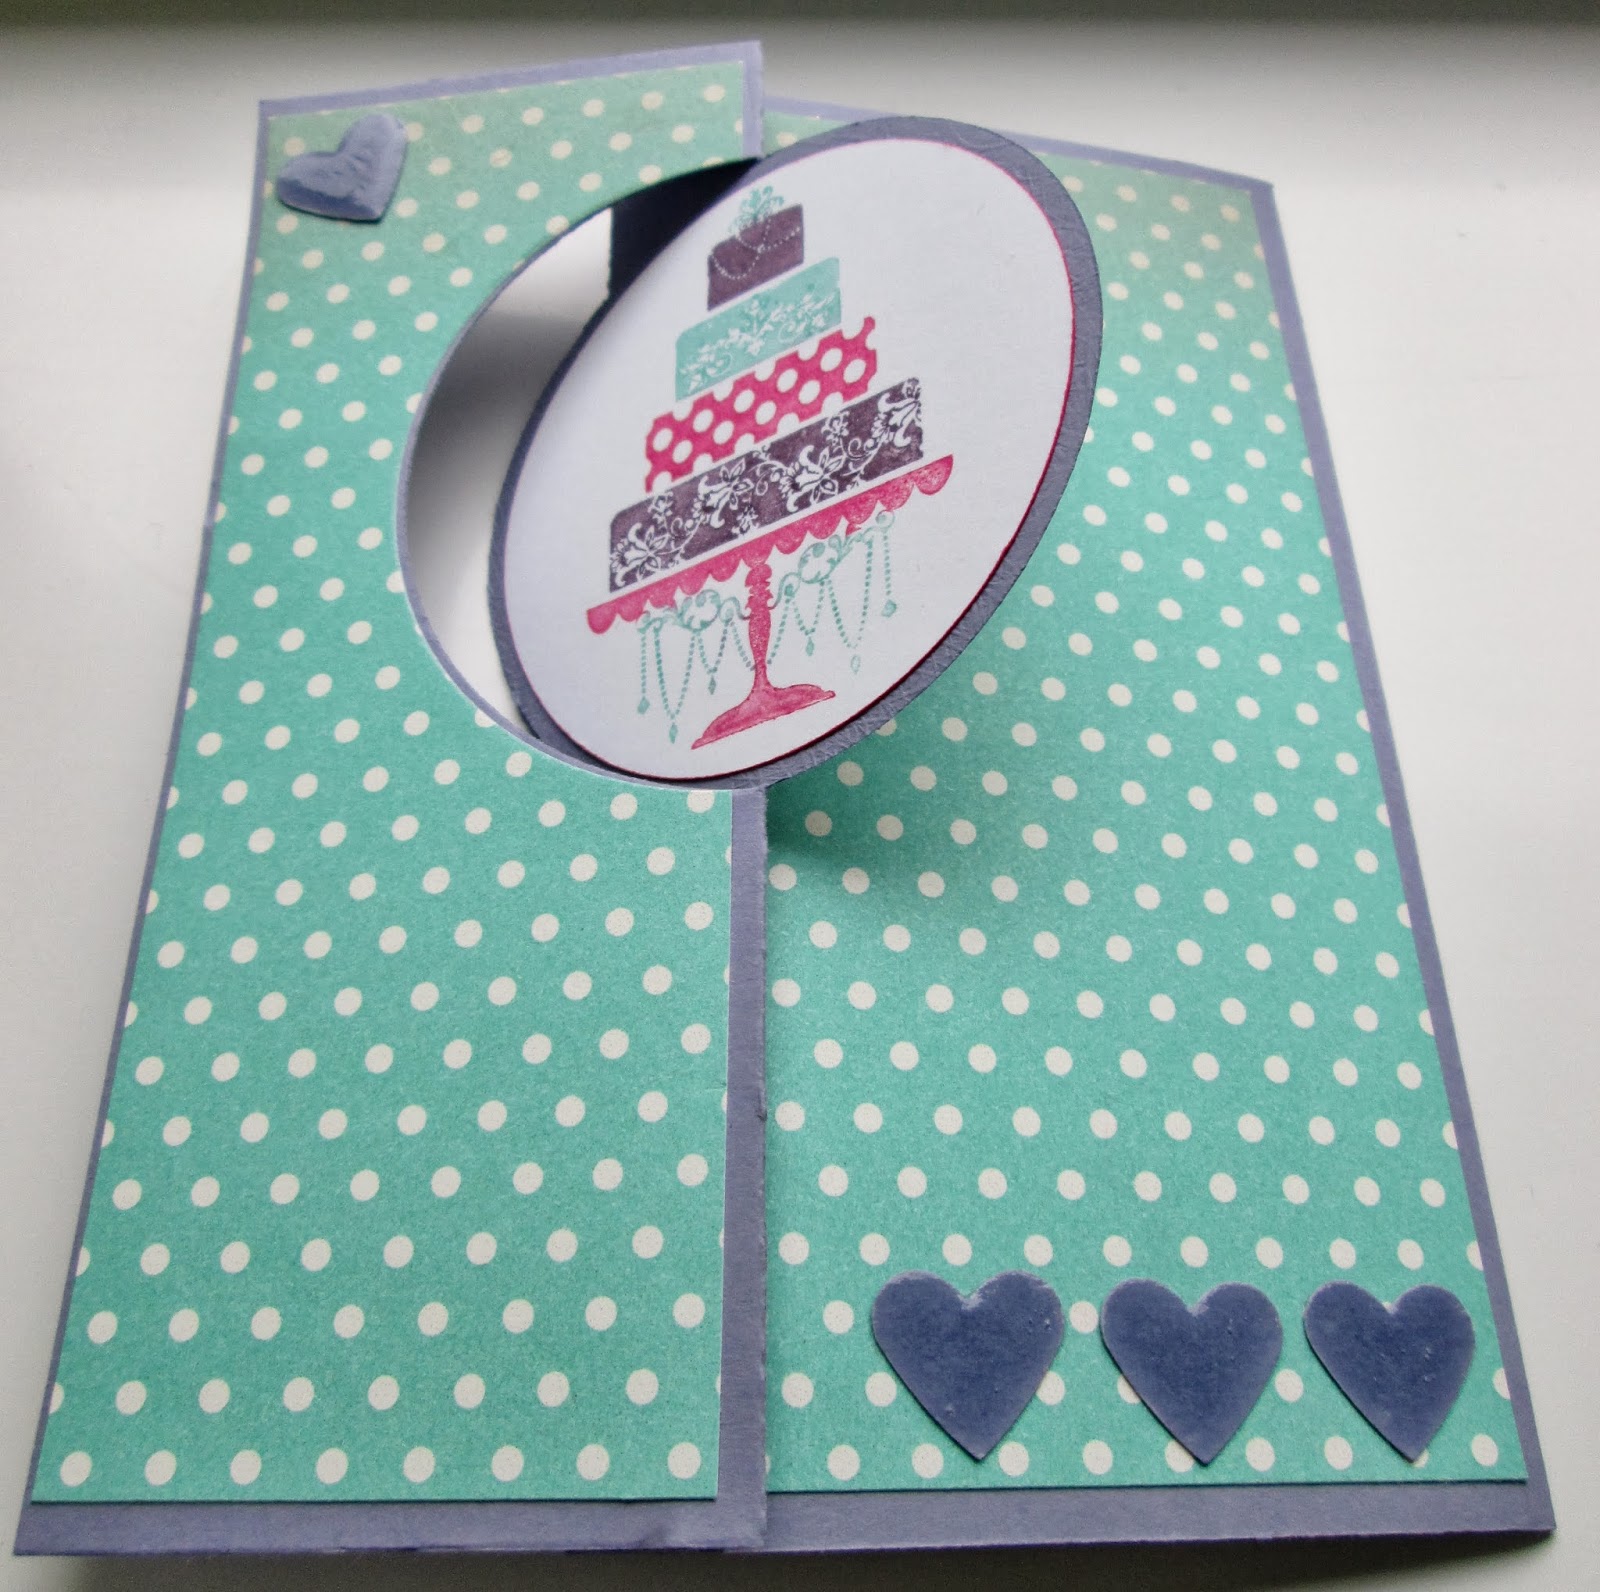
Stampin' Up's Just Married for a Birthday!

Hello there,
Today I have a card I made for my friends daughters birthday last week, I am sure I have used this wedding themed stamp set now for more birthdays than weddings ;-)
Here I inked the cake stamp using my markers in Melon Mambo, Perfect Plum and Coastal Cabana on a Wisteria Wonder card base, I made the fab flip card with the new Circle Card Thinlits die adding an extra panel, (**find out how at next weeks card classs!**) to make this card..
 the DSP is Afternoon Picnic and the greeting? Yep, it's Sassy Salutations again! Which I stamped over the image I huffed on a second time for this paler look :-)
 and it still folds up to fit in a standard envelope!
OK, that's all for today but just to remind you I will be using this die for my class next week, come along and have a play with this and the new Label card Thinlit die too.
Stampin' Hugs from me for today,
 

Monday, 4 November 2013

Washi Snowflakes

Hi there,
I have a sweet and simple card for you today using the Season of Style Washi Tape and the Northern Flurries Embossing Folder.  It's another one that could be made quickly and easily in multiples :-)
 I simply added strips of the tape and ran it through the Big Shot. I found that the snowflakes were a bit lost on the tape so I highlighted them using my Silver Ink pad and a sponge and added some Rhinestones to finish the centres :-)
 The sentiment is from Warmth and Wonder Hostess set
I added the strip of Washi tape after stamping then die cut it out using the Chalk Talk Framelits
OK, I hope you liked today's card,
Thanks for looking today,
Stampin' Hugs,
 

Sunday, 3 November 2013

Scrub Top Tip and Candy Wrapper Gifts

Hello,
I hope this post finds you well? I have a couple of things to share with you today including a selection of Candy Wrapper treats (I know it's retired but I'm sure lots of you still have this fab die and it's still one of my absolute favourites!) but lets start with a little tip for your scrubs.
My ladies often struggle to see which is the wet side and which is the dry on the scrub, usually when it's in the middle of the table at a class, so I decided it needed to be a bit more visible.
I simply took my White Gel pen and I coloured in the little markings! Easy!
See here on the old style scrub 
*Please click on any picture to see them larger*
 and it works on the new style scrubs too :-)
 Next, I gave little gifts at my All day Class which I made with the Candy Wrapper die. They were made using both the Winter Frost speciality paper pack and the Season of Style DSP packs, 
TIP: You need to use the 12"x12" paper packs as the die takes a 6" square piece of paper perfectly, this way there is very little waste!
they were decorated with the cute "Gift for You" individual stamp (only available in clear mount) which fits in the Bracket Label punch perfectly! and a touch of Chevron Ribbon too ;-)
 and the blue and Island indigo Winters Frost version to finish today
OK, I have a boat load of projects to finish this afternoon before work so I'm off for now :-)
Thanks for stopping by today,
Stampin' Hugs 
 

Friday, 1 November 2013

In Colour Chevron Paper with That's the Ticket!

Hello!
Today's card was made for my eldest sons friend who was (a very scary) 17 a few weeks ago! 
I was having a play around with the fab new chevron patterns from the 2013-2015 in colour paper stack to make this card in a Baked Brown Sugar and Pistachio Puddding colour combo ...
 a lovely silver button tied with linen thread decorates the chevron paper I hand cut out for this design
 and I layered up the That's the Ticket sentiments and adhered them with a staple
 and finally a little decoration inside :-)
OK, super quick post today but before I go just to let you know the NEW Envelope Punch Board is now available for sale!! I have mine already and will be sharing the great projects I have made with this as well as the new Circle Card Thinlits with you soon ;-) ...
Thanks for looking today
Stampin' Hugs,
 
Related Posts Plugin for WordPress, Blogger...