
Hello! Long time, no blog! :-(
I have so many cards to share with you at the moment but I'm currently working almost every night until 3am so I have been really struggling to get much of anything crafty done past the essentials (magazine commissions (which I can't share here yet ;-)) card classes, Halloween treats etc) however I did manage a bit of editing last night and so I have this cute card to share with you today!
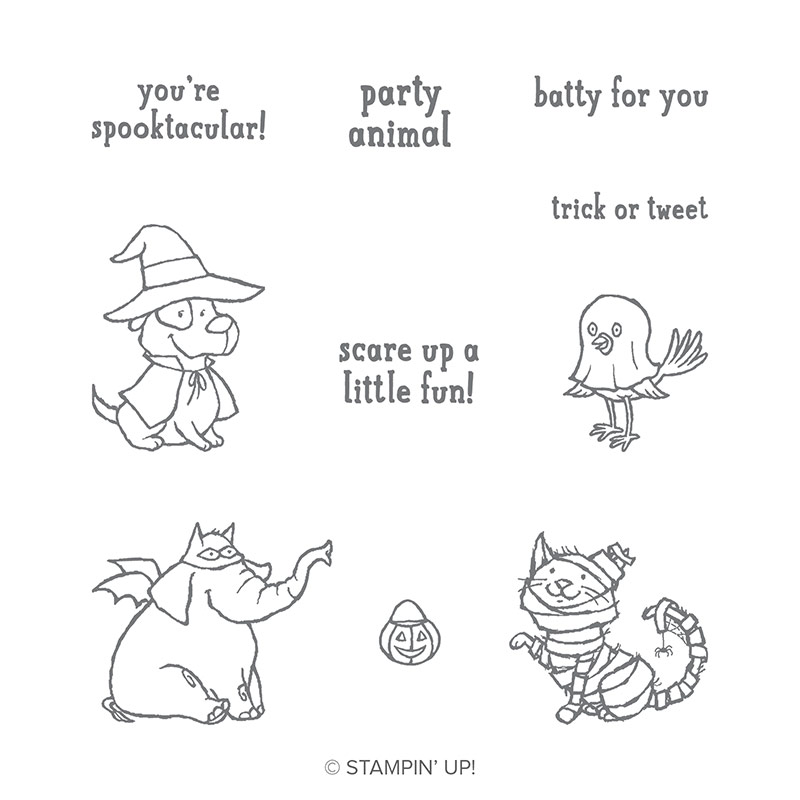
I tried my hand at a bit of no line watercoluring and some masking too a few weeks back using the Trick Or Tweet stamp set and here is the result...
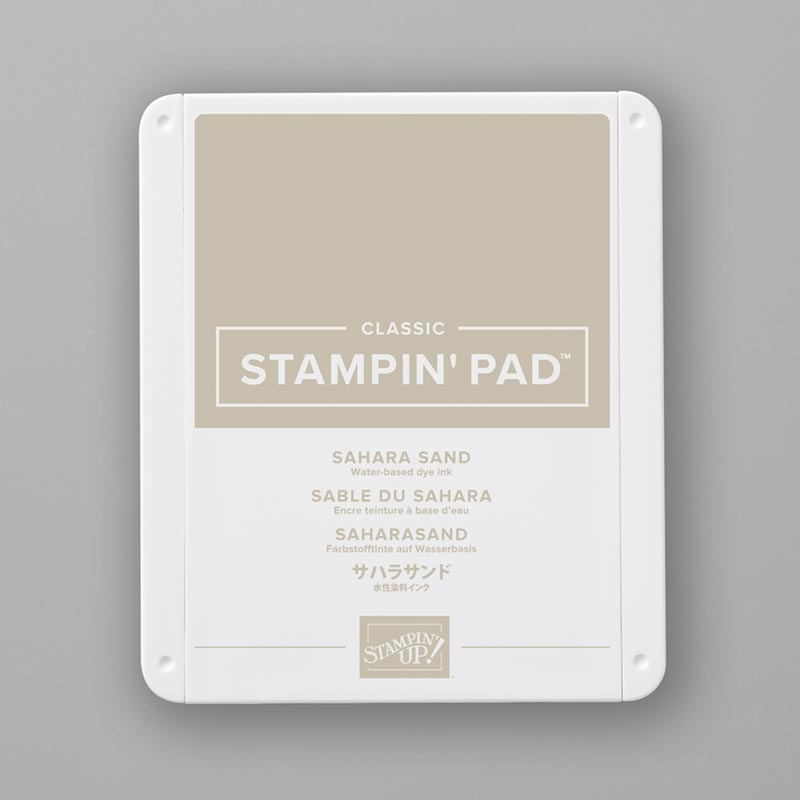
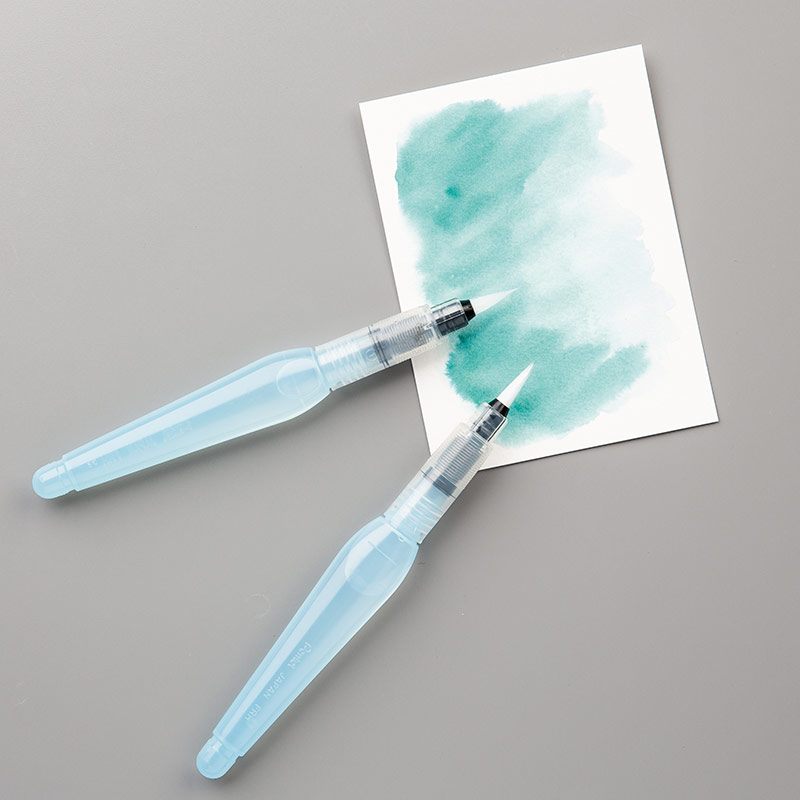
 I started by stamping Scrappy Doo here (it looks just like him, right?) on shimmery white card with my Sahara Sand ink pad. Watercoloured with more ink pads and aqua painters then drying before covering him with some masking fluid to add in the background. I love how he turned out!
 These little skulls and stars (/snowflakes, maybe?) in the background are from the hostess set Warm Hearted, which is packed with seasonal sentiments as well as cute little images like this!
I used Versamark to stamp these on a Rich Razzleberry card layer to create a subtle background.
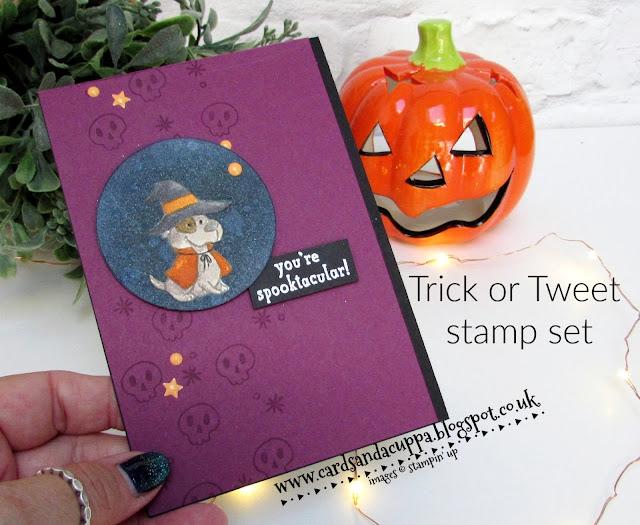 I added in a few (retired) enamel shapes and a white embossed sentiment, all layered onto a black card base to finish.
 OK, so I'm off to work this morning but I do hope to get another post done for you asap! Have a great, crafty weekend :-) and thanks so much for looking today, I miss sharing with you here!
Shop Online With ME!
The Fabulous New Autumn/Winter catalogue is now LIVE
 Stampin' Hugs,
I have so many cards to share with you at the moment but I'm currently working almost every night until 3am so I have been really struggling to get much of anything crafty done past the essentials (magazine commissions (which I can't share here yet ;-)) card classes, Halloween treats etc) however I did manage a bit of editing last night and so I have this cute card to share with you today!
I tried my hand at a bit of no line watercoluring and some masking too a few weeks back using the Trick Or Tweet stamp set and here is the result...


I used Versamark to stamp these on a Rich Razzleberry card layer to create a subtle background.


Shop Online With ME!
The Fabulous New Autumn/Winter catalogue is now LIVE

 |
 |
 |
 |
 |
 |
 |
 |
 |
 |
 |
 |
 |
 |


