Hello there and happy Sunday!
I have a few jobs in the garden today but I have to wait for it to cool down just a little so I thought I'd hop on and share a couple of cards with you first.
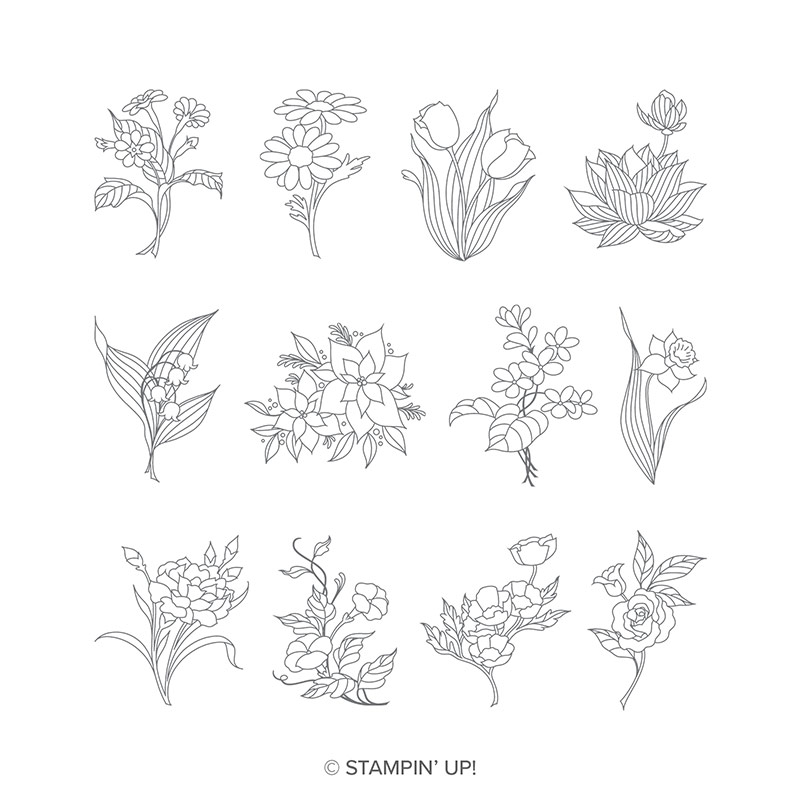
I'm excitedly and not so patiently, waiting on my first order from the new catalogue and so I don't have a lot of new things to share with you yet, but I did win this lovely set, "In Every Season" at On Stage way back in April and this is it's first inking. I thought I'd try two ways of colouring just one of the twelve images in the set.
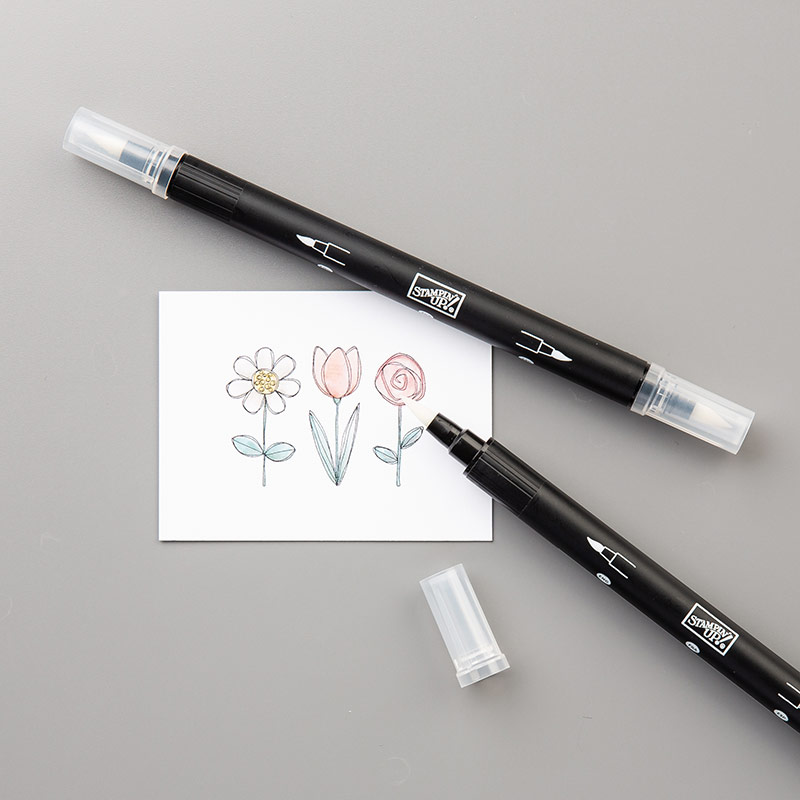
So, one image was watercoloured with ink pads and one was coloured with my Stampin' Blends, which I have heard are coming back in just a couple of weeks, fingers crossed ;-)
So, let's see this pair of cards, shall we?
 A closer look at the watercoloured image. I stamped this one onto white shimmer card for easy watercoloring.
 And this is the blends coloured image. This was stamped onto regular whisper white card which is my favourite for using with the blends.
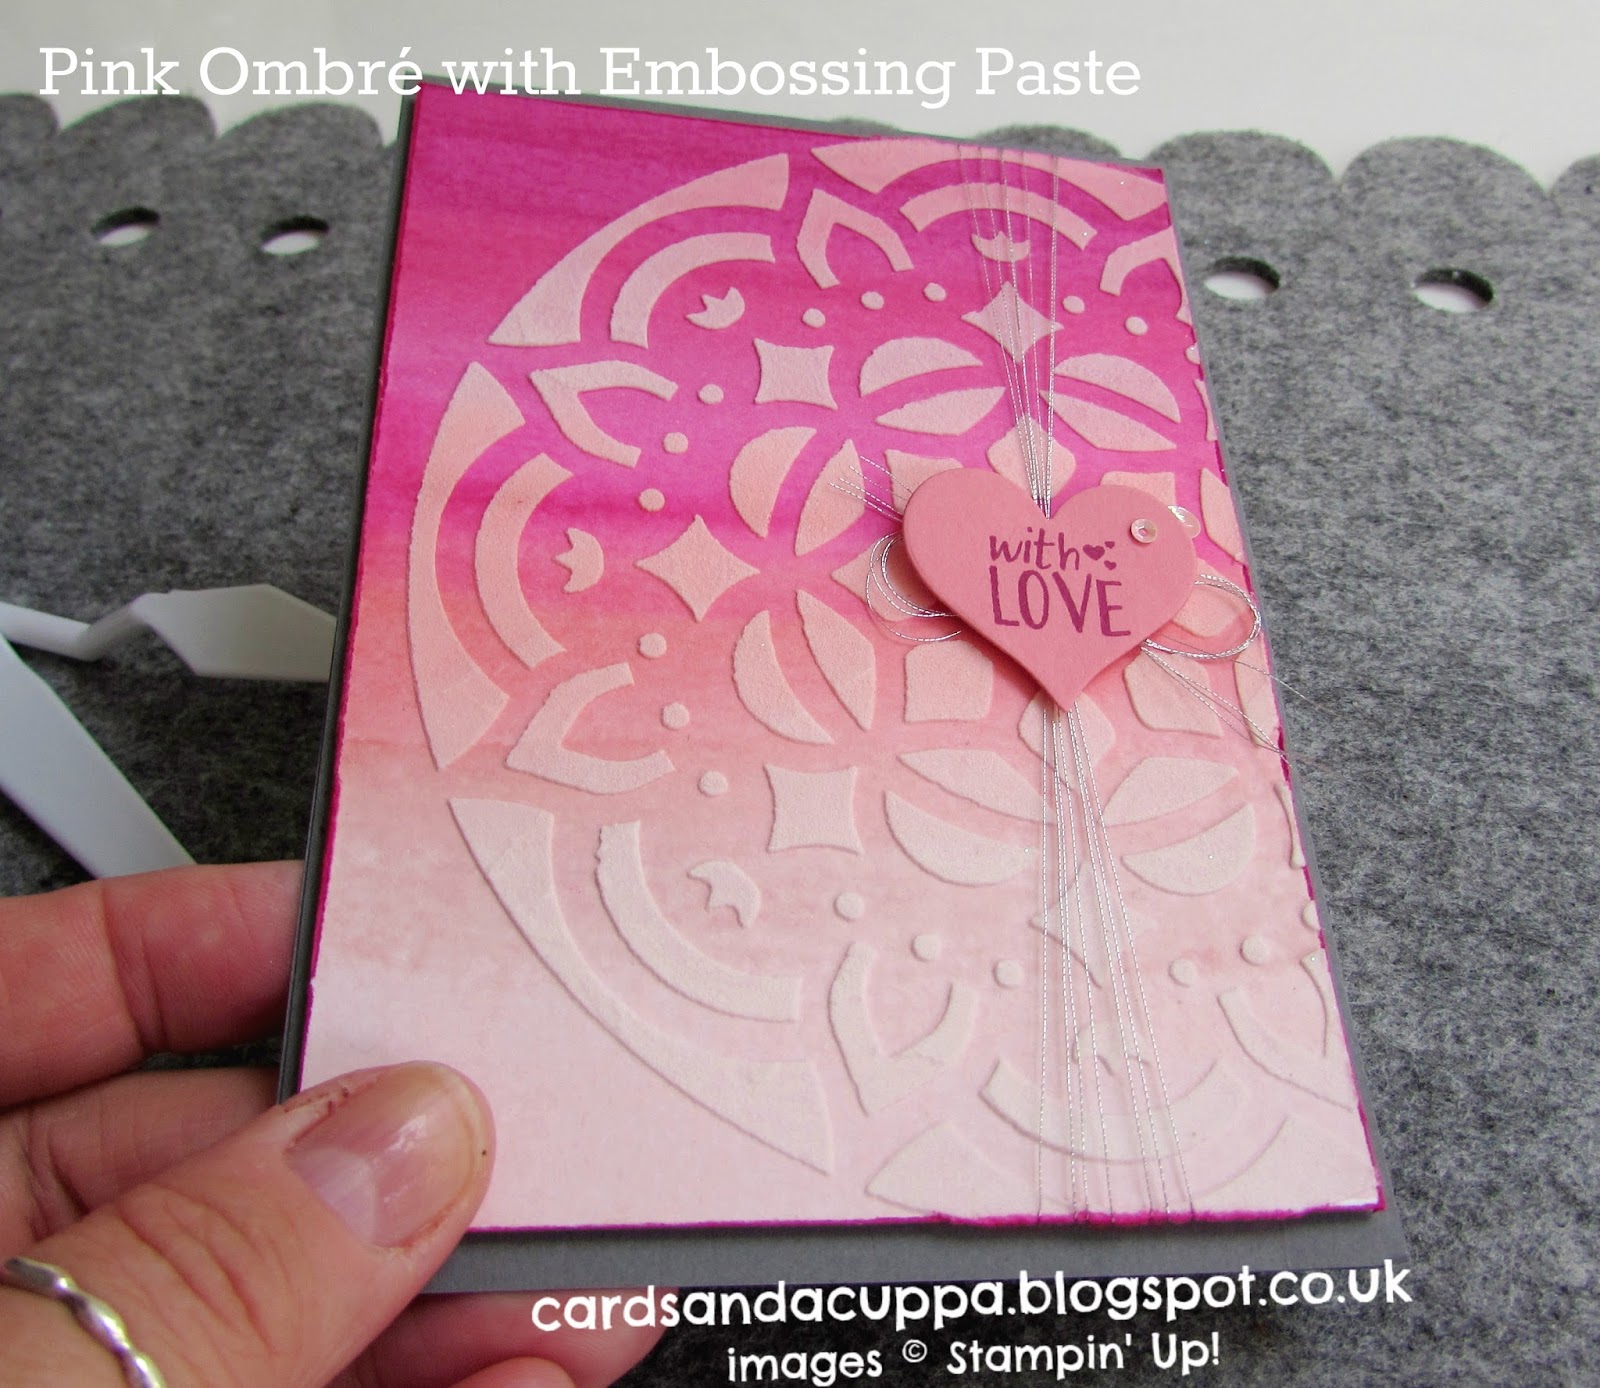
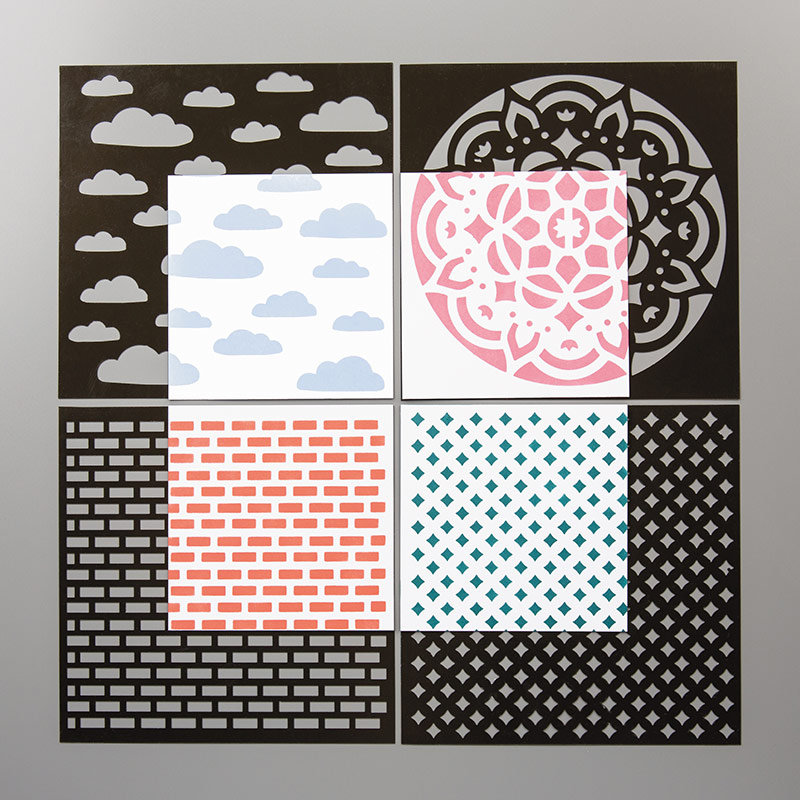
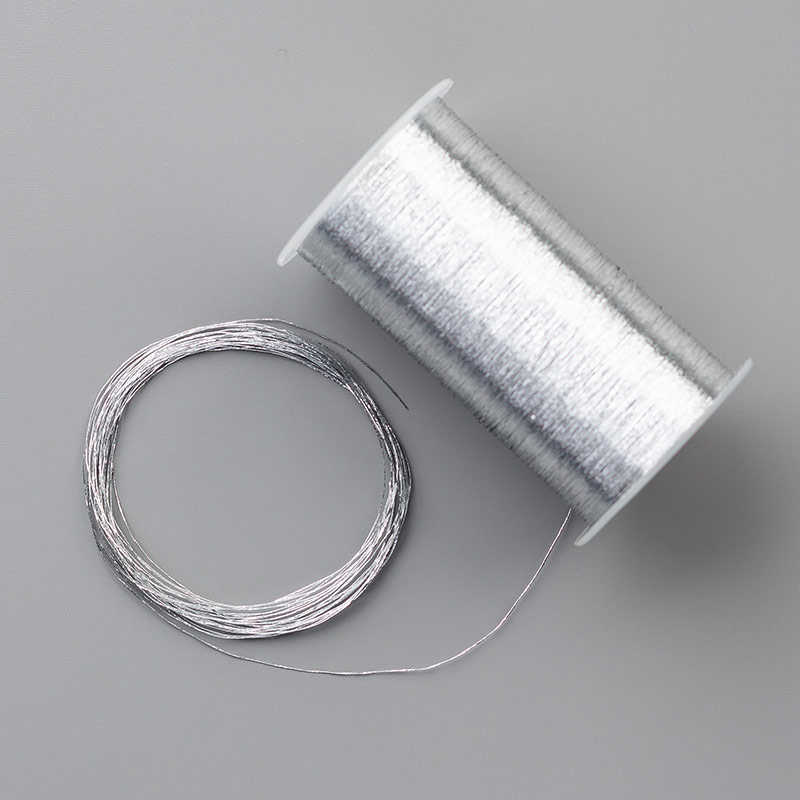
 I added some white embossing paste through a stencil for some texture and some silver thread for a little bling to finish.
 So, I'm going to ask that question... Which version do you like best?
OK, I am off for now and I hope to read your thoughts in the comments :-)
Thanks so much for stopping by today.
Shop Online With Me
 Stampin' Hugs,
I have a few jobs in the garden today but I have to wait for it to cool down just a little so I thought I'd hop on and share a couple of cards with you first.
I'm excitedly and not so patiently, waiting on my first order from the new catalogue and so I don't have a lot of new things to share with you yet, but I did win this lovely set, "In Every Season" at On Stage way back in April and this is it's first inking. I thought I'd try two ways of colouring just one of the twelve images in the set.
So, one image was watercoloured with ink pads and one was coloured with my Stampin' Blends, which I have heard are coming back in just a couple of weeks, fingers crossed ;-)
So, let's see this pair of cards, shall we?


OK, I am off for now and I hope to read your thoughts in the comments :-)
Thanks so much for stopping by today.
Shop Online With Me

 |
 |
 |
 |
 |
 |
 |
 |
 |
 |
 |