Hello there,
Today's make is a card I made recently for my hubby and I wanted to remind him that summer was coming... One day.... lol!
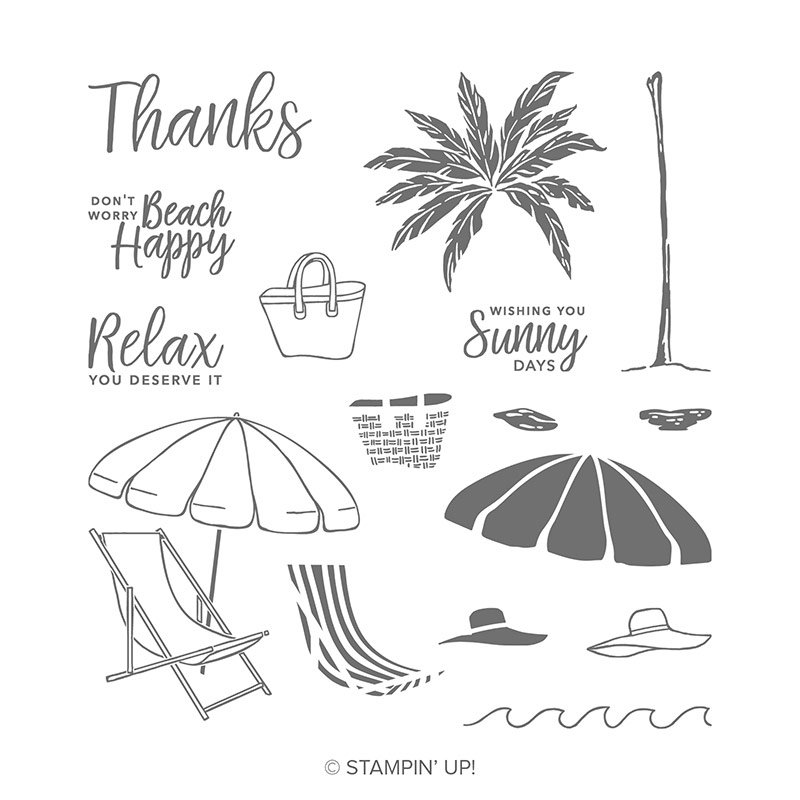
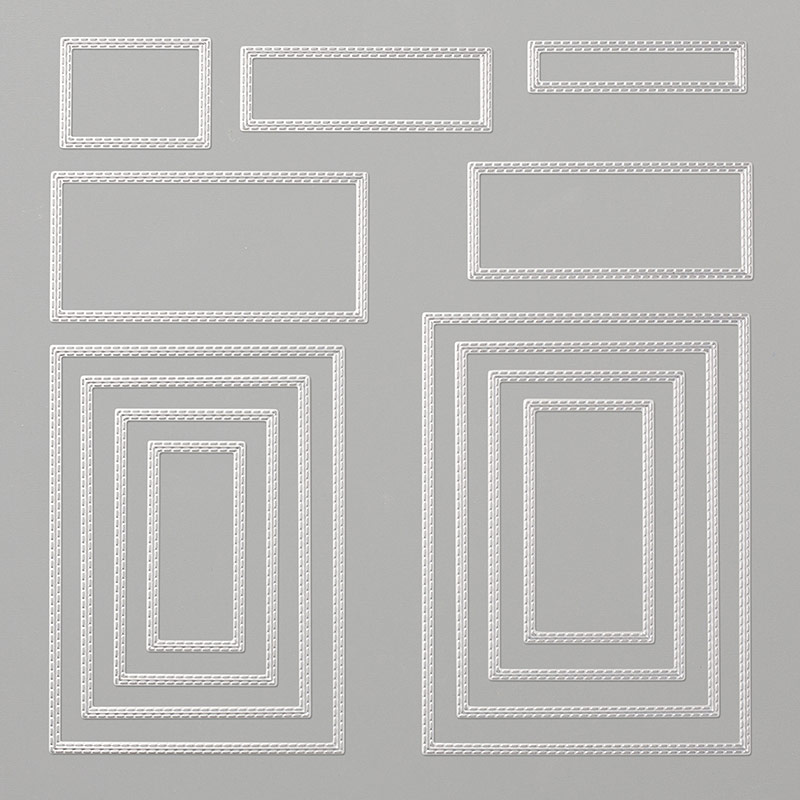
I used the Beach Happy stamp set and created this scene but I wanted to do something to give it a little "lift." So out came the old faithful, stitched rectangles again to create this raised centre card...
 I started with stamping the images and
TIP1: I found the Stamparatus the easiest way to line up the deckchair and the umbrella images. Start with the stripes on the deckchair ;-)
and TIP 2: I used the rock and roll technique to add a little extra colour to the leaves of the palm tree.
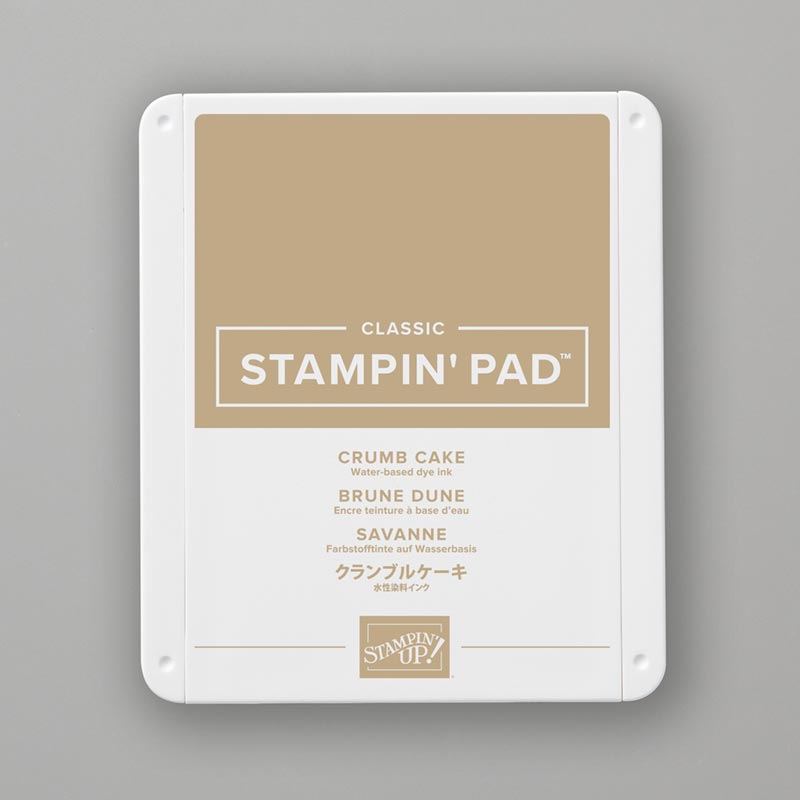
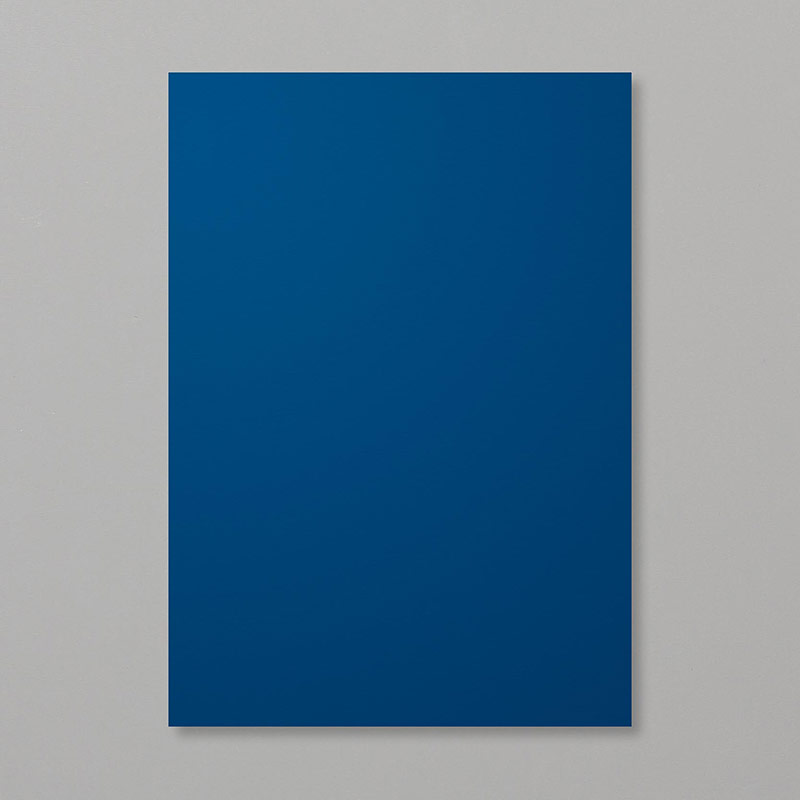
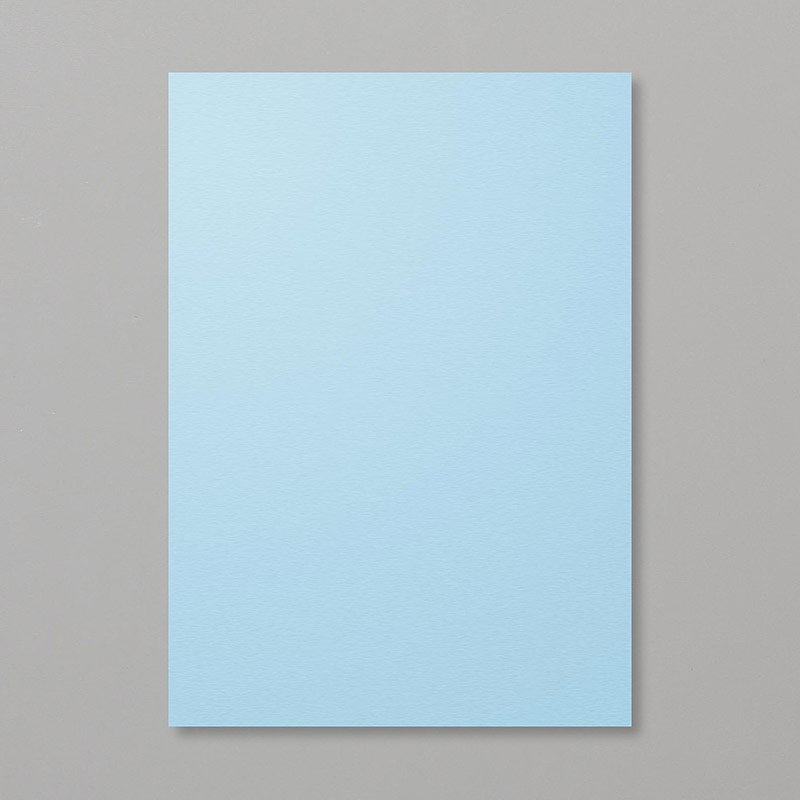
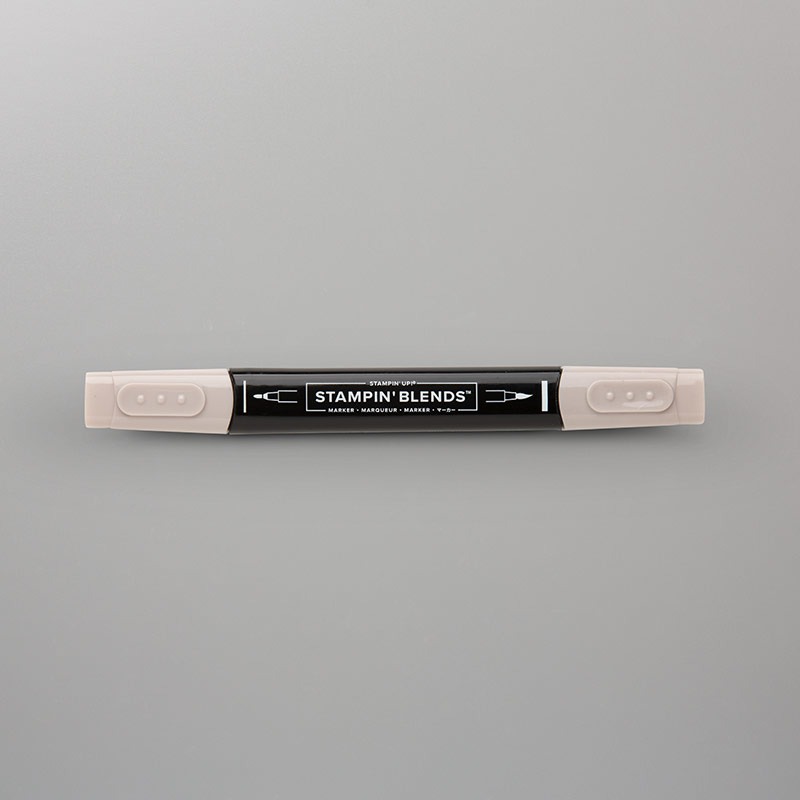
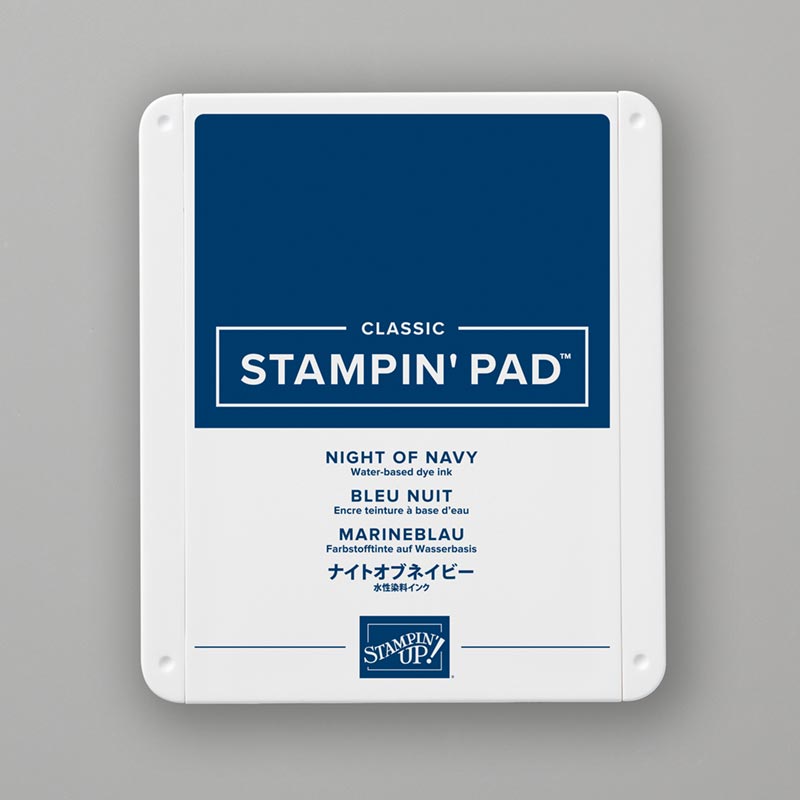
 I added some sand to ground the image with my light Crumb Cake blends pen before cutting with a rectangle die. Stick the outer frame down flat to the navy card layer before and adding the raised centre back in with dimensionals.
I love the difference this easy, extra step makes! Great for adding "something" extra without ribbon or frills, and a perfect technique for a masculine card.
 A little sentiment with another rectangle die and a couple of enamel shapes finish this card for today :-)
So, I hope you enjoyed this little make? I really enjoyed making the most of my layers for this card ;-)
Just a reminder that this stamp set is another one that is leaving us in less than a month :-( #sadtimes So if you love it please don't miss out.
Also, I know I promised another baby card this week and I will be here to share that with you in the next few days, I promise :-) I have a super busy rest of the bank holiday but I'm determined to squeeze some more blogging in. Somewhere...
'Till then, happy stamping and thanks for stopping by today xx
Shop Online With ME!
Host code for March spends over £25 and under £150 is RZFNWVK9

Stampin' Hugs,
Today's make is a card I made recently for my hubby and I wanted to remind him that summer was coming... One day.... lol!
I used the Beach Happy stamp set and created this scene but I wanted to do something to give it a little "lift." So out came the old faithful, stitched rectangles again to create this raised centre card...

TIP1: I found the Stamparatus the easiest way to line up the deckchair and the umbrella images. Start with the stripes on the deckchair ;-)
and TIP 2: I used the rock and roll technique to add a little extra colour to the leaves of the palm tree.

I love the difference this easy, extra step makes! Great for adding "something" extra without ribbon or frills, and a perfect technique for a masculine card.

Just a reminder that this stamp set is another one that is leaving us in less than a month :-( #sadtimes So if you love it please don't miss out.
Also, I know I promised another baby card this week and I will be here to share that with you in the next few days, I promise :-) I have a super busy rest of the bank holiday but I'm determined to squeeze some more blogging in. Somewhere...
'Till then, happy stamping and thanks for stopping by today xx
Shop Online With ME!
Host code for March spends over £25 and under £150 is RZFNWVK9

 |
 |
 |
 |
 |
 |
 |
 |
 |
 |
 |
 |