Thursday, 15 December 2011

All White Christmas Card

Hello today!
I have a few days of Christmas cards coming up so I hope you still have some to make! ;-)
This one is for a friend to send to a relative and I went with an all white colour combo for the first one,
Snowflakes stuck down and in 3d are made with the triple layer doily punch (page 117)
Scallop circle was edged with platinum shimmer paint and the DSP is from the Neutrals stack with the sentiment from Petit Pairs (page 83) such a lovely set of sentiments,
and an arty angle to show the dimension,
Well, I hope you enjoyed this card and I will be back tomorrow with some more Christmas yumminess :-)
Thanks for stopping by today,
Stampin' Hugs,

Tuesday, 13 December 2011

Last Baby Card...for a while anyway ;-)

Hello there today!
Gee, the weather is rotten here tonight as I write this (scheduled) post!
I had another fab bunch of ladies for class today, what a fun time we all had with Christmas presents and a raffle...I so love doing classes! Another one is scheduled for today and tomorrow :-D
Why not join us next year?? We are a really friendly bunch and would love you to join us, there are some dates details and HERE
Anyway, I have one more baby card for you, this one uses Little Additions, such a cute set this one, you may recognise this as I have stuck to a similar style to some I have made before
I used a colour combo of Blushing Bride and Sahara Sand, DSP is from the in colour stack.
 I love this cot from little additions ;-)
Wording is printed from the computer and prettied up with a strip of pearls.
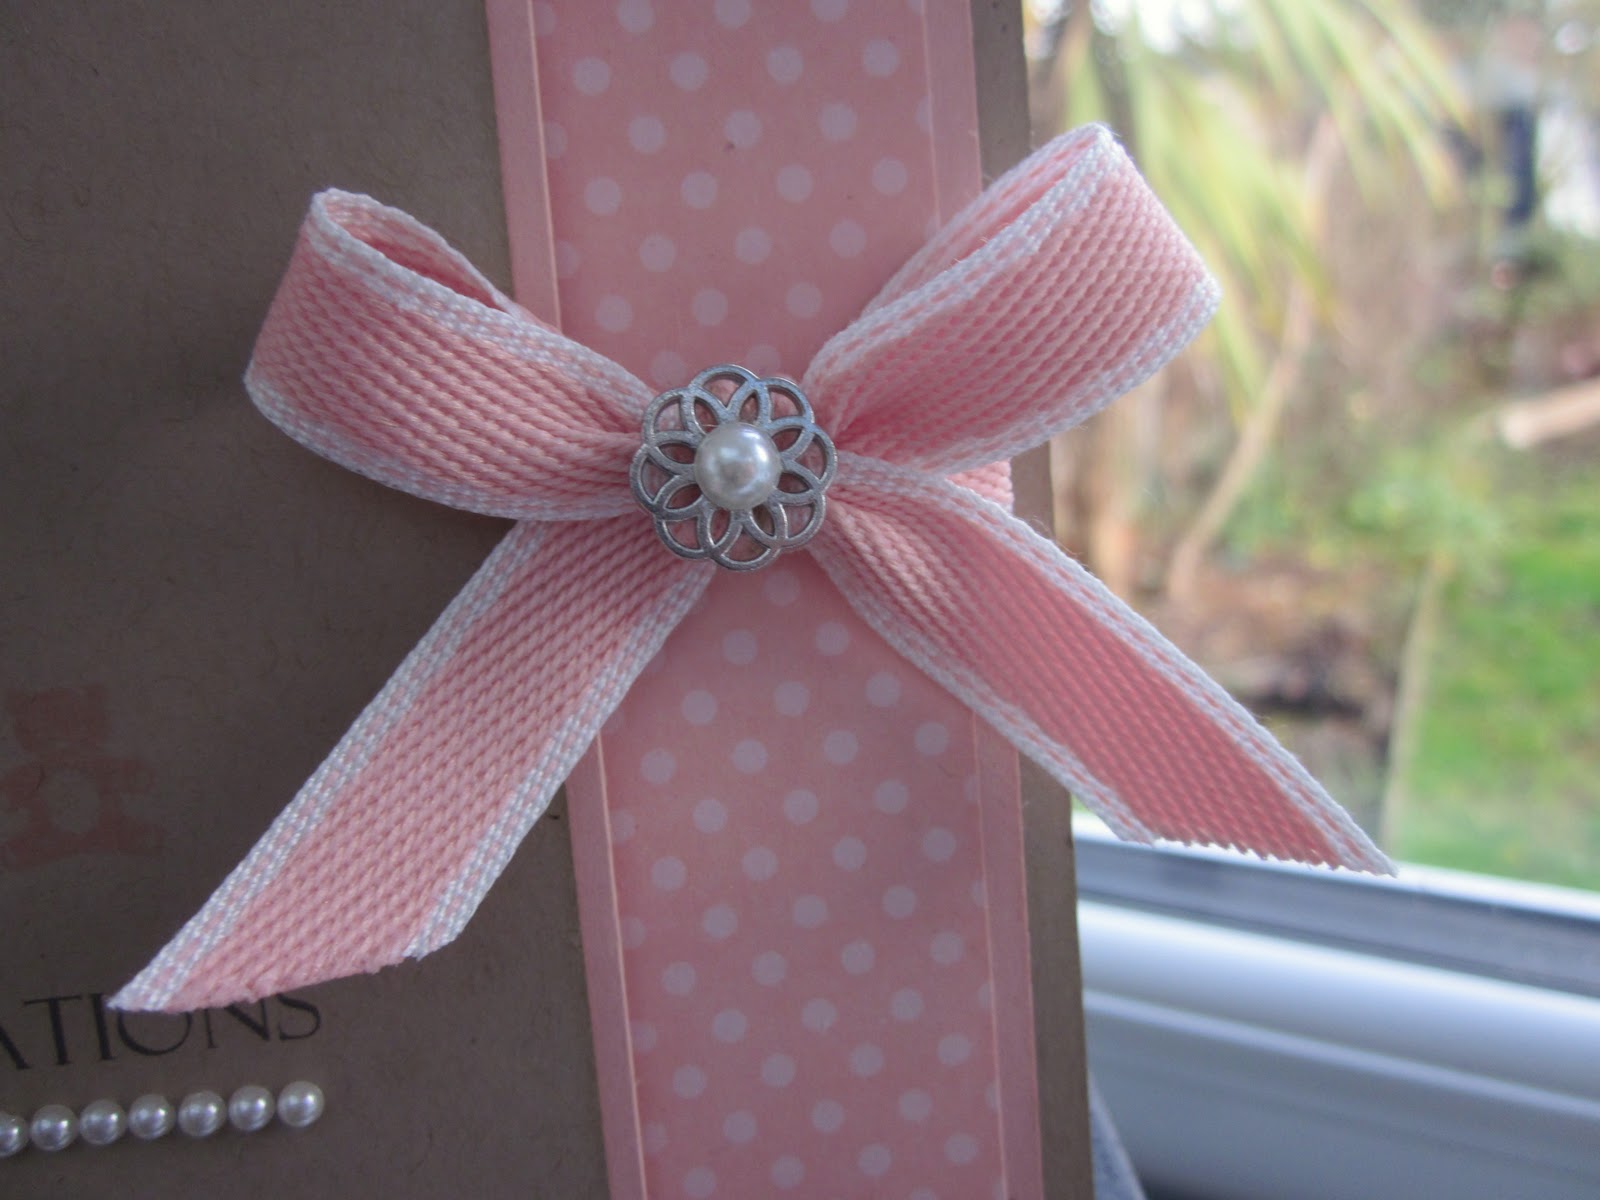
Bow is made with 2010-2012 in colour ribbon, lush! And I topped this with a filigree brad attached with linen thread
and a little decoration inside to finish, a bit blurry though, soz ;-)
Well, I had better get to bed as I have an early start tomorrow ;-)
See you soon!
Stampin' Hugs,

Sunday, 11 December 2011

Baby Card with Fox and Friends

Hello,
I had a  lovely day with 5 lovely ladies at class yesterday, thank-you ladies for coming along! I really enjoyed the day.
If you would like to come along to a class next year then please see THIS page for the updated class list for 2012! Eek! 2012 eh??!
Anyway, I have another baby card for you today using the very sweet Fox and Friends, this is so cute for bay cards, as you can see this one is for the proud grandparents :-D 
I have used a colour combo of pretty in pink and crumb cake along with the necessary bling :-)
pretty in pink satin bow, there is a bow tying video tutorial in my side bar >>>
and a little giraffe inside to finish with the same eyelet border punch
Well, that's it for today.
I hope you have enjoyed today's card, back tomorrow with some more cardy goodness :-)
Stampin' hugs for today,

Friday, 9 December 2011

Post Convention Get Together

Hello there today,
I have a few pics of our get together day I held last Saturday to share all the wonderful swaps and goodies we received in Paris in November.
A little warning though, this is a picture heavy post!
I am starting with Emma and Karen...
 Laura and Anna working with Kelly in the background too ;-)
Emma and Karen again
 Hannah, Nikki and Emma
 and Kelly, Laura and Anna more "picture ready"!! lol!
and so what did we make?? Well, I was totally inspired by lots of the "wows" in Paris and so we made Elizabeth's 3d ornament,
Zoe's half Mini Milk Carton box
and finally Moira's partial embossing card too
and not forgetting the swaps, what demo meet up is complete without swaps? ;-)
Wow! what a great day we all had (I hope??) I did so enjoy spending time with my fellow demos and if you fancy becoming a SU! demo with me then why not drop me a line for a no pressure chat for all the info ;-)
Thanks for stopping by today,
Back tomorrow with another baby card
Stampin' Hugs from me for today

Thursday, 8 December 2011

Side Stepper card for a Baby

Hello,
Apologies for not blogging but I am just so crazy busy here, prepping for next weeks classes, getting ready for Christmas, blah de blah! How are your Christmas plans coming along??
Anyway a friend requested THREE baby cards this week, not a problem you say, but the minor complication with these cards were they were all for the same baby!! So I had to make three completely different cards ;-)
I will share them with you through the rest of the week but for today I have a stepper style card as my first offering ;-)
There is a full tutorial on how to make this shape card HERE, Main sentiment is backed with a die cut scallop circle, and the small scallop circle is cut using the Perfect Pennant Bigz die from the flirtatious papers,
Tags are from tiny tags ;-) and punched using the Jewellery tag punch, secured with a gem brad
and the rattle is from my new set Button Buddies, there is also a video tutorial for the bow HERE
Right, that's me off for today, I have lots of jobs still to do today but first I am going for coffee and cake with the girls, but I will be back soon! I hope you have a great day too,
Stampin' Hugs,

Tuesday, 6 December 2011

Top Note Card Tutorial

As promised I have a new tutorial for you today, albeit a very simple one, just giving you the correct score lines and folds to make the card base to fit in a Top Note die cut like this card HERE or these ones HERE
So, to begin with all you need is a paper trimmer and a bone folder/scoring tool
Take a sheet of A4 card and cut it in half along the 21cm (short) side and down the long length at 10.5cm.
Then score at 13cm, 22cm and CUT at 25cm if you are using a border punch or 24cm if you are leaving it plain.
Using the off cut make a stand to the sizes shown, scored in at 7mm from the right hand side to adhere to your card.
adhere the 7mm strip to your card ensuring when it is laid flat it does not over hang the side of the card.
And standing up.
Mine worked on this card perfectly but you may need to trim off a millimetre or so from along the slanted edge if you have any balance troubles (I did on one of the others)
Well, I told you it was simple, but I do hope it is of use to someone and if you need a Top Note die to make your own version (or anything else from the catalogue) then please do get in touch ;-)
Thanks for stopping by,
Stampin' Hugs for today,

Monday, 5 December 2011

3 Birthday Jems!

Hello!
Well, as you have seen another bust week here and to top it off it was a busy birthday week too!
I had three Jem's team members to make special cards for and so I went with all the same, which is unlike me tbh, but due to time constraints this was necessary on this occasion ;-)
Anyway, I made the same style as I made for Harry's birthday last week.
{as promised, I did a little tutorial whilst I was making these so will share this with you tomorrow}

I used an elegant colour combo of Cameo Coral, Crumb Cake and Basic Black,
with my scrummy new stamp set Everything Elanor, LOVE this set, which tbh I was surprised at as it hadn't grabbed me in the catalogue but once I had played with it... well I was in love! Plus it is exclusive to the European market, so our friends in the rest of the world have to look on in envy (sorry guys!)
Anyway, I stamped the insert too, to finish
That's me for today, quick post today! but as I mentioned, I will be back tomorrow with the tutorial for this style of card,
Thanks, as ever, for stopping by today,
Stampin' Hugs for today,

Sunday, 4 December 2011

Folded Tree Tutorial

Good day to you!
I have the tutorial today for the tree I showed you HERE.
I wanted to design a folded tree that wouldn't overhang at the sides and this is what I came up with...
To make this you need limited supplies of a cutter, bone folder, adhesive, a pencil and ruler and I used Stampin' Up's Scallop Circle die with the Big Shot, but you could use a circle approx 10.5cm wide.
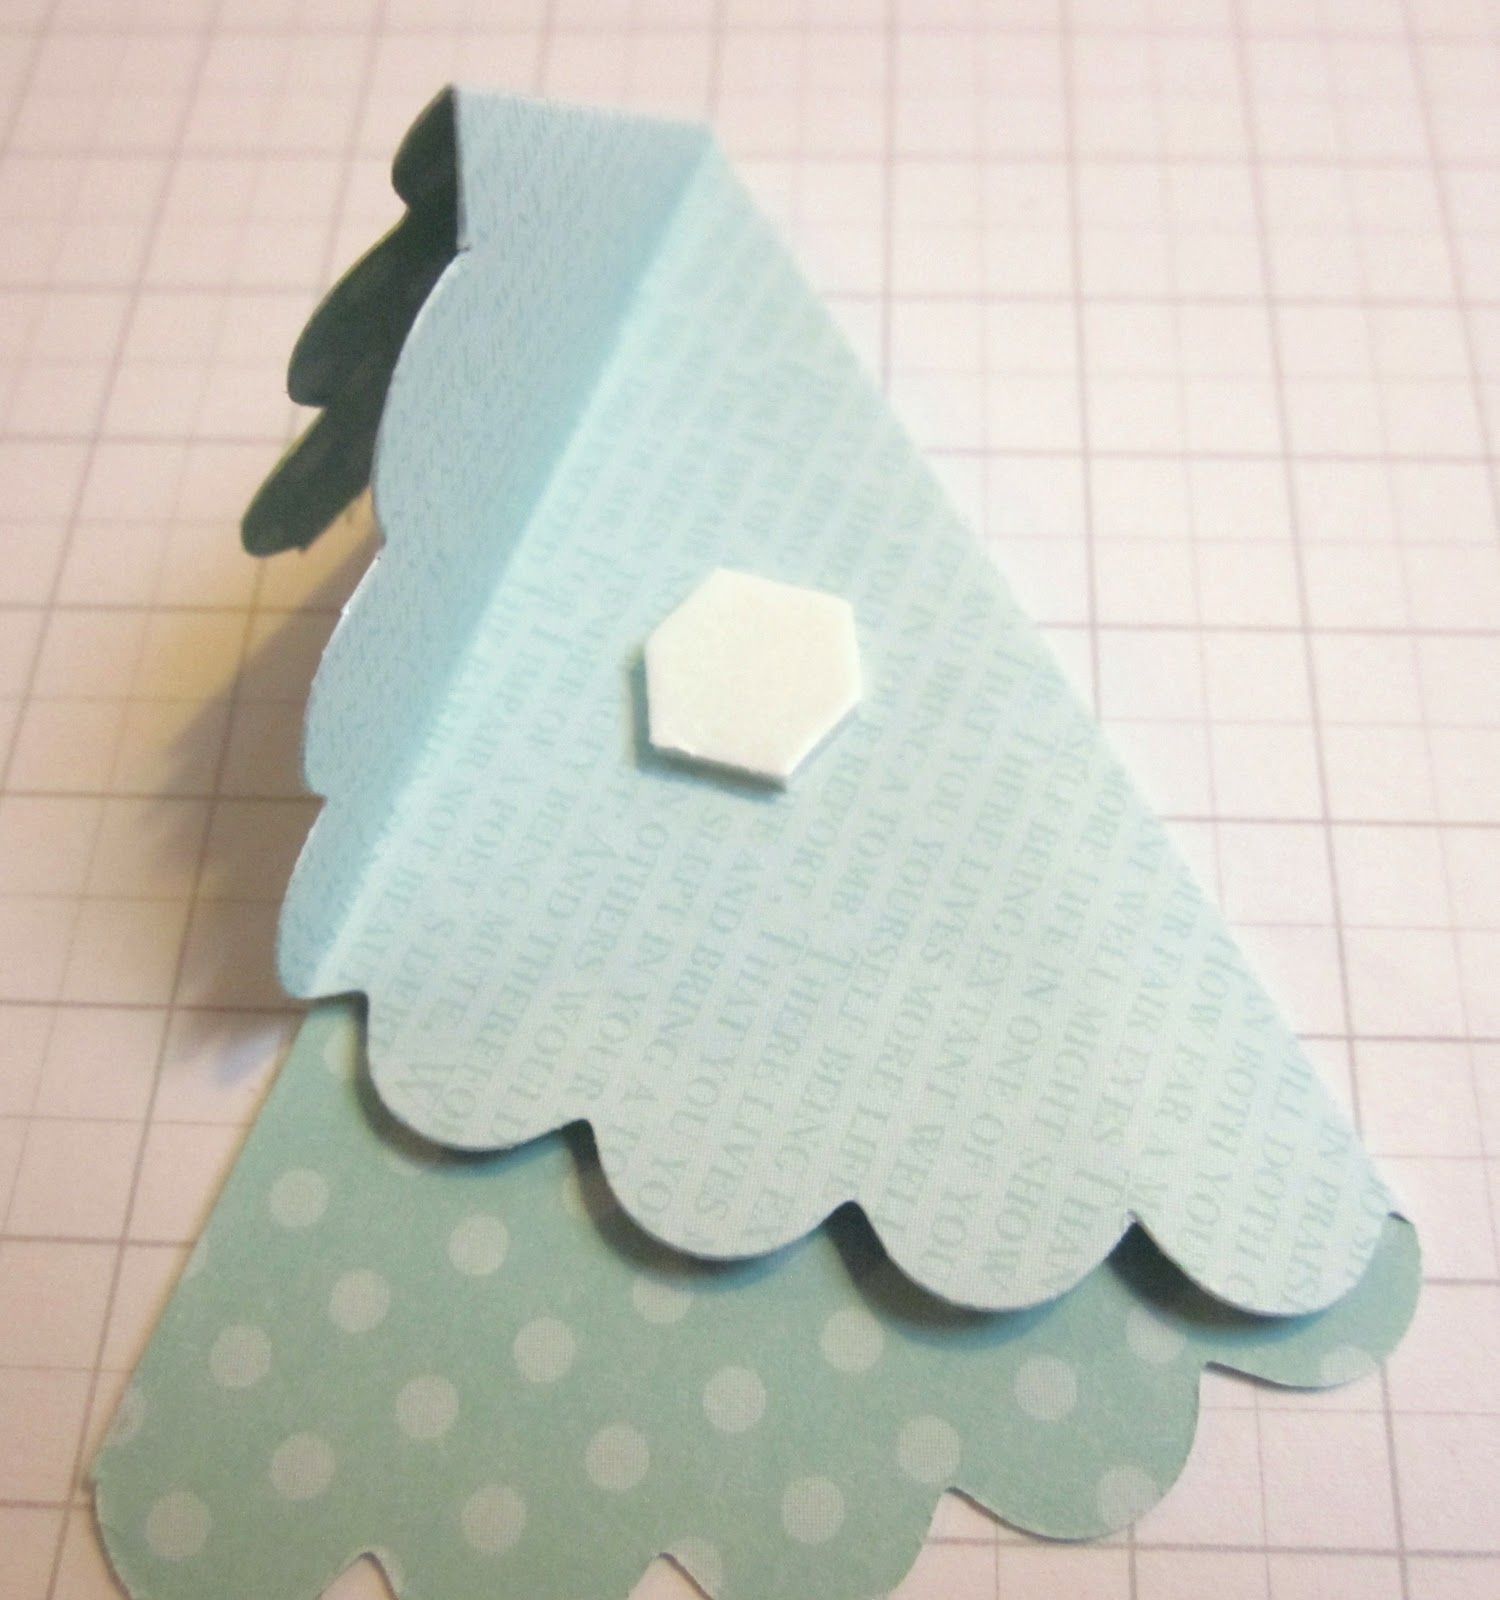
So, to begin with you need to cut your scallop circle in half, the easy way to find the centre is to gently fold in half and pinch at the top and bottom to mark, you need to do this at the lower point between the scallops,
Next, measure along the straight edge, again from the bottom of the scallop, to 3.4cm
Fold at this point ensuring the straight edges meet.
Next fold the smaller, top section towards yourself so the cut edge is parallel to the first crease.
Unfold the top folded pieces and then fold the lower larger section so the bottom cut edge runs along side the first crease.
Re-fold the top and that's it!
For the best look add dimensionals at the bottom edge of the scallops and add a dab of glue to the top point when you fold to secure.
Adhere to your card for a pretty Christmas feel, the pot was punched with the small tag punch and the background is stamped with Serene Snowflakes in Pool Party
Thanks for visiting today and I hope you have enjoyed this mini tutorial, if you have a go at making this I would love to see it :-)
Stampin' Hugs for today, 
Related Posts Plugin for WordPress, Blogger...