Showing posts with label Serene Snowflakes. Show all posts

Friday, 20 December 2013

Merry Christmas Teachers!

Hello there,
I hope today's post finds you all well? I am a lot earlier today (thank goodness! Do I hear?) but wanted to quickly share with you a simple gift for last minute giving and one I sent in with my children to school for their teachers this year :-)
**Just a note: All product links for items used will now at the bottom of each post :-)**
This Rhudolph in the dark has been done many times before so I don't claim any credit but I remembered I had a load of googly eyes from last Halloween I never got around to using so thought they would be perfect for making quick tags on  these gifts!
I got these festive take out cups free from the coffee shop when I purchased the Gift Cards...
 To decorate I simply bagged them up and made tags using White Craft ink to stamp the (retired) Serene Snowflakes (try Festive Flurry for a current alternative) onto Garden Green card which I had die cut using the Windows Frames framelits. I also die cut the "shop style" hole in the green card layer with the Chalk Talk dies.
I then added the sentiment from the Wishing You stamp set onto a smaller die cut piece of black card which I heat embossed with gold powder. 
Rhudolph was just a pair of the googly eyes with a red brad underneath ;-)
 I tied the cello bag with Cherry Cobbler bakers twine adding the last of my sweater trim from last year and a couple of jingle bells to the top before adding my tag.
 and inside the cup? Some choc's in the bottom, raffia layer with the Costa Gift card snuggled in! Just what a teacher (or most people!) could use, a bit of time out at Christmas!
Well, that's all from me for today. I'm off to wrap as I have tonight off of work for a change :-)))
Thanks for visiting today
Stampin' Hugs,
 
Products Used to create this project:

Saturday, 14 December 2013

Completed Milk Carton Bird Houses :-)

Hi there,
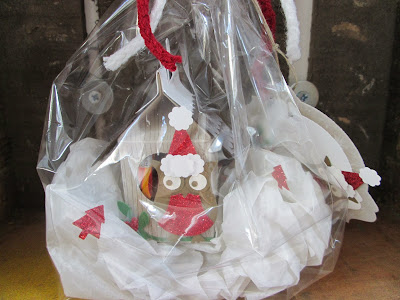
As I promised in my last post, today I am sharing the Bird Houses as hubby took them, all completed. I decided to make matching tags, again with Owls :-s and bag them up all decorated and pretty :-)
So, I started with the Deco Labels dies and stamped the Crumb Cake card layer using White Craft ink and (the retired) Serene Snowflakes again...
 adding another Owl  again accented with Red Glimmer Paper.
Go back to yesterdays POST to see all the ingredients you need to make the owl...
 and here the labels are all together :-)
 To complete these gifts I added them to a layer of white tissue paper "snow" in a Gusseted Bag (sold out from the clearance rack now, unfortunately) and added the tags with Linen Thread
 and to finish I added a few Glimmer paper punched trees to the snow :-)))
OK, That's all for tonight. 
I'll hopefully be back tomorrow afternoon with a new project to share with you.
Thanks, as ever, for stopping by today,
Stampin' hugs,
 

Thursday, 12 December 2013

Mini Milk Carton Bird Houses with Christmas Owls

Hello there, 
Hubby went on his work Christmas do today and he wanted a little something for the girls he works with so this is what I spent a whole day last weekend making ;-)
I started with the Mini Milk Carton Die, some Crumb Cake card {the Crease Pad makes this job a lot easier as the score lines are a lot less likely to cut right through ;-)} and of course the Big Shot!
Once cut I folded the score lines and then before assembling I stamped with the Woodgrain Background stamp.
Top Tip: This die cut carton is too big to stamp all in one go, I simply folded it in half and stamped twice, this also gives the added bonus of the woodgrain was going vertically as it would naturally :-)
 To make the roof I punched strips of Early Espresso card with the Scallop Edge Punch, then stamped the strips using White Craft ink and the (retired) Serene Snowflakes stamp set. A current set that would work could be Festive Flurry. Then I inked each edge, again with white craft ink, before glueing them first together and then to the milk carton sides. 
A torn white card strip makes the snow cap and when removed allows access to the goodies inside :-)
 Then I added a Punched Owl accented with Red Glimmer Paper to the front,
and sat him on a Gumball green branch made with the Bird Punch
 and Santa Owl was topped with a cute hat :-) 
 OK, I will share the finished bagged and tagged houses with you tomorrow but that's all from me for tonight.
I hope you liked today's treat holders and thanks as always for looking.
Stampin' Hugs,
 

Wednesday, 9 January 2013

Stovetop Pot-Pourri recipe with a little box tutorial too!

Hello there,
Today I have the gift we made for Christmas for the children's teachers and for our neighbours too, along with the tutorial I promised you for the box to put them in. 
We made the Stovetop Pot-Pourri after seeing it a lot on Pinterest.
 I adapted it slightly (just less cranberries really) so I had enough for everyone I needed with what I had :-) My recipe is a little further down this post or HERE is the original post....
So, this is what it looked like when I finished...
 I also dried some orange slices and made cinnamon tags too (simply apple sauce and dried cinnamon or I used in-expensive mixed spice, mixed together to make a dough and baked on a low heat in the oven) tied on with linen thread
 the pot-pourri consisted of a Cinnamon Stick, a level tablespoon of cloves, a whole orange and a handful of cranberries and a half a small or third of a large nutmeg which I simply crushed into chunks with a rolling pin. 
I had a pot on the go all over the holidays and the house smelt just like Christmas should! I will definitely be making this every year from now on. Oh how I love a new tradition ;-)
 Anyway, I wanted to send it in a little box, all decorated up and looking pretty so this is my other share with you for today ....
So, begin with an A5 piece of card (14.8cm x 21cm) score along the 14.8cm side at 4cm and 11cm
 then along the 21cm side at 4cm and 17cm
 now, before you crease the score lines stamp your design all over, I used Serene Snowflakes (retired) in white craft ink
 next re-enforce the score lines with your bone folder
 cut along the score lines as shown
 glue the end flaps you have created
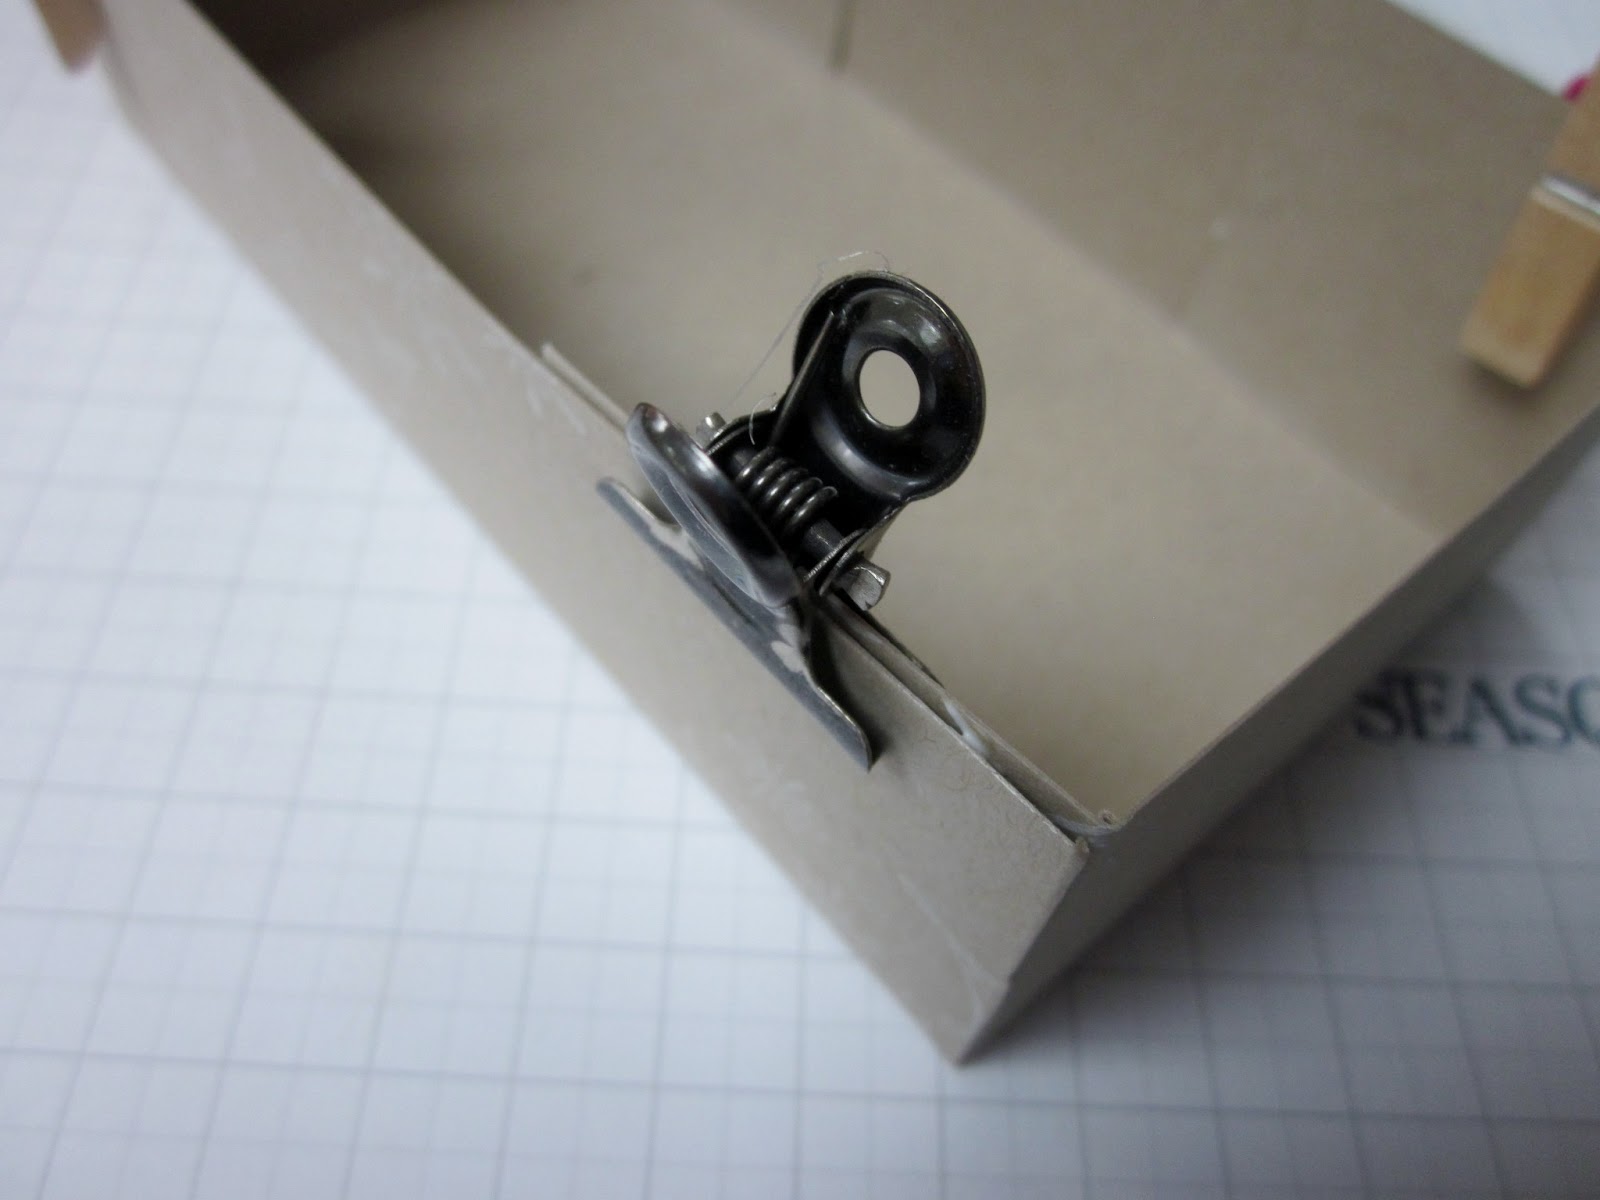
 and fold up to make the open top box, hold with a clip as shown 'till the glue dries
to give the back of the bags a bit of rigidity I added a large matching colour (crumb cake) card layer which I glued inside the box before adding the smaller and embossed (with the chevron folder ;-)) and a printed, die cut instruction layer to the outside of the box 
 and here it is from the front again.
Well, that's me again for the day, I have some more work to be done before fetching the kiddies from school,
Back soon with more goodies 
Stampin' Hugs from me for today,

Saturday, 15 December 2012

Mitten Christmas Trees

Hello there,
We made today's card at one of my stamp a stacks this Christmas. I just love using the border stamp from Make a Mitten to decorate the Christmas tree die cuts from Scentsational season, I think the tree is my most used die this Christmas card making season!!
Today's card uses a colour combo of Island Indigo, Pool Party and Midnight Muse with the balance of Crumb Cake and of course silver bling stars!!
Most of this card was stuck flat so it would post cheaply (always a factor nowadays ;-)) but we did have to add a bit of dimension to the little stars!
This card is a great way to use up the scraps of card you can never throw away too ;-)
Thanks for stopping by today, I'm off to visit FIL now and decorations are going up tomorrow too, very late for us this year but it we seem to get later and later every year!! 
Back tomorrow, I promise!
Stampin' Hugs,

Friday, 30 December 2011

Christmas Decor

Hello,
I had a great fun day yesterday, visiting the sales in town and browsing for a bit, it was chock-a though!!
Anyway, I had some lovely new Icicle lights in my kitchen this Christmas holidays and I thought they looked a little bare, so I decided to decorate them up a little, SU! styley ;-)
OK, I agree, not the easiest pic to see so here are some closer pics for you, you should be able to click on them for a closer look, they spell out "Merry Christmas" ;-)
So, to make I used the 1+3/4" circle punch and the NEW much larger (can't remember the exact measurement but I will check and add it later!) Scallop Circle punch to go around it! This fab punch is in the new mini catalogue, starting the 4th January, message me if you would like a copy of the mini for just £1 inc. postage!
Letters are from the on board chipboard, inked and finished with lashings of Crystal Effects for the shine!
Colours are Melon Mambo, Pear Pizzazz and Pool Party
Serene Snowflakes were stamped on the card scallops with Paper stack paper used for the circles, all tied on to the icicles with (retired) silver cord,
Well, I hope you like today's decor item(s), I will be back with more decorations for you tomorrow,
Have a fab day :-D
Stampin' Hugs,
Related Posts Plugin for WordPress, Blogger...