Showing posts with label Chevron Embossing Folder. Show all posts

Friday, 18 October 2013

Be Merry Tag to use those scraps ;-)

Hello there,
I am here today with another card using the Be Merry stamp but this time I wanted to use up some of those off cuts you get with the Paper Stacks. They are perfectly sized to use on a card front with just a bit of
trimming but we ended up with a lot of little strips after our 21 cards at my all day class, ;-)

So, this is what I made with some of those bits...
 I inked this tag heavily, in fact it was stamped onto white card but I'm not sure it shows after I got busy with my Crumb Cake ink and a sponge? I left the paper loop nice and loose, 
please scroll down to see my top tips for making your loop...
 Top Tip 1: This paper strip was already 1.5cm deep but around this size is fine, I trimmed it to approx 9cm long and added banner ends. Then ink well ;-)
 then I simply added glue at the ends only after gently rounding the centre with my bone folder
Adhere to to the centre of the tag and add pearls to decorate :-)))
Top Tip 2: At the bottom of the tag is "To" and "From" but, like yesterday, I inked with markers to miss this section out. This leaves the bottom (and top centre where I just popped the loop) a bit bare so I wanted to add a second strip of matching paper, 
As the die for the tag trims the edges off I hand cut out the tag but that meant the die was the perfect width to cut the paper, look!
Well, I hope you liked today's card and it's helped with a few ideas to use up some of those off cuts we all keep around?
Thanks as ever for stopping by today,
Stampin' Hugs, 
 

Saturday, 28 September 2013

Last Day (4) of Giggle Greetings

Hello,
This morning I have the first of my Kick Start Christmas classes but I just wanted to pop on here and share the last of my Giggle Greetings class cards with you. Today's card uses the cute dog image.
I used a colour combo of Crumb Cake and Tempting Turquoise and I think the turquoise really lifts this card turning it from very neutral to bright and cheery, just like the sentiment ;-)
 We stamped in Basic Grey and used Ink Pads and blender pens on watercolour paper...
 and the Chevron Embossing folder was used with some of the yummy Burlap Ribbon
 And here is the whole class together, if you want to see the other cards in closer detail please scroll down or click on the Giggle Greetings label at the bottom of this post :-)
OK, I'm off for now
Back tomorrow with the first of the cards from this weeks class,
'till then thanks for stopping by!
Stampin' Hugs,
 

Friday, 2 August 2013

Chevron Label Love

Hello there,
We made this quick and easy card at my last Stamp-a-stack and I think it is a great example of not needing a lot of products to make cute and stylish cards.
This one would work well for both men and women and of course you could pretty it up for a more girly look (perhaps with flowers or butterflies?) or man it up for a more masculine version (say with buttons or linen thread?)
But, this is the version we made at class using the new Smoky Slate (*heart*) with (my other fave) Summer Starfruit ;-)
 a close up of the Label Love stamp, we cut the punched label (behind stamped image) to show at the top and bottom
Right, that's it for today.
Thanks for stopping by :-)))))
For all new class details please follow
including my 
NEW ALL DAY KICK START CHRISTMAS CLASS 
coming at the end of September... 
Back soon with more,
Stampin' Hugs,
 

Tuesday, 2 July 2013

New catalogue launch day, a special offer on greetings, NEW best of butterflies stamp set and a little card for you too ;-)

Hello there!
And a very Happy new Catalogue day to you all!!
I am sooo excited to be sharing this with you all today, there are so many new and fab treats in there that I'm sure you will all be kept very quiet for the rest of the day ;-)
So, the new catty for you, 
Then call or email me with your order and I will be happy to help you get your goodies :-)
 OK, so how about a bit of cardy goodness too? Great!
We made this at my demo day last week using the new Tag a Bag kit and the Label Love stamp and punch combo too. I love the tangerine tango and basic grey colour combo
 with the stamp set..
 and as you can see lots of depth to this one! But the peg would have it sent as a large letter anyway so I figured I might as well go with it ;-)
 I hope you enjoy browsing all the new goodies on offer today! and of course if I can help you in any way please do contact me further (sarah-janerae@sky.com)
Thanks for stopping by today,
Stampin' Hugs,

Wednesday, 9 January 2013

Stovetop Pot-Pourri recipe with a little box tutorial too!

Hello there,
Today I have the gift we made for Christmas for the children's teachers and for our neighbours too, along with the tutorial I promised you for the box to put them in. 
We made the Stovetop Pot-Pourri after seeing it a lot on Pinterest.
 I adapted it slightly (just less cranberries really) so I had enough for everyone I needed with what I had :-) My recipe is a little further down this post or HERE is the original post....
So, this is what it looked like when I finished...
 I also dried some orange slices and made cinnamon tags too (simply apple sauce and dried cinnamon or I used in-expensive mixed spice, mixed together to make a dough and baked on a low heat in the oven) tied on with linen thread
 the pot-pourri consisted of a Cinnamon Stick, a level tablespoon of cloves, a whole orange and a handful of cranberries and a half a small or third of a large nutmeg which I simply crushed into chunks with a rolling pin. 
I had a pot on the go all over the holidays and the house smelt just like Christmas should! I will definitely be making this every year from now on. Oh how I love a new tradition ;-)
 Anyway, I wanted to send it in a little box, all decorated up and looking pretty so this is my other share with you for today ....
So, begin with an A5 piece of card (14.8cm x 21cm) score along the 14.8cm side at 4cm and 11cm
 then along the 21cm side at 4cm and 17cm
 now, before you crease the score lines stamp your design all over, I used Serene Snowflakes (retired) in white craft ink
 next re-enforce the score lines with your bone folder
 cut along the score lines as shown
 glue the end flaps you have created
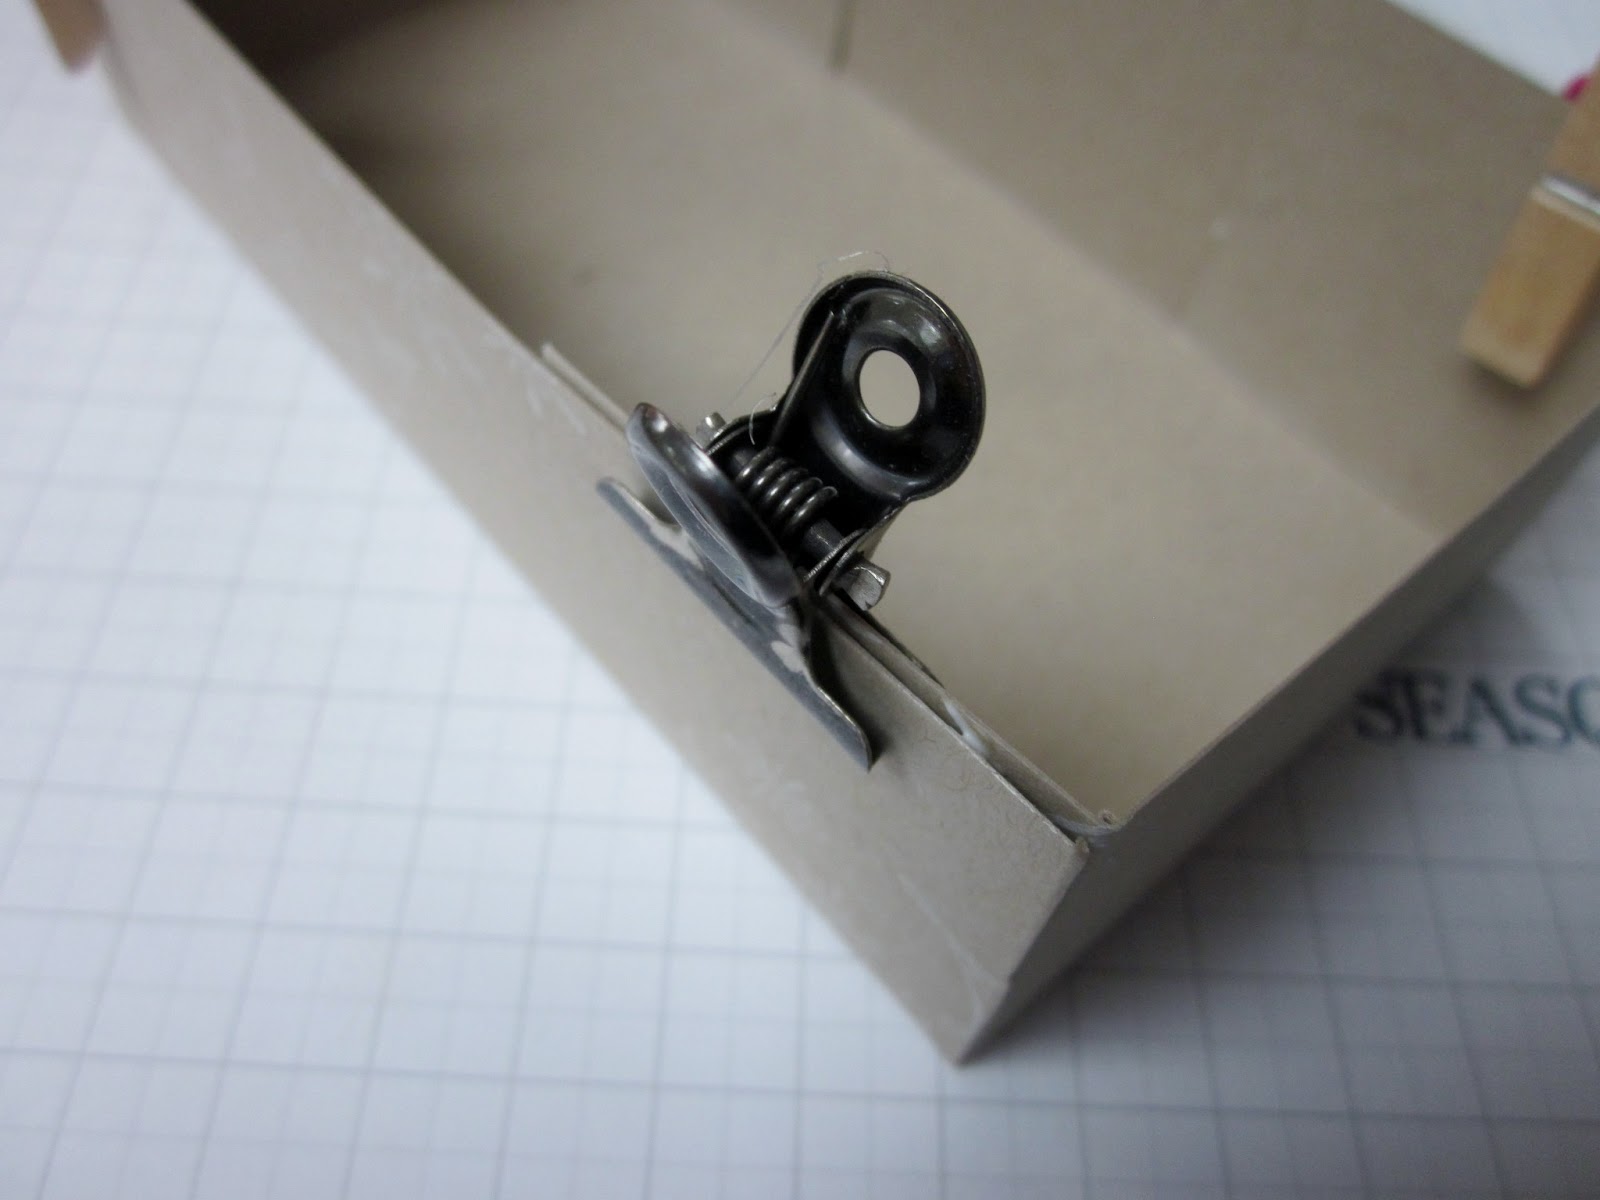
 and fold up to make the open top box, hold with a clip as shown 'till the glue dries
to give the back of the bags a bit of rigidity I added a large matching colour (crumb cake) card layer which I glued inside the box before adding the smaller and embossed (with the chevron folder ;-)) and a printed, die cut instruction layer to the outside of the box 
 and here it is from the front again.
Well, that's me again for the day, I have some more work to be done before fetching the kiddies from school,
Back soon with more goodies 
Stampin' Hugs from me for today,

Tuesday, 30 October 2012

Toxic Treats Tic Tac Holder FREE Tutorial

Hello there,
I'm here today with the tutorial I promised you making a Tic Tac holder for Halloween. I just love Halloween, it's second only to Christmas in our house but unfortunately the weather forecast is predicting rain tomorrow, boo! Fingers crossed they are wrong eh??
So, the tutorial. By following this tutorial you can get 6 of these holders from one A4 sheet of card (I used Old Olive card for these) so it's quite economical which is always good when you have a lot to make! 
So, let's begin by cutting your card down the length, in half at 10.5cm and then cut each piece into 7.5cm sections
 Score at 4.5cm and 6cm along the 10.5 side as shown here
 Next I stamped the gate from Toxic Treats in Old Olive ink onto what will be the front of the holder
 Then embossed with the Chevron Folder, you can get 2 in the new bigger folders if you are making a batch
 This is what it looks like when embossed
  stamp the gate again but in Staz On on to white card this time
 Punch out with the 1+3/4" circle punch
 then ink all the edges and crease lines with Basic Grey ink and a sponge for a spooky effect
 add a small piece of red line tape to the centre front 
 and add a 45cm piece of ribbon to the tape, ensuring the centre of the ribbon is positioned in the middle of the centre scored section
 add some dimensionals to the back of the punched gate image
 and adhere over the ribbon, lining up the image 
 adhere the tic tac's to the inside with more red line tape
 finish by tying the holder closed using the ribbon
and here are some of them together, they really didn't take very long at all and I will definitely be making more for Christmas ;-)
 Well, I hope you have enjoyed this little tutorial and if you have a go at making some then please remember to share them with me, I love to see what you make ;-)
Stampin' Hugs from me today
Related Posts Plugin for WordPress, Blogger...