Hello there!
Today I have a card and another little tutorial to share with you! Whoop whoop!
We are taking the children to Disneyland Paris in February for a (very) mini break and seeing as we booked it so close to Christmas we decided to let them know on Christmas day ;-) So for that I needed a card!
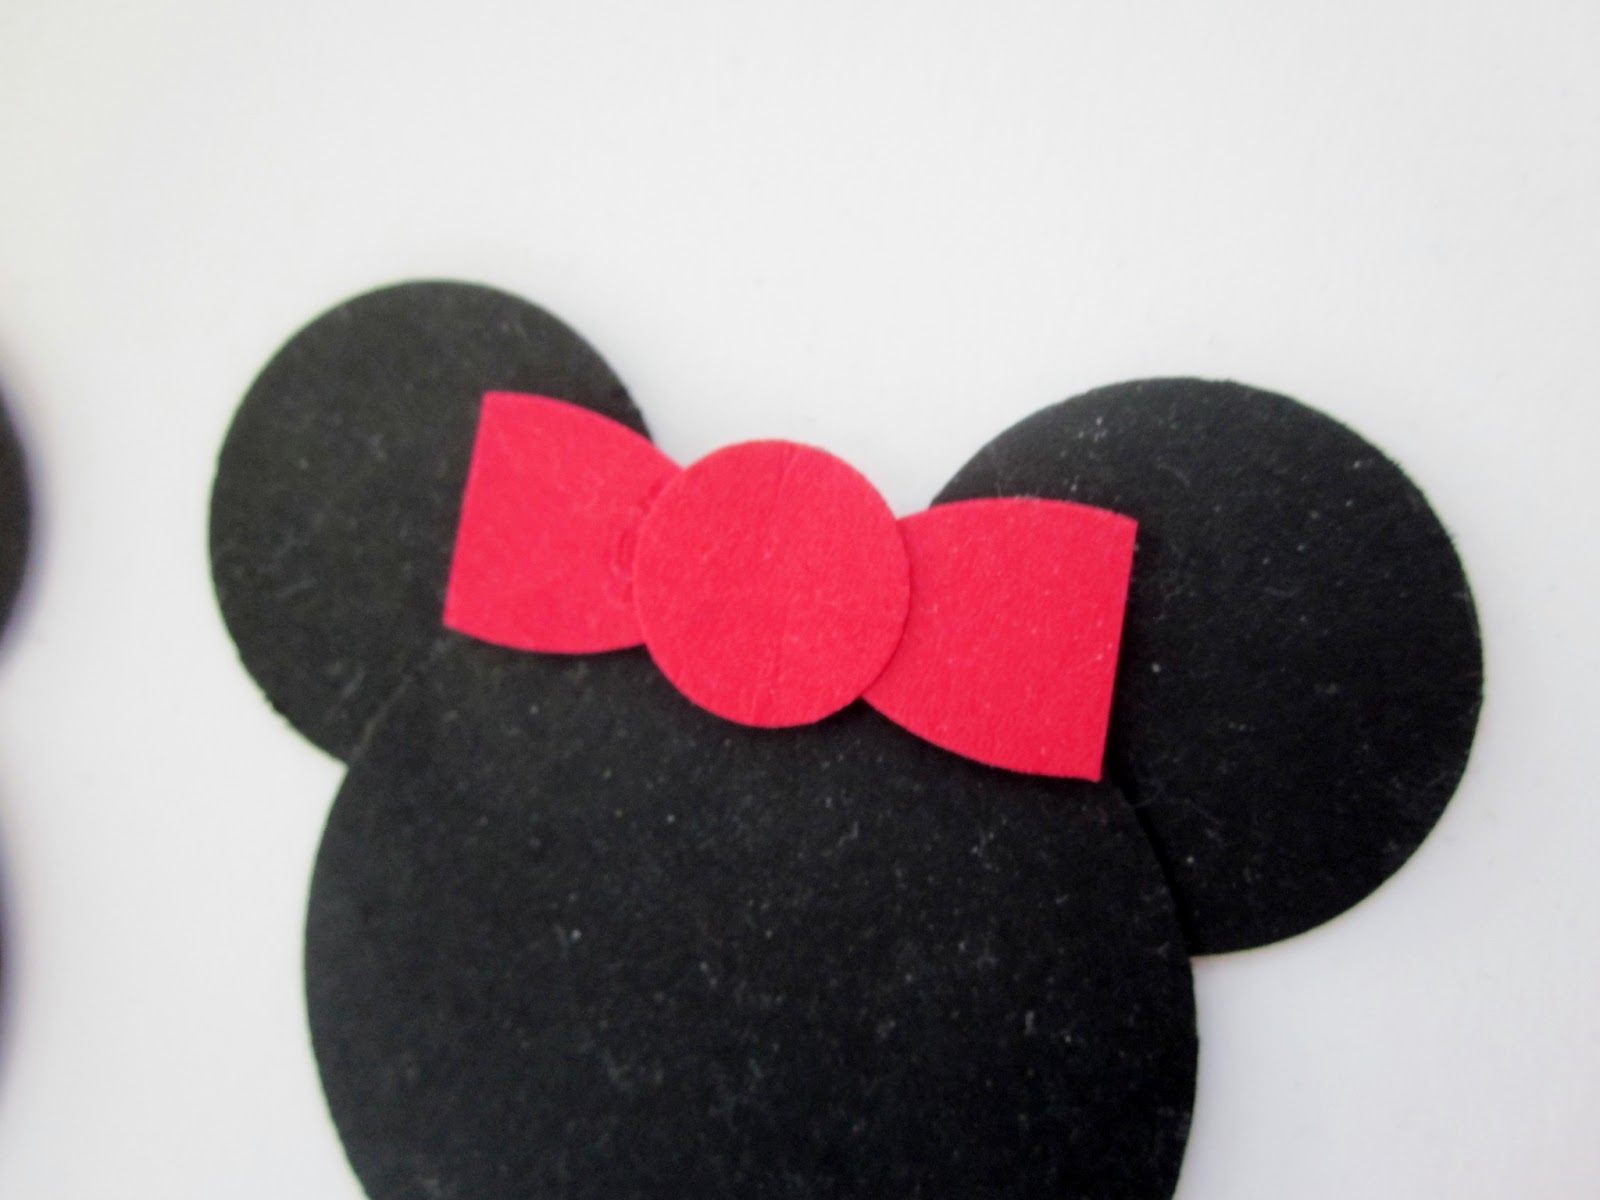
I went with a simple Mickey and Minnie design
close up of Minnie's hair bow,
This ribbon is retired but it's just so perfect for Disney don't you think?
and inside I printed a simple message explaining what the card was for.
Zack did a funny dance when he read it and Zoe kept saying she couldn't believe it and thank you!! (Josh already knew as he was there when we booked it ;-))
So, to make your very own Mickey and Minnie punch art this is what you will need;
Circle punches:1+3/4", 1", and 1/2" plus the (retired) 5 petal flower punch
to make the bows punch a petal for each side
and glue to the reverse of a 1/2" circle, perhaps a bit neater than I did though ;-)
Simples!
Well, I hope you like today's card and the little tutorial is a bit of help to someone out there in blogland :-))))
Thanks for stopping by today
Stampin' Hugs,


Love it Sarah-Jane - well done you. Glad the kids are happy about the trip! x
ReplyDeleteReally love this idea of using the punches,so simple but extremely effective.
ReplyDeleteSuch a cute card and a wonderful way to present the trip! Our girls LOVED Disney! Such a fun place!!
ReplyDeleteHow fun!
ReplyDeleteThanks for sharing this adorable card! I CASED it and posted the CASEd card on my blog (and, of course, gave you credit). You can see it here, if you're interested: http://stampin-with-sue.blogspot.com/2013/06/disney-mickey-and-minnie-punch-art-card.html
ReplyDelete