Thursday 28 March 2019

Fable Friends Bunny with Floral Headband

Hello!
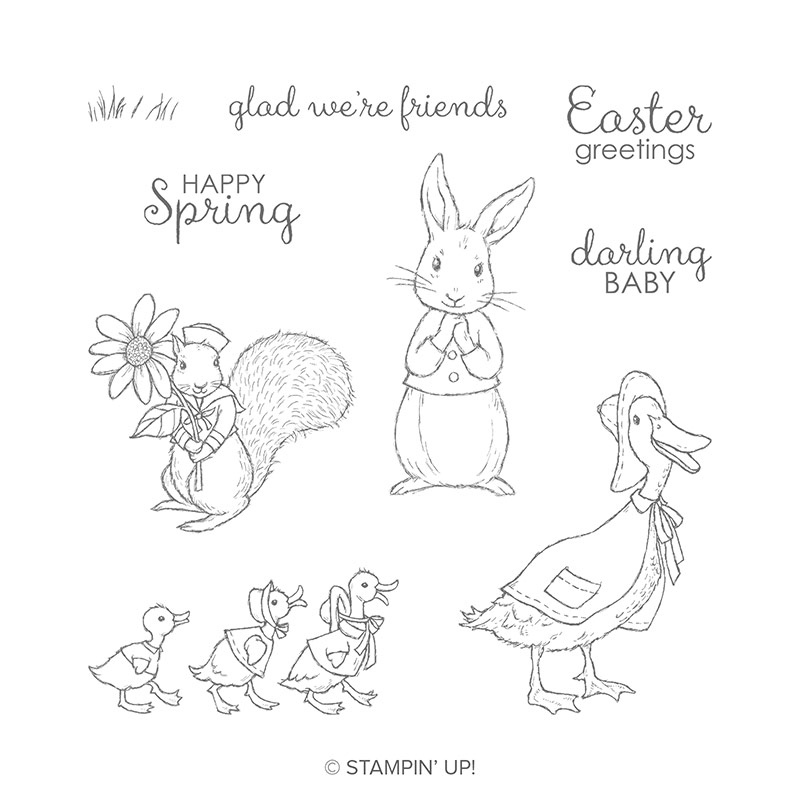
Today's card uses the Fable Friends stamp set again and this time I couldn't resist making a Bunny with a floral headband! I loved this idea when I saw a card using this by Nicole Kunzig on Instagram (search: wertschatz to find her) and just had to make one! So here it is...
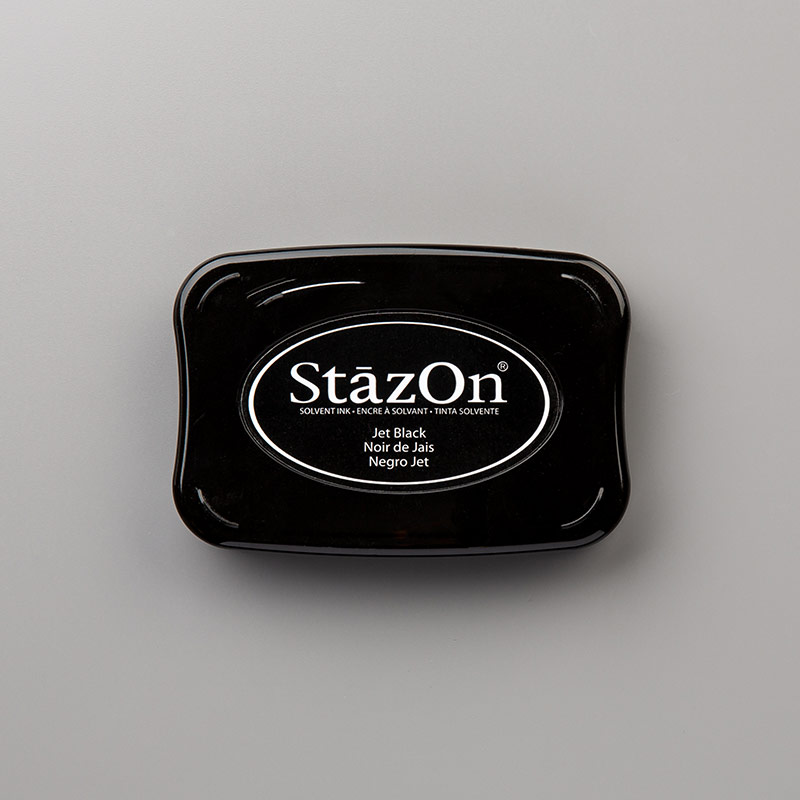
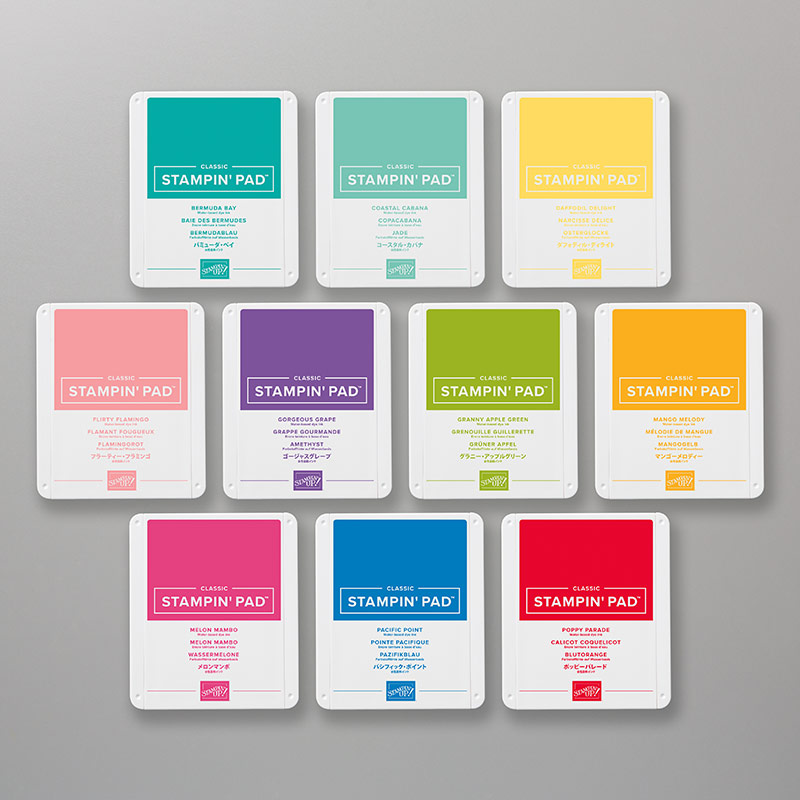
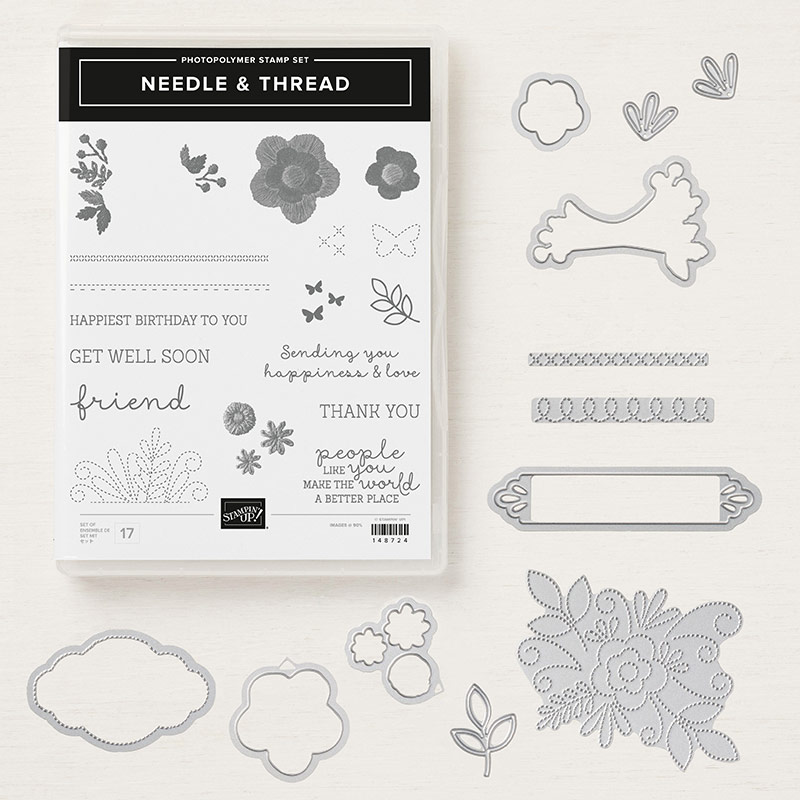
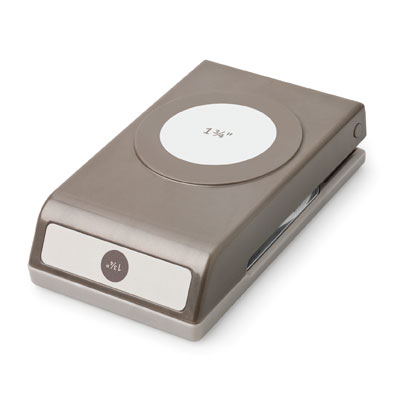
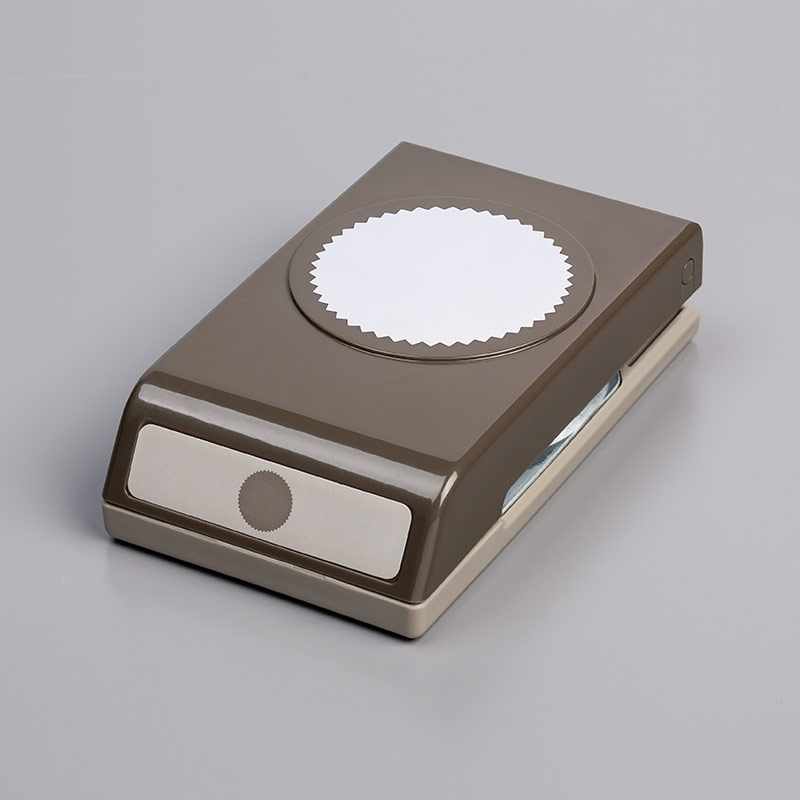
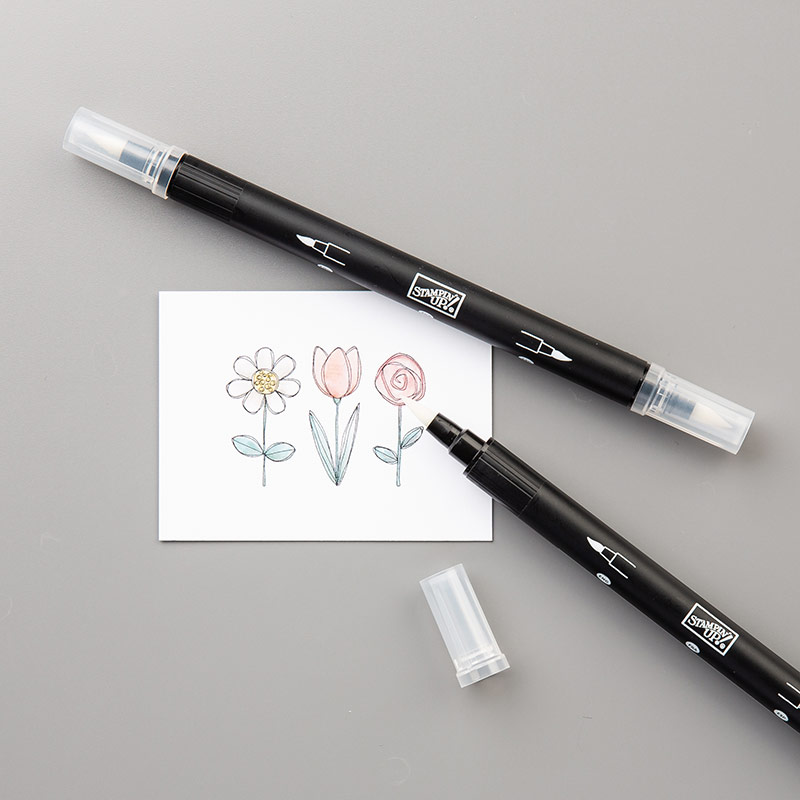
 I stamped my bunny using staz on ink onto watercolour card and coloured her in with a blender pen and ink pads, adding the flowers in Flirty Flamingo and Grapefruit Grove using a retired punch but (I thought later) I could have use flowers from the Needle and Thread framelits :-)
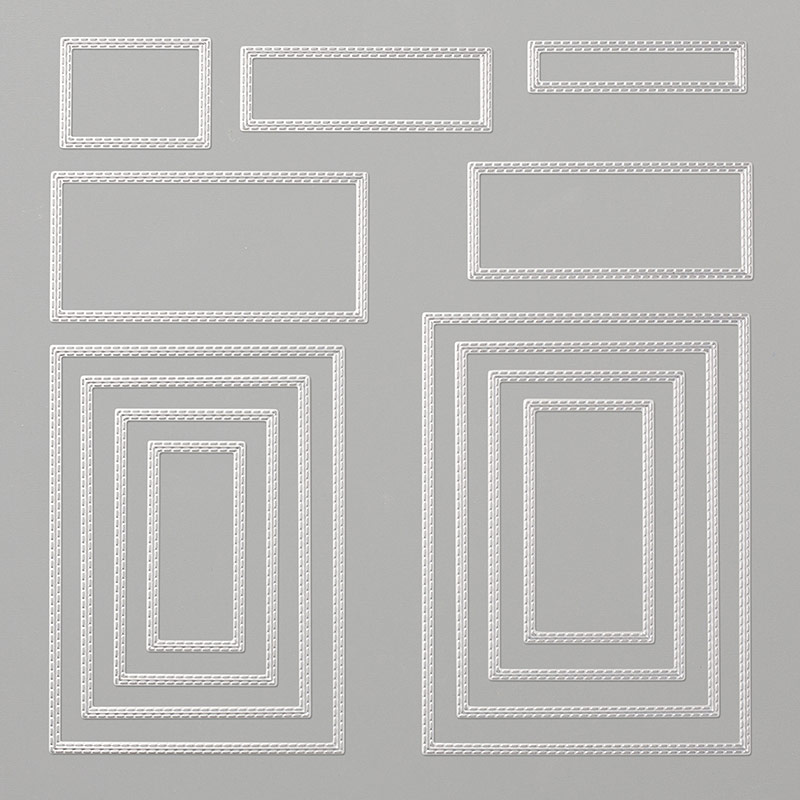
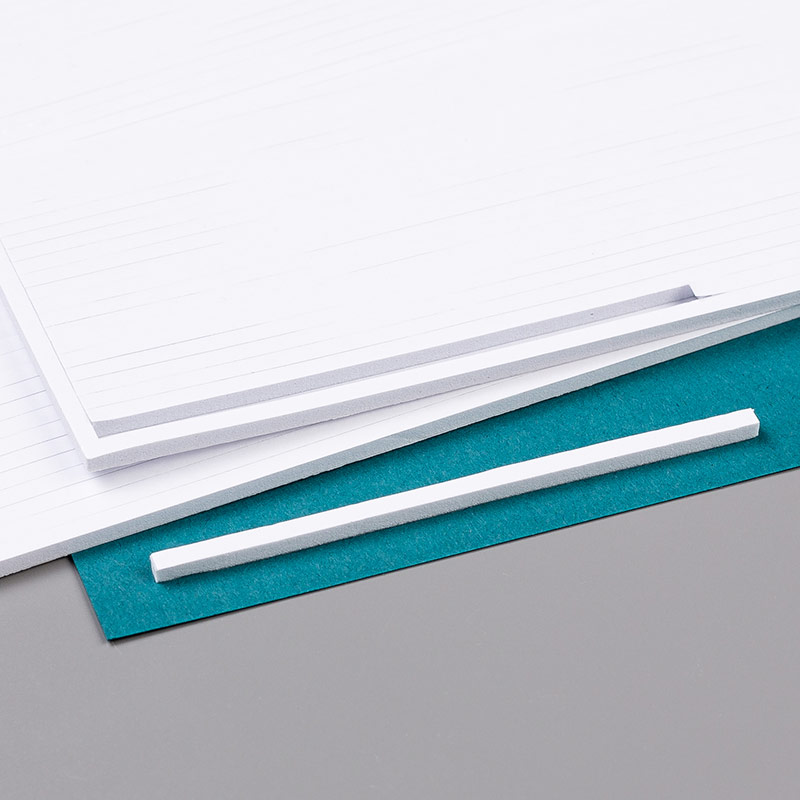
 I added a cute frame made with the stitched rectangle dies and popped it up for speed with foam strips, they are so quick and easy!
I finished it with a layered and heat embossed birthday sentiment so of course I just had to give this card to my daughter for her birthday!
Well, I do hope you liked today's card?
Just a quick reminder before you go that Sale-a-Bration finishes in just a few short days (31st March) so if you are thinking of joining SU! or just want to make the most of a free gift with every £45 spent (and why not?) then remember to order/join soon ;-)
I'll be back soon with another make but 'till then, happy stampin'
      Shop Online With ME!
Host code for March spends over £25 and under £150 is FKNZJAWT  

Stampin' Hugs,

Wednesday 20 March 2019

Fable Friends for Inspire. Create. Challenges

**EDIT** Well, didn't I make a giant mess up of this post? This was supposed to post on the 20th March but I managed to post it on the 14th and unfinished post at that! *facepalm*
So, as so many have seen it already I'm just going to leave it at the top of my blog until the 20th and apologise profusely to my teammates! I do hope you'll head over to the ICC blog and see their inspiring makes today too! xx
Hello there,
Today I have a card that we made at class this week using the Fable Friends stamp set which ties in (loosely) with the theme at Inspire. Create. Challenges theme of "Pets"
As I don't really have any pet stamps I figured this little duck would work well as lots of people keep ducks as pets, right?
 I stamped the image with staz on ink onto watercolour paper before colouring with blender pens and ink pads. You could also stamp with memento ink then heat with clear embossing powder, if you don't have staz on, before watercolouring.
 I added gingham papers across the bottom of the card and a few little hearts from the Forever Lovely stamp set.
TIP: For stamping onto textured watercolour paper a stamparatus is perfect so you can restamp a couple of times to get a good, clear image.
I hand cut the duck, adding her to a velum oval and finishing with a sentiment also from the Fable Friends stamp set, layered onto a Pretty Label punched tag.
So, I hope you have enjoyed today's post whether this is the first or second time you have seen it!
More ideas for cards with the "pets" theme on the ICC blog. Please do join us with your pet makes this fortnight :-)
Happy stampin'
Shop Online With ME!
Host code for March spends over £25 and under £150 is FKNZJAWT  

Stampin' Hugs,

Wednesday 13 March 2019

Needle and Thread Shaker Card

Hello!
Yesterday I realised I literally have so much to share with you that I simply *have* to get my behind into gear and blog some of my makes - so here I am! Lol!
I really love this little card, it's a shaker card (something I haven't made one of for ages) but it's a flatter version using vellum and the fab-u-lous stitched rectangle dies, I have already used these so much!
I added a stack of the flowers from the Needle and Thread stamp set in the corner of the frame.
TIP: To get a great image with these clever distinktive stamps you need a light covering of ink on them. Simply press the ink back into your pad (using a bone folder or the back of a spoon) before inking the stamp like usual.
I chose vellum for this shaker front so I could use the stitched effect background die from the Needlepoint dies (available in the Needle and Thread bundle, saving 10%) on it. It's so pretty IRL and I do hope you can see it here.
I used some (retired) sequin and pearl mix from my stash. They are small and mostly flat so perfect for this style of flatter shaker - you could use some of the current iridescent sequins though.
I added a twist of old olive twine, which I can't seem to get enough of either right now, it just seems to work perfectly on everything!
OK, so that's all from me for today and I'll definitely be back tomorrow with another of my many makes!
Thanks for looking today :-)
      Shop Online With ME!
Host code for January spends over £25 and under £150 is FKNZJAWT 

Stampin' Hugs,

Saturday 2 March 2019

Treat Bags with All The Good Things toppers!

Hello,
Today I have a cute little gift idea for you! I like to make these as the perfect little treat for a birthday tea table or just to gift to work colleagues or even just to say thanks for visiting! I used the lovely small Koi fish stamp from the "All The Good Things" stamp set. This is a 'distinktive' rubber stamp set, meaning you get this beautiful colour variation on the image by simply inking in the usual way! It's so pretty and easy to do too!
TIP 1: If you are having trouble getting a good image with a distinktive stamp (or indeed any other detailed stamp) try pressing the ink down into your ink pad with a teaspoon or bone folder as too much ink can make the image blotchy. Also this way the ink is depressed into the pad and not wasted, too.
I used clear card bags (usually used for protecting your cards) which I simply trimmed down to make them a bit shorter before adding a few yummy treats and tied together with some Fresh Fig cotton ribbon (retired) but you could easily use the mini ruffled ribbon in Fresh Fig instead ;-)
 I added these stamped and punch toppers with double sided tape but if you have trouble getting the tape to stick to your clear bags you could...
TIP 2: staple the gold glimmer paper to the cello bag before filling and tying then add the stamped topper with a dimensional.
TIP 3: I also rolled the plain circle in the Fresh Fig ink pad to make it pop on the gold glimmer paper! This is really great idea for if you don't have that 'in between punch' or you simply don't want to add an extra layer ensuring you can still see plenty of the gold glimmer, like here.
So, that's all from me for today. I'm working this morning and now we have found ourselves with a load of jobs to get finished today and tomorrow morning ;-)
I hope to craft tomorrow evening and I do hope you get time this weekend to do what you love too!
Thanks so much for looking today, I really appreciate that you keep visiting x
      Shop Online With ME! 
Host code for January spends over £25 and under £150 is CAVYBE77 

Stampin' Hugs,

Related Posts Plugin for WordPress, Blogger...