Sunday 28 April 2013

Hearts a Flutter for Males

Hello there,
As promised yesterday I have the first card from this weeks class to share with you today.
We are using the fab Hearts a Flutter bundle in class this week and I have made l-o-a-d-s of cards with this bundle, it's just so versatile!!
So, this card uses the World Spectacular DSP for some of the banners, some are stamped, some just die cut, I also used my Finishing Touches Edgelits along the top and bottom of the crumb cake layer, note to self: need to use these more!!
 Some punched tickets and Natural trim ribbon decorate these banners. You can also see we stamped the corners using the Itty Bitties stamp set using Versamrk
 and antique brads, punched stars and a button for these ones
Well, I hope you like today's card and if any of you local (Dibden Purlieu, Southampton) ladies or gents would like to join us at a class then please email me for details :-)
Stampin' hugs for today

Saturday 27 April 2013

Clockworks

Hello there,
I had a lovely class this morning but I still have a couple of cards from last class to share with you! I will be sure to get todays pics edited this afternoon and share them with you starting tomorrow though.
I do still have a couple of spaces left for Wednesday's class so if you fancy a couple of hours "me" time message me to join us :-)
So, onto the clockworks card...
We used a colour combo of soft Suede, Crumb Cake and Not Quite Navy
Layered clock face
 and plenty of spritzing with the soft suede marker
Right, short and sweet today as I have a poorly boy still :-(
Back tomorrow with more
Stampin' Hugs for today

Thursday 25 April 2013

Just Married for birthdays!

Hello there,
I love this set in the Spring/Summer catty but I also realise that most folks don't attend that many weddings. Like most people, when I buy a stamp set I want to be sure to get my moneys worth from it so decided to make an emboss resist birthday card using the very lovely Just Married set...
I used a non-traditional weddingy colour combo of Old Olive, Elegant Eggplant and Melon Mambo
 I stamped the cake using versamrk, heat embossed it with clear powder and added the Melon Mambo ink with a dauber. Itty Bitty flowers filled with glitter finish across the front
 and a funky looking (retired) satin ribbn bow tops this card off
Well, that's all for today, back soon with more and if you would like to come along to my next class on Wednesday (1st May!)I still have a couple of places left, message me for details sarah-janerae@sky.com
Thanks for visiting me today :-)
Stampin' Hugs, 

Tuesday 23 April 2013

Summer Silhouettes

Hello there,
This is another card from last weeks stamp-a-stack class in a classic colour combo but with a twist of Summer Starfruit, I love it with Sahara Sand and Black, it's a colour combo I have used before and a firm favourite as I just think it is so elegant...
 The leaves are from Summer Silhouettes stamped in Black staz on and teamed with the smaller flowers from the Boho Blossoms punch and the flower punch from itty bitty with pearls centres, they were scrunched after being spritzed with shimmer spray. I also added a vintage faceted button for a bit of sparkle ;-)
and a strip of black scallop dotty ribbon finishes the bottom off nicely! 
Sentiment is from the retired set thank-you kindly
OK, that's all from me for today, thanks as ever for stopping by, I love it that you do :-))))))
Back soon with more!
Stampin' Hugs, 

Thursday 18 April 2013

Fabulous You!

Hello there,
I have the first card from this weeks stamp-a-stack class to share with you today. Contact me for directions and information for the next one, we would love to see you here!
 We used the cute Fabulous You stamp set for this card, such a great value set at just £9.95 in clear or £12.95 in wood! I decided to use a Pool Party and Grey colour combo for this card with plenty of bling of course ;-) Love that sentiment too!
 We added the shoe with dimensionals but glued down the heel as it was just too thin after cutting it out by hand, which really was not as bad as the ladies thought at first sight!
 and a touch of grey ribbon with the pool party one finishes off the bottom edge
OK, that's me for today, back soon with more cardy goodness. 
Please Message me if you would like to order this stamp set or any other SU! products, just £4.95 delivery for any size order delivered anywhere in the UK.
Thanks for looking today
Stampin' Hugs,

Tuesday 16 April 2013

Butterflies card from class and the NEW Colours

Hello,
Today I had my last of this weeks stamp-a-stack classes and what a fun time it was! It was full of laughter and cards (of course) but before I share any of the cards we made at this weeks class I still have one to share from last weeks! It was a class using dies and we have already seen the mannequin and the flower cards we made but I am a bit slow at updating the ole' blog again, soz!
So, the card uses the bigz beautiful butterfly die with the lovely Tea for Two DSP. Now, SU! are having a colour re-jig and we are unfortunately losing Not Quite Navy, I am going to miss this one, I have been using it a lot lately!!
   I have used Vellum card with the Lacy Brocade embossing folder to make the top layer and simple NQN card underneath, curled with a bone folder. The bakers twine is in Island Indigo.
 and of course we will also be losing this NQN taffeta ribbon too, topped here with Vintage faceted buttons.
 and here are all the cards from class together, is it wrong of me to say I really loved this class?? ;-)
and here is the list of colours that are retiring plus those which will be staying or returning and even some brand spanking new ones! I can't wait for the pale grey (smoky slate) and I'm thrilled that Pool Party and Calypso Coral are staying!
Right, that's all from me for today, I hope you have enjoyed the card and I'll be back soon with this weeks class to share with you.
Thanks for stopping by today :-))))
Stampin' Hugs,

Thursday 11 April 2013

Fabric Flower Basket

Hello there,
Before I share today's project with you can I just remind you that I have just 2 places left on my Stampers 6 club starting this NOW. 
For lots more info take a peek HERE and HERE
It's just a 6 month commitment and for one (or more) of those months YOU get to be the hostess with all the benefits that entails. 
**Plus a special kit just for my club members designed by me exclusively for you and sent along with your order! **
MESSAGE ME today to reserve  your place in this club!
So, today I have something a bit different for you. I was looking back over some of my photos and realised I had yet to share this with you!
I saw these baskets and thought they were just perfect for jazzing up!! I made this one for a friends birthday last year using the Flirtatious and Twitterpated fabrics which can be found HERE in the main catty.
 Love this Twitterpated fabric I used for the flowers, the flower die is the ever wonderful Fun Flowers die, I think I might need a play with it again soon after seeing this ;-)
 and the Flirtatious fabric butterfly, this is the Beautiful Butterfly die with a vintage faceted button centre
Right, I'm off for today, I have lots of projects half finished right now and I had to head to the supermarket this morning with all 3 kids! Gee, it was easier when they were small enough to sit in the trolley than it is now! Amazing, I thought it would get easier when they were bigger but I think it's actually harder going on this mornings production!! Lol! ;-)
Right, thanks for looking today. 
Back soon.
Stampin' Hugs,

Wednesday 10 April 2013

18th birthday with Stampin' Up's Blue Ribbon and World's Greatest stamp sets

Hello there,
I was recently asked by a friend to make a card for her son's 18th birthday and as I had just got my hands on this cool Blue Ribbon stamp set I went with it, nothing like new stash to inspire huh?
Anyway, I decided to use the papers designed to go with this set (World Spectacular) I was really pleased with how it came out, simple but stylish, a perfect man's card...
 I stamped each layer of the rosette onto crumb cake card, punching out the top scallop circle and adding a red centre, layering them all up with dimensionals. The '18' was die cut using the (retired) Timeless Type dies, I also stamped them with the congratulations stamp designed for the tails.
 I used my trusty Stamp-a-Ma-jig to position this sentiment as I only had just 6"x6" piece of this paper so couldn't afford any mistakes! 
 I also added a stamped off image inside to tie it in
 and an arty angle to finish, plenty of depth to this card, just how I like it ;-)
OK, I'm off as I have lots of card ideas buzzing round today!!
Back soon with more :-))))
Stampin' Hugs from me for today

Tuesday 9 April 2013

NEW Stampers Club begins in April!!

*STICKY POST, PLEASE SCROLL DOWN FOR NEW IDEAS**
Hello there,
I am here today to tell you all about my NEW Stampers 6 club which will be starting next month!
I don't know about you but I still have so much I "need" from the New Spring/Summer Seasonal catalogue and that's not forgetting the things I still want from the main catty of course! That's why this club is just a fab way to get what you want a bit at a time, let me tell you some of the great reasons to join this new club...

*The NEW Spring/Summer Seasonal Catalogue is choc full of fab products and ideas and I will send you your very own copy as well as the main catalogue, sent FREE to you!  
* I am committed to giving you all great customer service which means placing your orders with SU! promptly (as soon as I have received every ones order each month) and posting the said order out to you again asap :-) 
*This club is a great way to build up your SU! stash a bit each month with the added benefit of being the hostess for one of the months too.
*You will receive the fab free card kit each month in with your order, just like if you attend a workshop with me, plus occasional bonus freebies too ;-)
*Exclusive access to the club members only blog, with tutorials first for you.
*Postage at cost with no post charged from SU! to me (saving you £4.95 a month between you).
*Plus, I am available to help with any problems or queries you have regarding SU! whenever you need me :-).
If you have any questions regarding this club or placing an order then please feel free to contact me for a chat sarah-janerae@sky.com
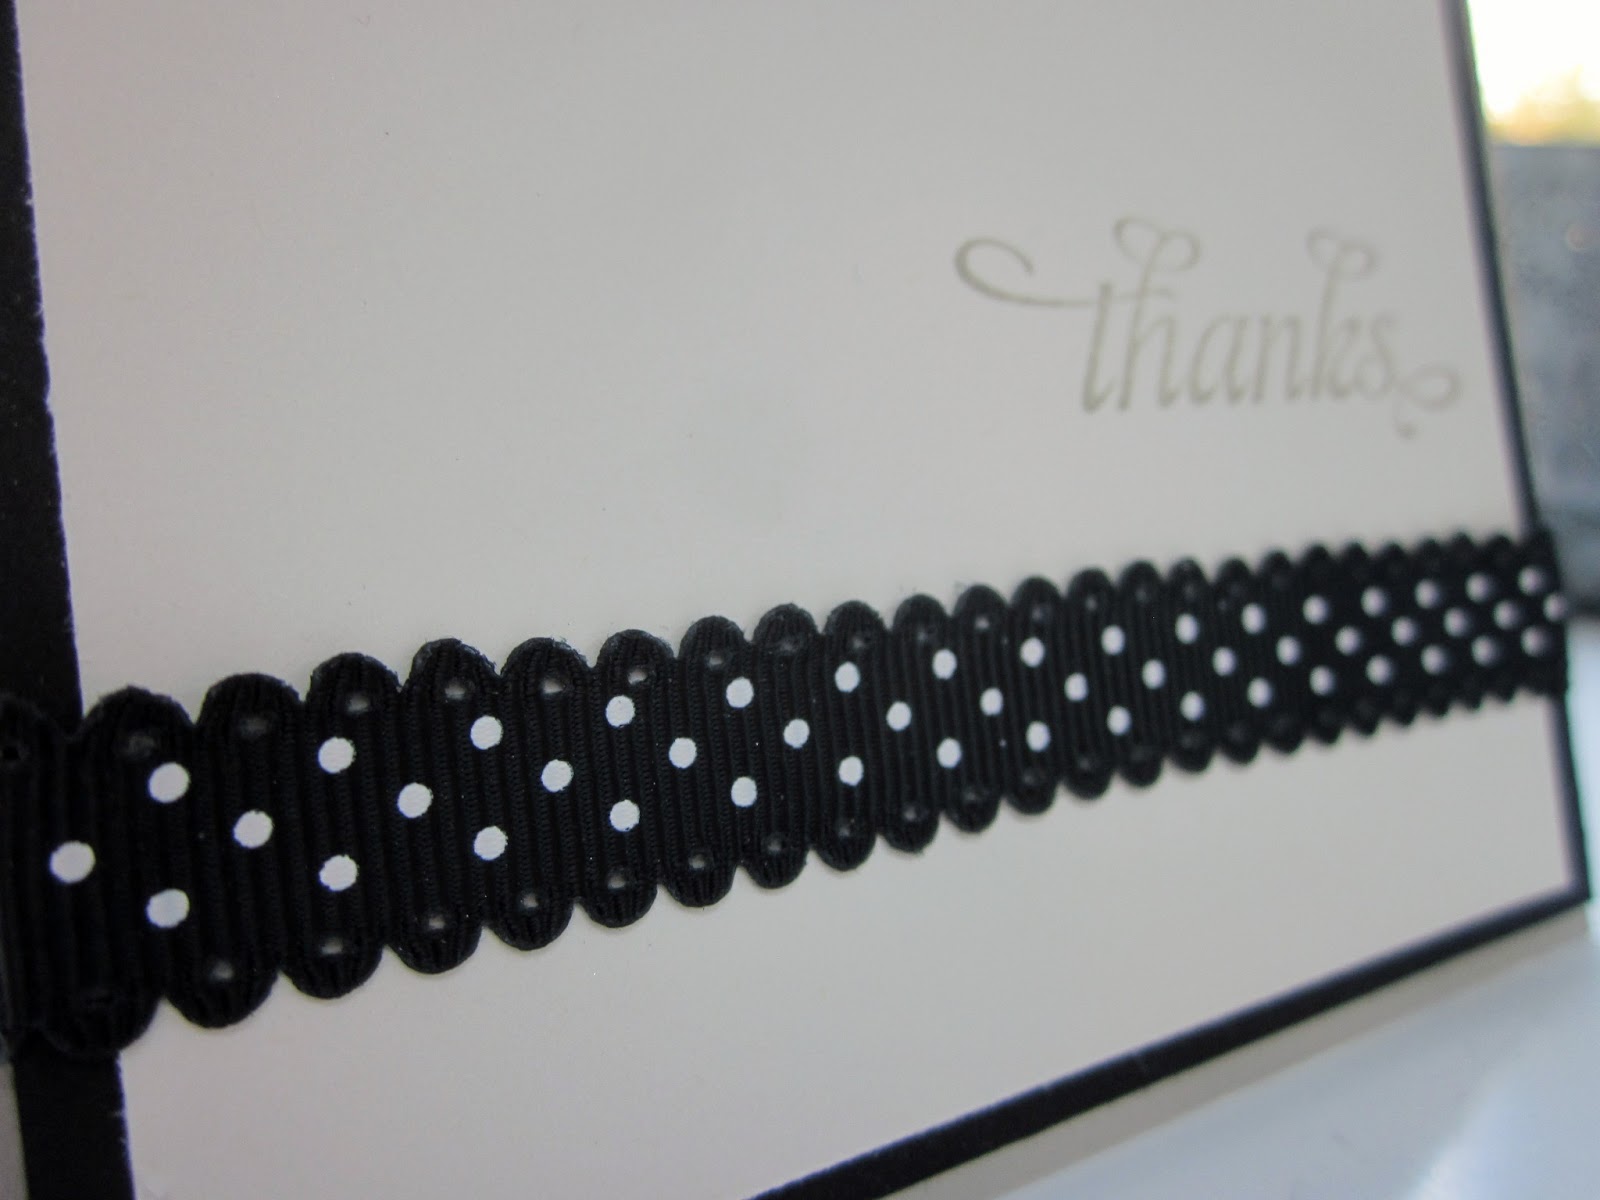
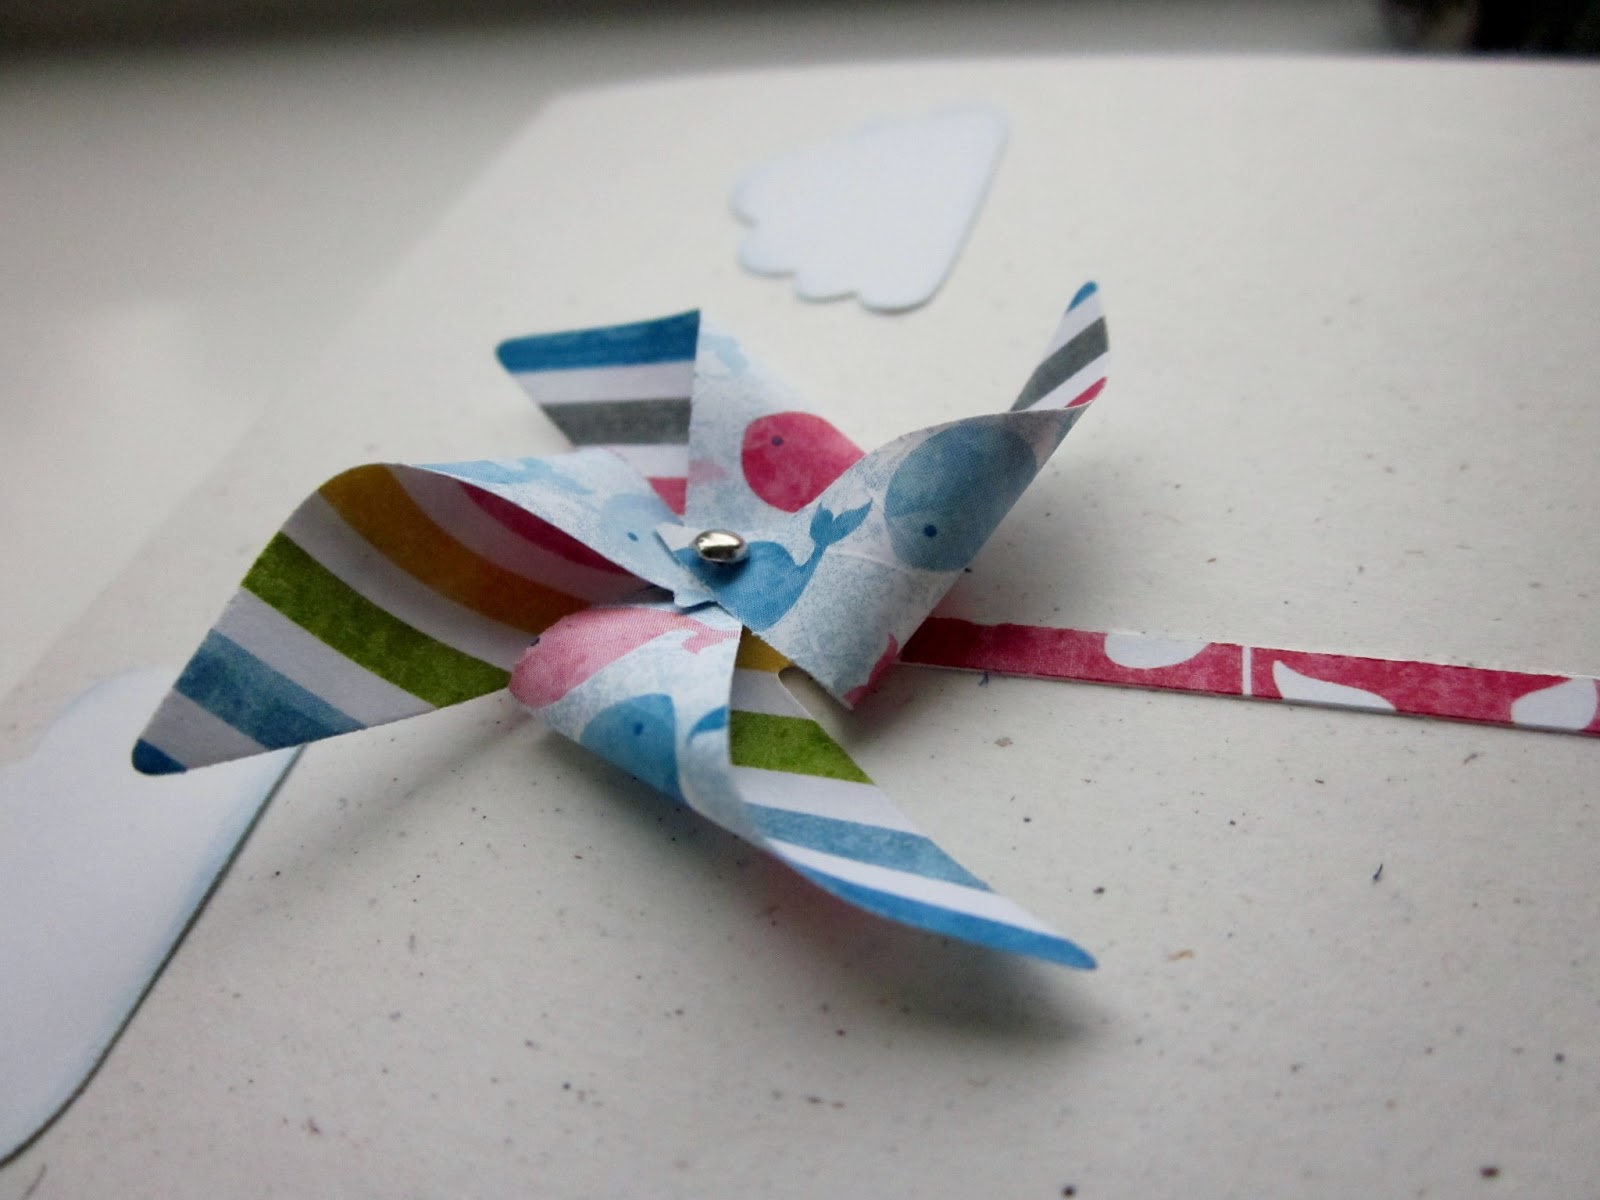
So, how about some cardy goodness too? This is the kit I sent out to my ladies in the card club last month
 and this is the card I designed and made using the kit
 this cute pinwheel is a new die from the Spring/Summer catty and I used the super cute Sunshine and Sprinkles Designer Series paper
OK, so that's today's post for you, I hope you like today's card and I look forward to hearing from you regarding the new club. 
Contact me at sarah-janerae@sky.com for more details on this club or to chat about anything SU! ;-)

Stampin' Hugs from me for today,

Monday 8 April 2013

Stitched ribbon rose tutorial in two sizes!

Hello there,
I have the ribbon rose tutorial I promised you the other day to share with you today.
 I made these cute little roses to fit on the Dress up framelits dress for last months Stampers club kit. 
I know I have made a few of these before but I must say they work really well with this ribbon, it's a perfect thickness and so easy with the white stitching too ;-)
First of all here are a couple of the roses on the dress, I think the smaller size fits better on the dress so I will start with that one first...
Designer Paper is from the Print Poetry stack and can be found HERE in the Spring/Summer catty
 So, begin with a 1/2" circle of card (any colour will work as you will cover it completely) and a length of ribbon that is approx 11cm long with a knot at one end
 grab a  hold of the white stitching running along the centre and pull the ribbon to 7cm. Knot the white thread at 8cm then pull the ribbon back to the knot
cover the card circle in red line tape 
 remove the tape and twist the knot tightly ready to stick it to the centre of the circle
with the knot in the centre follow the knot around sticking the ribbon as you go, DO NOT twist the ribbon as you go, keep the same ribbon edge at the bottom, next to the circle
here it is all wound up,
 pop another piece of tape on the bottom now you know where the end of the ribbon will be, trim excess away and stick the end of the ribbon to the underside.
and there you have it, a couple of not very in focus roses ;-)
Now, I will admit these roses are a bit fiddly as they are so small but they work so well in this size, perfect to go on the dress.  
 I do actually think though that the rose looks even better when made a bit bigger, see it here on a 3/4" circle... So, I have made another tutorial for that one too! The basic principle is the same of course, you just need the  larger measurements to make this one...
First, a 3/4" circle as you know and this time a 25cm length of stitched ribbon
 pull the ribbon to approx 14cm and knot at 15cm, pull the ribbon back, as before, to the full 15cm.
 Use red line tape, I didn't here for speed and I have had to re-stick this one too many times already! Start in the centre as before and stick the ribbon around the knot
 secure at the back to finish
to make this ribbon rose. I still haven't used this one on a card yet but I will be sure to share it with you as soon as I get one made with it on!!
OK, I hope you have enjoyed today's tutorial??! and I will be back with more cardy ideas tomorrow.
Please do share your version of this rose if you make it, I love to see othr peoples makes :-))))
Thanks for visiting today,
Stampin' Hugs from me!
Related Posts Plugin for WordPress, Blogger...