Hello and welcome!
I have the third set, and last, from my "Stretch your supplies" class for you today and I used a couple of different stamp sets again but kept with a super #simplestamping one layer design. So quick and easy to create, especially in multiples or in a hurry ;-)
*EDIT: TO SEE ALL THE OTHER CARDS IN THIS SERIES, GO HERE*
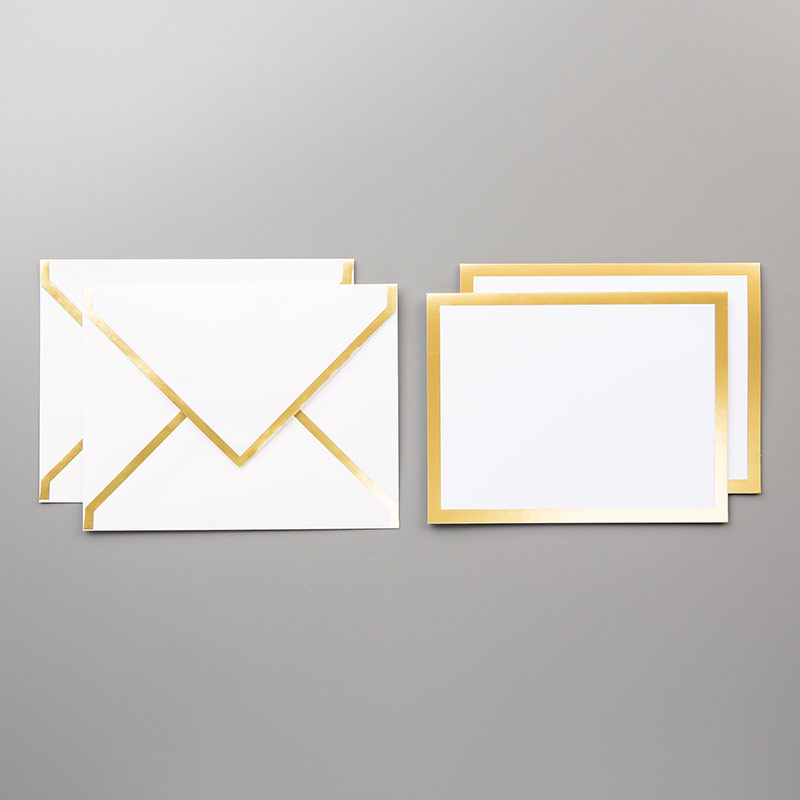
I used the super gorgeous gold edged cards from the Autumn/winter catty (links at the end of the post) as they are just such a great starting point for any card really, lets see...
 So, I'll chat about the Christmas version first today.
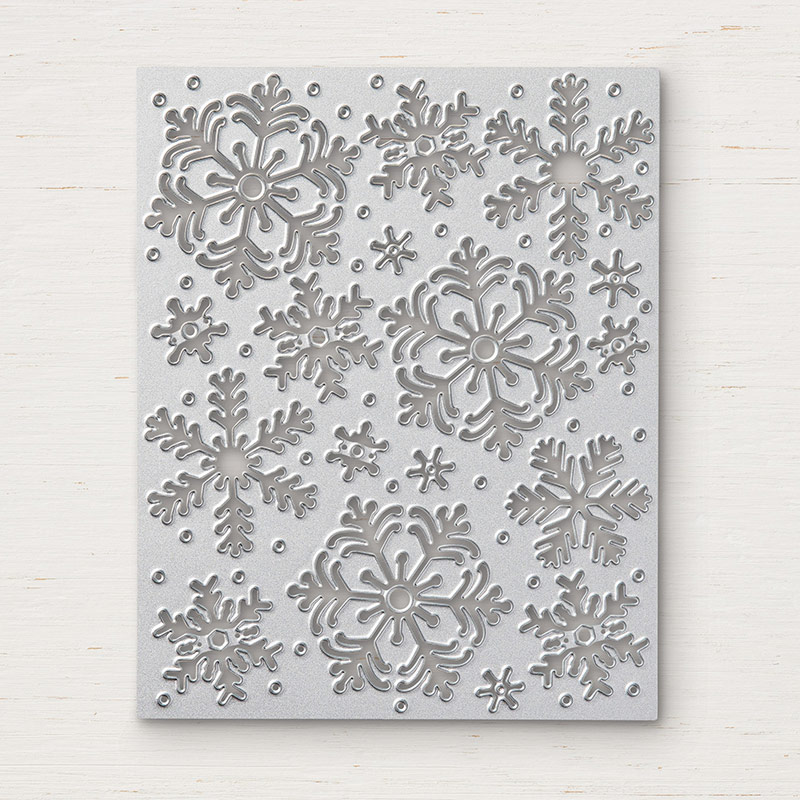
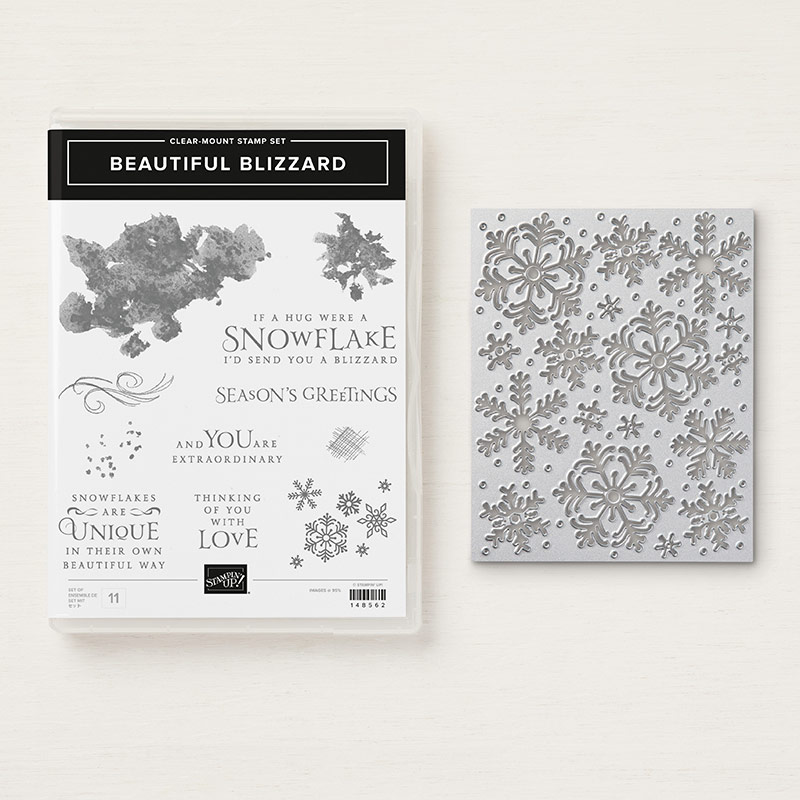
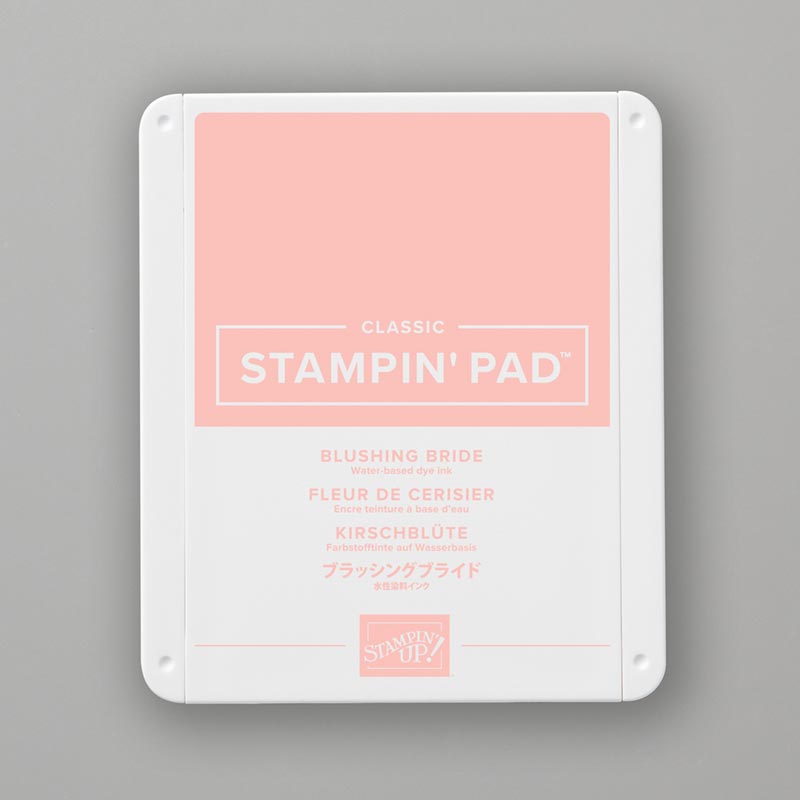
I started by stamping the "splodge" from Beautiful Blizzard twice using Blushing Bride ink.
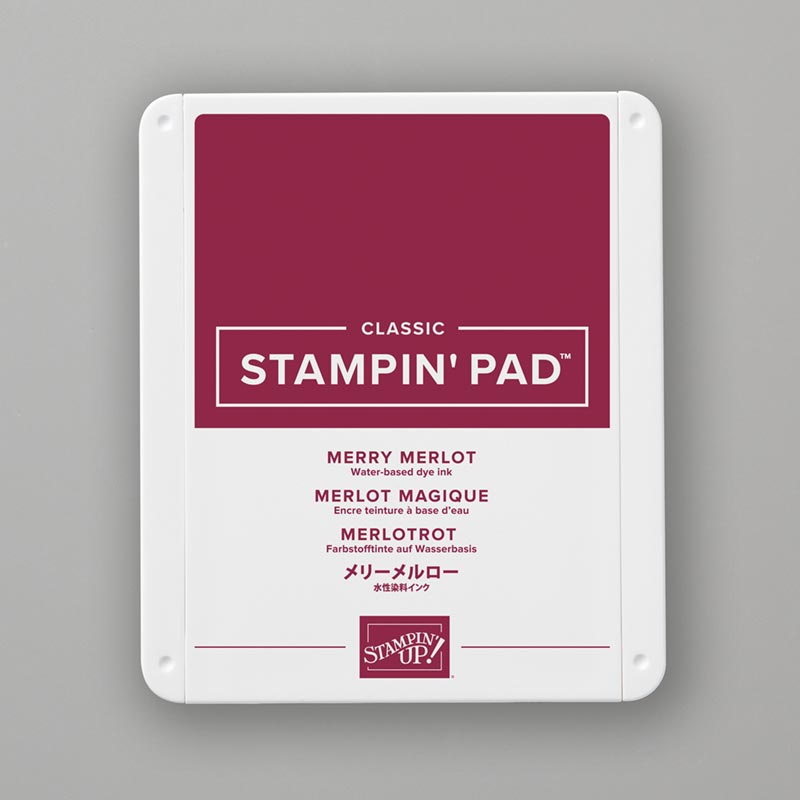
 And then adding snowflakes from the same set using Merry Merlot ink.
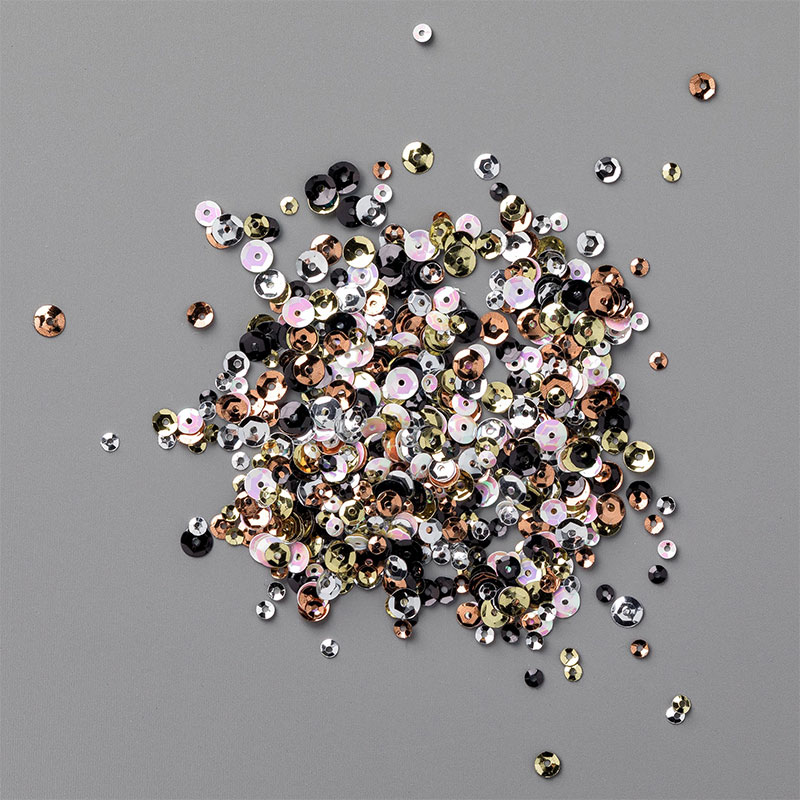
Stamp the sentimetn on an offcut of white card and finish with a few sequins and it's as simple as that! And even the envelopes have gold trim!
 So for the non-Christmas make I stamped the same splodge on another gold edges card.
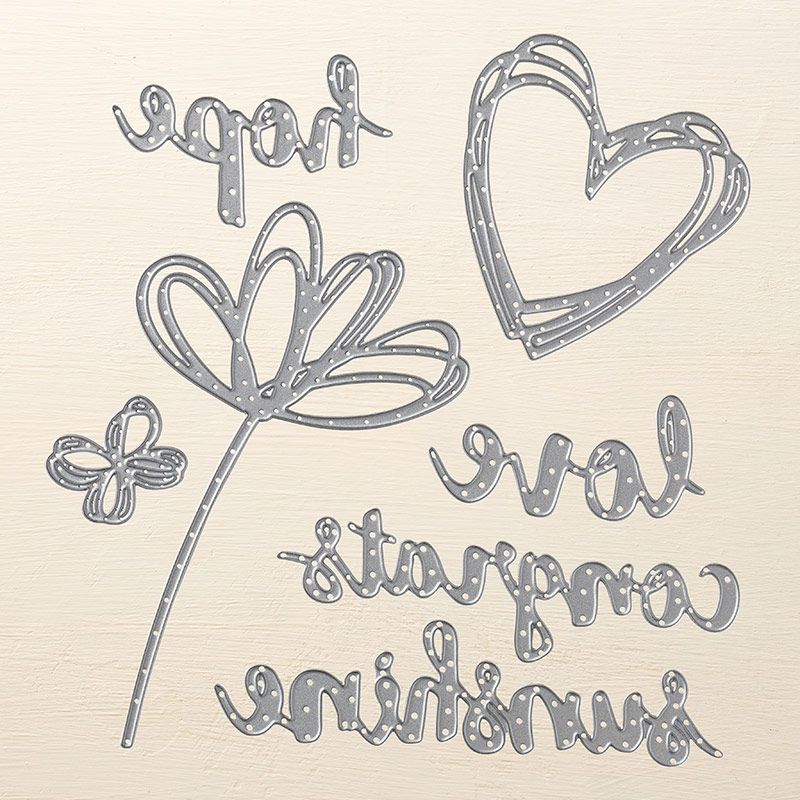
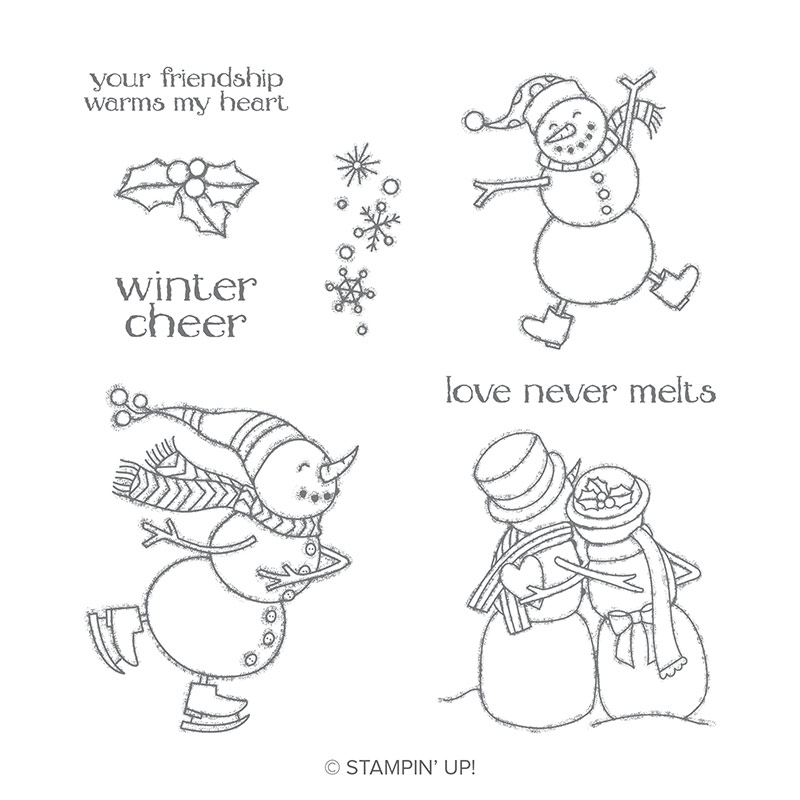
 And I topped this version with a heart and stars images from the Little Twinkle stamp set. The sentiment is from another Christmas set "Spirited Snowmen" and as you can see it can also be used all year round too ;-)
 So, I do hope you take a second look at your "Christmas" stamps again after seeing my ideas this last few days, if you would like to see all the cards together then here's A LINK to see all six cards in this mini series.
I'd love to know what you think (in the comments) or of course feel free to share your creations, Christmas or otherwise, on my Craft with Cards and a Cuppa Facebook page, HERE.
Thanks for looking today and I'll be back soon with more crafty creations!
Happy stamping :-)
Shop Online With ME! Host code for November spends over £25 and under £150 is UATQ2BWV
 Stampin' Hugs,
I have the third set, and last, from my "Stretch your supplies" class for you today and I used a couple of different stamp sets again but kept with a super #simplestamping one layer design. So quick and easy to create, especially in multiples or in a hurry ;-)
*EDIT: TO SEE ALL THE OTHER CARDS IN THIS SERIES, GO HERE*
I used the super gorgeous gold edged cards from the Autumn/winter catty (links at the end of the post) as they are just such a great starting point for any card really, lets see...

I started by stamping the "splodge" from Beautiful Blizzard twice using Blushing Bride ink.

Stamp the sentimetn on an offcut of white card and finish with a few sequins and it's as simple as that! And even the envelopes have gold trim!


And once more together again today.
I'd love to know what you think (in the comments) or of course feel free to share your creations, Christmas or otherwise, on my Craft with Cards and a Cuppa Facebook page, HERE.
Thanks for looking today and I'll be back soon with more crafty creations!
Happy stamping :-)
Shop Online With ME! Host code for November spends over £25 and under £150 is UATQ2BWV

 |  |  |  |  |  |  |
 |