
Good day to you!
I have the tutorial today for the tree I showed you HERE.
I wanted to design a folded tree that wouldn't overhang at the sides and this is what I came up with...

I wanted to design a folded tree that wouldn't overhang at the sides and this is what I came up with...

To make this you need limited supplies of a cutter, bone folder, adhesive, a pencil and ruler and I used Stampin' Up's Scallop Circle die with the Big Shot, but you could use a circle approx 10.5cm wide.

So, to begin with you need to cut your scallop circle in half, the easy way to find the centre is to gently fold in half and pinch at the top and bottom to mark, you need to do this at the lower point between the scallops,

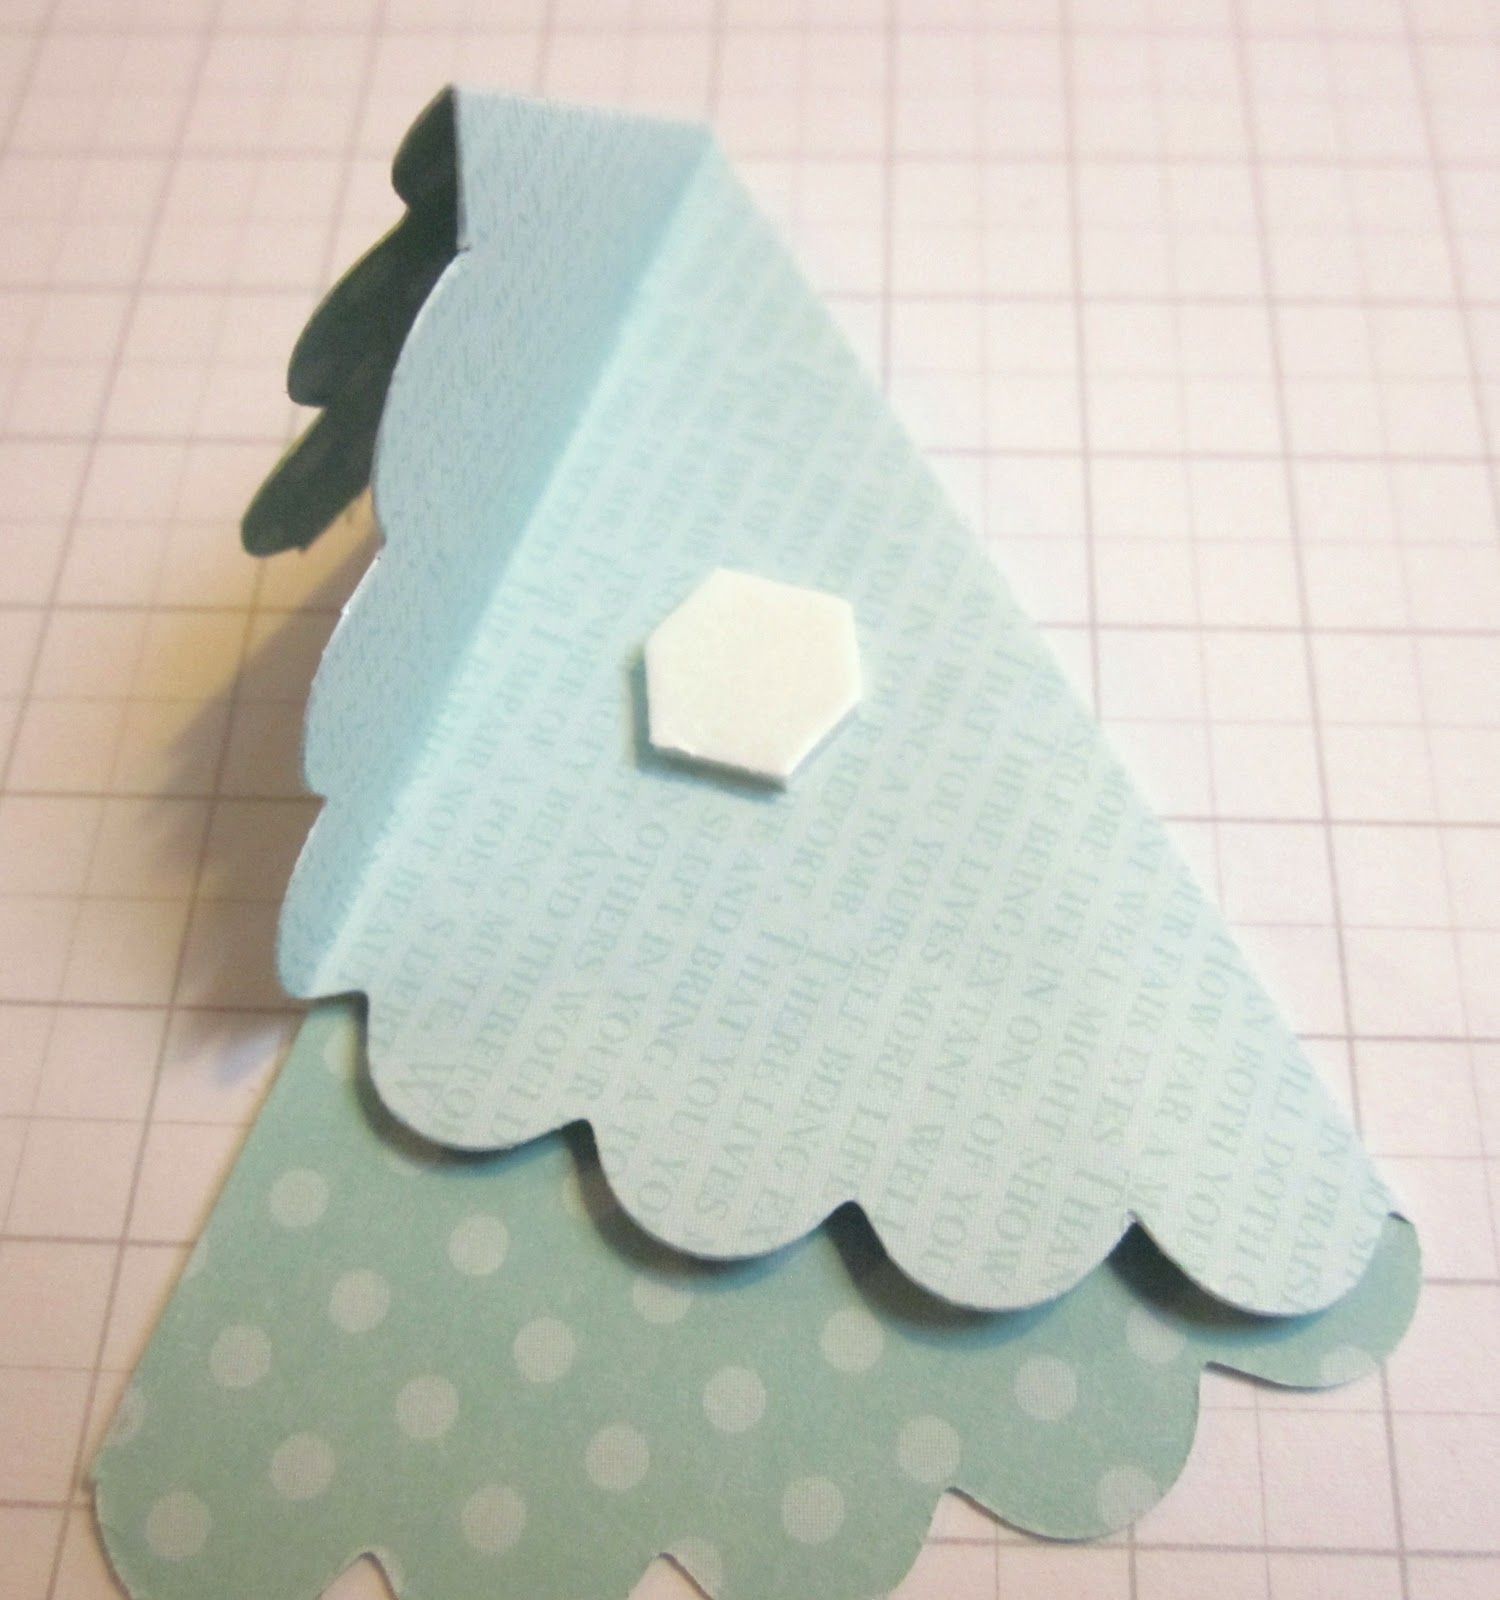
Next, measure along the straight edge, again from the bottom of the scallop, to 3.4cm

Fold at this point ensuring the straight edges meet.

Next fold the smaller, top section towards yourself so the cut edge is parallel to the first crease.

Unfold the top folded pieces and then fold the lower larger section so the bottom cut edge runs along side the first crease.

Re-fold the top and that's it!

For the best look add dimensionals at the bottom edge of the scallops and add a dab of glue to the top point when you fold to secure.

Adhere to your card for a pretty Christmas feel, the pot was punched with the small tag punch and the background is stamped with Serene Snowflakes in Pool Party

Thanks for visiting today and I hope you have enjoyed this mini tutorial, if you have a go at making this I would love to see it :-)
Stampin' Hugs for today,

Thank you so much, I just made my first one then two more they are SO EASY once you have done the first one. I cut some large scallops out on the cricut with double sided doloured card , I'll up load a picture later as I'm supposed to be packing for my trip to England tomrrow. thank you so much :-) Donnax
ReplyDeleteI love this so quick to do but really effective. As I haven't actually started my cards yet you may just have solved my worry of what to make. Thanks for sharing.
ReplyDeleteSo lovely - fabby card!!!!
ReplyDeleteI'll convert 3.4 cm to inches, and I'll be ready to go! Thanks for sharing...this is SO cute!
ReplyDeleteRealmente é muito lindo esse cartão.
ReplyDeleteÉ uma ótima ideia para outros formatos.
Abraço
Great great tutorial!
ReplyDeleteThanks!
:D
Great great tutorial!
ReplyDeleteThanks!
:D
dear sarah-jane, I think all your cards are really beautiful and your instructions are very easy to follow.Each time I view your website I find more wonderful cards.regards stacey
ReplyDeleteI have done the folded tree technique before but never thought to use a scalloped circle....soooo much cuter! Thanks for the inspiraion!
ReplyDeleteMuy facil y quedan hermosos felicidades
ReplyDelete