Hello,
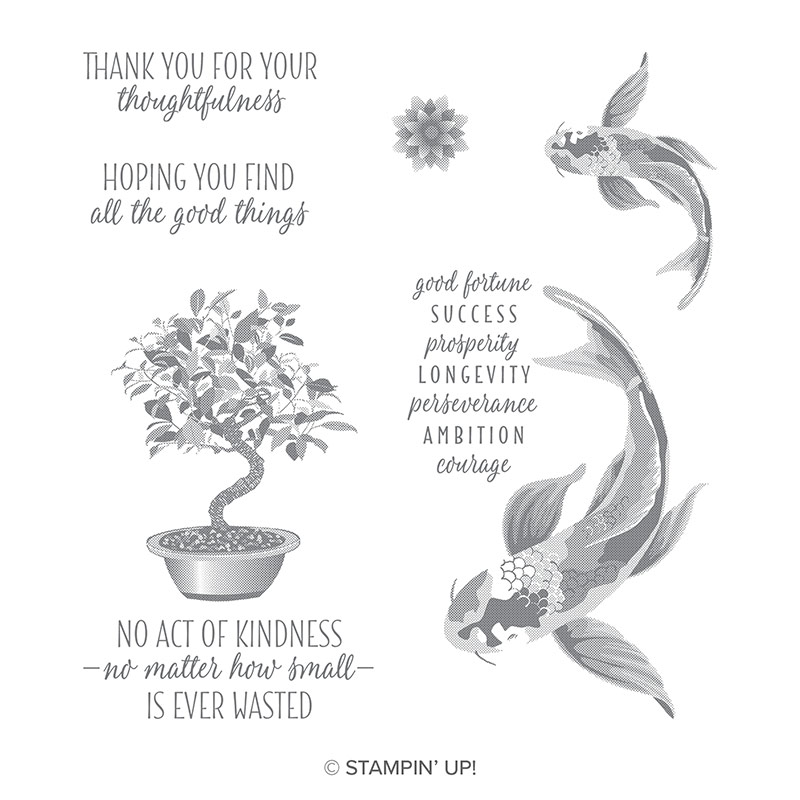
Today I have a cute little gift idea for you! I like to make these as the perfect little treat for a birthday tea table or just to gift to work colleagues or even just to say thanks for visiting! I used the lovely small Koi fish stamp from the "All The Good Things" stamp set. This is a 'distinktive' rubber stamp set, meaning you get this beautiful colour variation on the image by simply inking in the usual way! It's so pretty and easy to do too!
TIP 1: If you are having trouble getting a good image with a distinktive stamp (or indeed any other detailed stamp) try pressing the ink down into your ink pad with a teaspoon or bone folder as too much ink can make the image blotchy. Also this way the ink is depressed into the pad and not wasted, too.
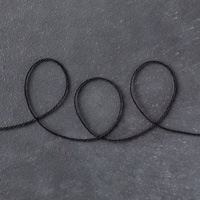
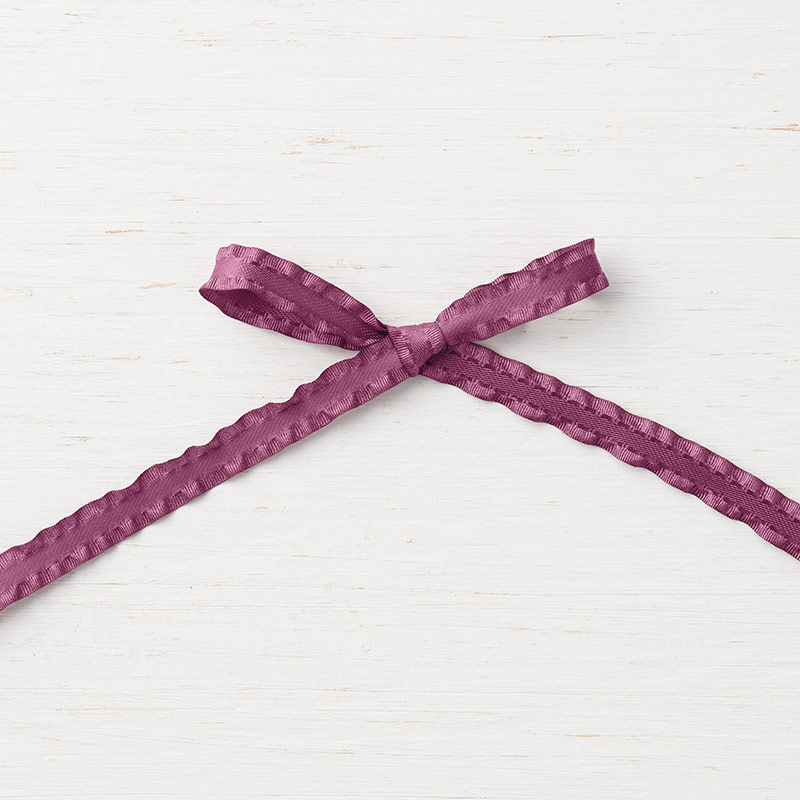
 I used clear card bags (usually used for protecting your cards) which I simply trimmed down to make them a bit shorter before adding a few yummy treats and tied together with some Fresh Fig cotton ribbon (retired) but you could easily use the mini ruffled ribbon in Fresh Fig instead ;-)
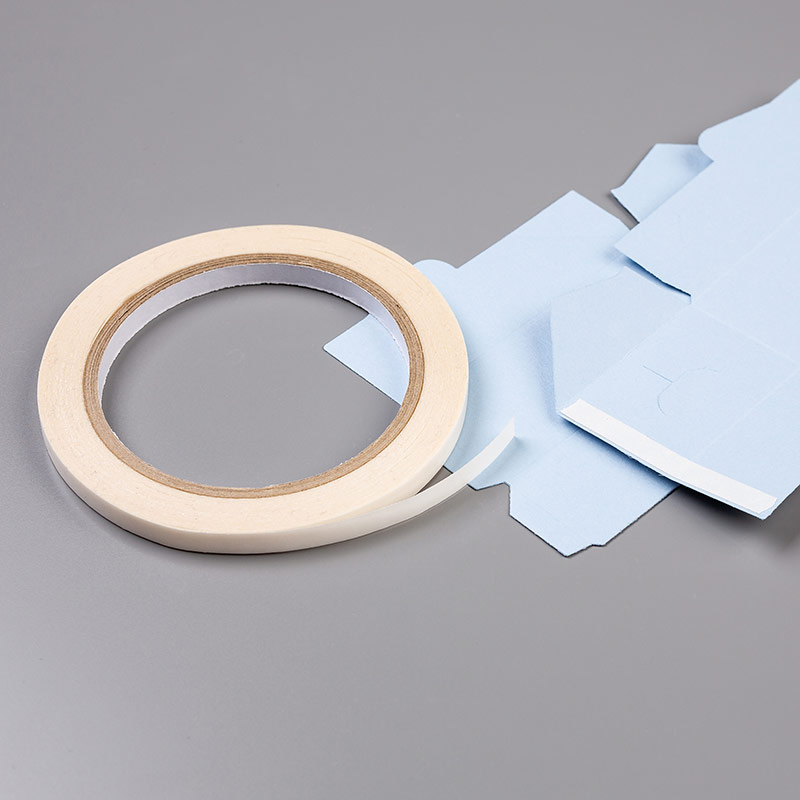
 I added these stamped and punch toppers with double sided tape but if you have trouble getting the tape to stick to your clear bags you could...
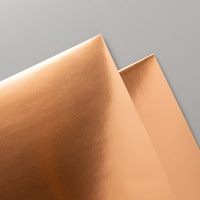
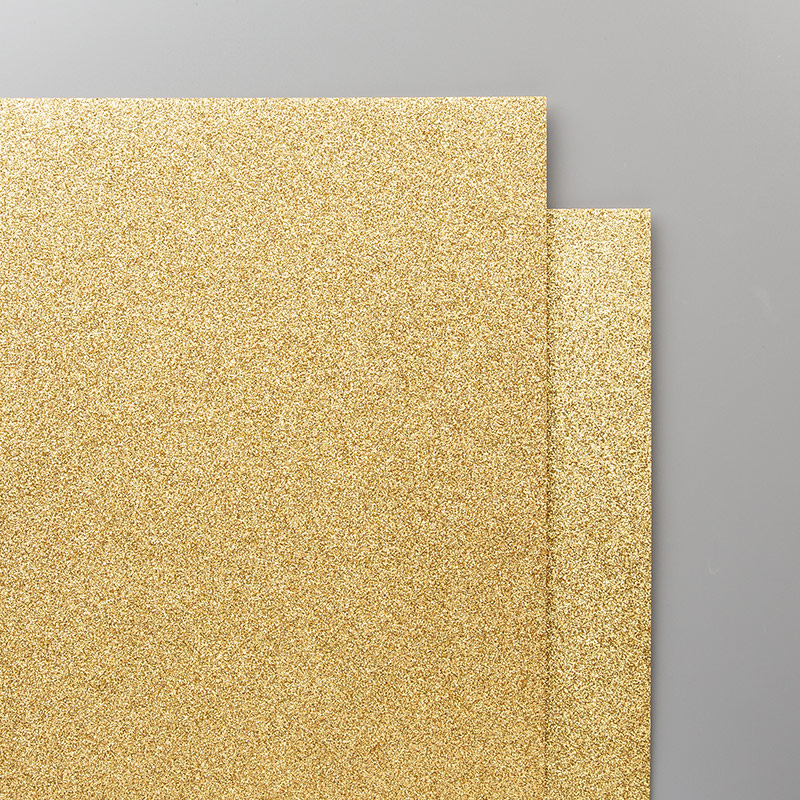
TIP 2: staple the gold glimmer paper to the cello bag before filling and tying then add the stamped topper with a dimensional.
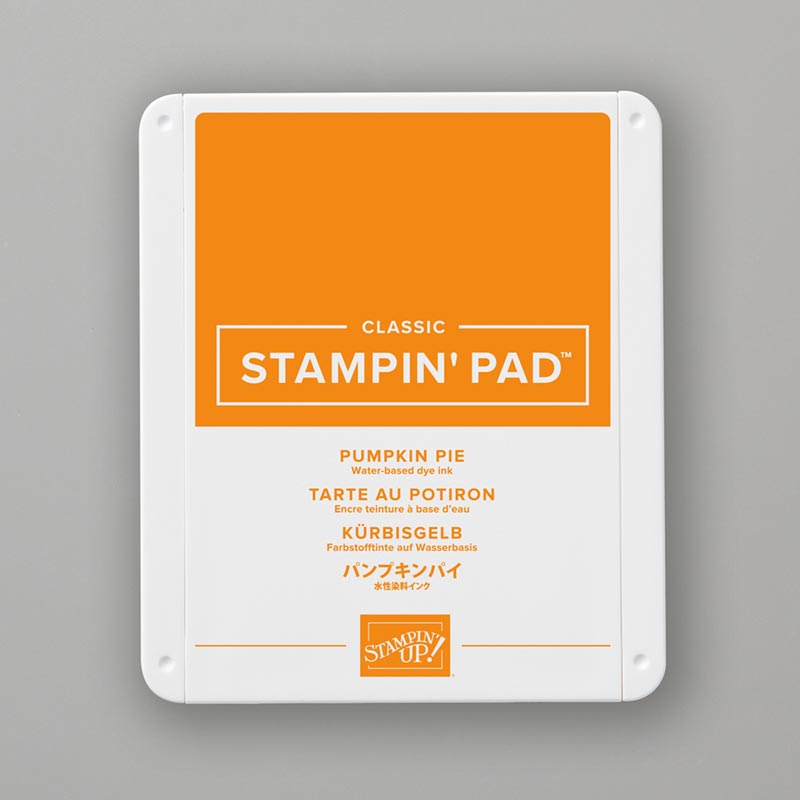
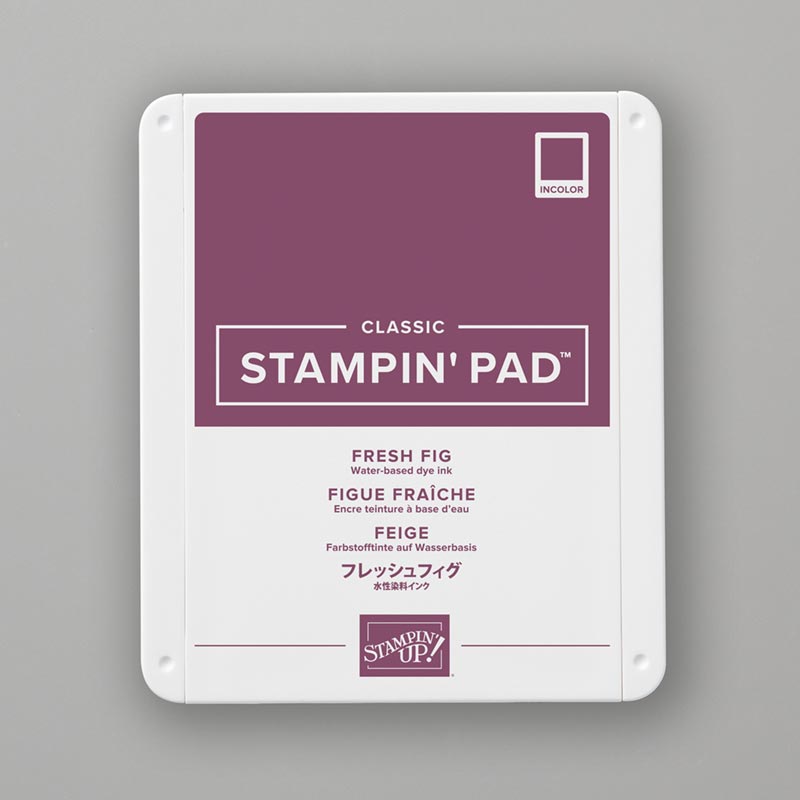
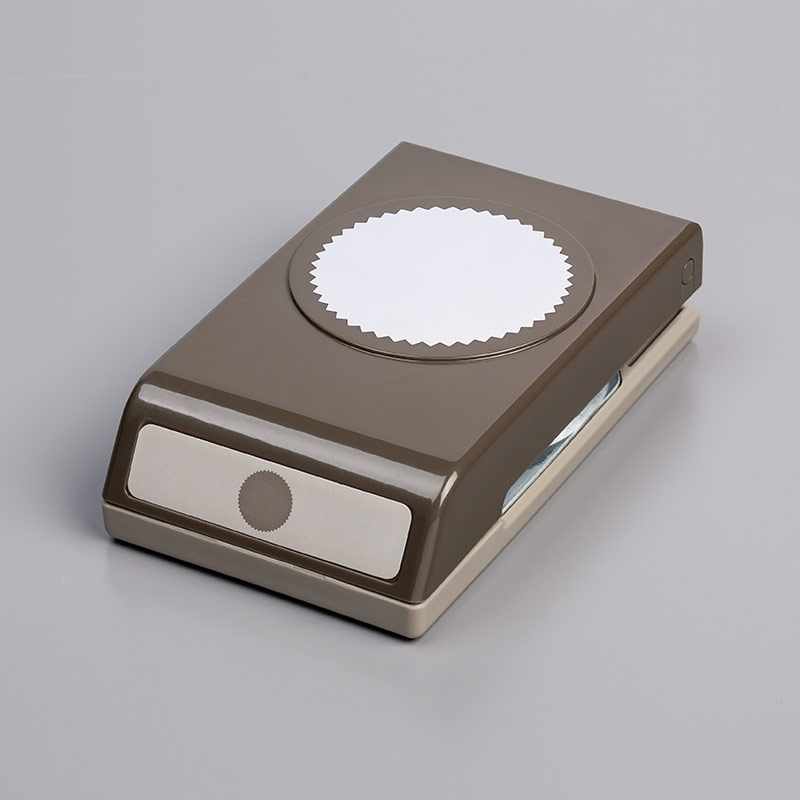
TIP 3: I also rolled the plain circle in the Fresh Fig ink pad to make it pop on the gold glimmer paper! This is really great idea for if you don't have that 'in between punch' or you simply don't want to add an extra layer ensuring you can still see plenty of the gold glimmer, like here.
So, that's all from me for today. I'm working this morning and now we have found ourselves with a load of jobs to get finished today and tomorrow morning ;-)
I hope to craft tomorrow evening and I do hope you get time this weekend to do what you love too!
Thanks so much for looking today, I really appreciate that you keep visiting x
Shop Online With ME!
Host code for January spends over £25 and under £150 is CAVYBE77

Stampin' Hugs,
Today I have a cute little gift idea for you! I like to make these as the perfect little treat for a birthday tea table or just to gift to work colleagues or even just to say thanks for visiting! I used the lovely small Koi fish stamp from the "All The Good Things" stamp set. This is a 'distinktive' rubber stamp set, meaning you get this beautiful colour variation on the image by simply inking in the usual way! It's so pretty and easy to do too!
TIP 1: If you are having trouble getting a good image with a distinktive stamp (or indeed any other detailed stamp) try pressing the ink down into your ink pad with a teaspoon or bone folder as too much ink can make the image blotchy. Also this way the ink is depressed into the pad and not wasted, too.


TIP 2: staple the gold glimmer paper to the cello bag before filling and tying then add the stamped topper with a dimensional.
TIP 3: I also rolled the plain circle in the Fresh Fig ink pad to make it pop on the gold glimmer paper! This is really great idea for if you don't have that 'in between punch' or you simply don't want to add an extra layer ensuring you can still see plenty of the gold glimmer, like here.

So, that's all from me for today. I'm working this morning and now we have found ourselves with a load of jobs to get finished today and tomorrow morning ;-)
I hope to craft tomorrow evening and I do hope you get time this weekend to do what you love too!
Thanks so much for looking today, I really appreciate that you keep visiting x
Shop Online With ME!
Host code for January spends over £25 and under £150 is CAVYBE77


 |
 |
 |
 |
 |
 |
 |
 |
 |
 |