Showing posts with label YouTube. Show all posts

Wednesday, 19 April 2017

Easy pencil Holder with Video Tutorial for #washiwednesday

Hello there and welcome to Washi Wednesday!
I have a fun pencil or pen holder to share with you today and I have even made a super short video tutorial with measurements to go with this post ;-)
So, let's see this holder....
 What a fun way to gift something that could look a little *meh* if you just gave it as it is but dressed up in this holder it's just a little more special....
 So, here is the tutorial for you :-)
And one final photo for today!
So, I do hope this inspires you to use your washi tape and maybe even cut into that DSP too!
Don't forget to share your makes with me if you do have a go ;-)
Thanks for looking today,
     Shop Online With Me
Stampin' hugs,

Saturday, 15 April 2017

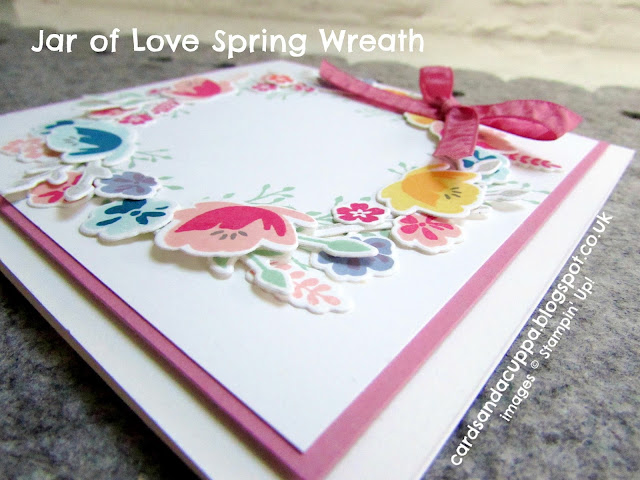
NEW Jar Of Love Spring Wreath with Video Tutorial!

Hello!
I have a second version of my Spring Wreath using Jar of Love today as I had a request to make a video tutorial for it :-)
I used slightly different colours adding Sweet Sugarplum card and ribbon rather than the Peekaboo Peach I did in THIS ONE.
So, let's take a look at the card shall we?
 Loving the different colours in this version.
 Lots of dimension, as before ;-)
So,  this is quite a time consuming but (I think) theraputic card to make so this video was edited from over 40 minutes to under 20 and I have also sped up as much as I can to keep it interesting, I hope.
OK, here it is....
And one final photo for today. If you wanted you could add a sentiment or a few pearls or sequins?
 I have actually sent this card now but I left it just like this. I do hope the recipient liked it :-)
Thanks so much for looking today,
 Shop Online With Me
Stampin' Hugs,

Tuesday, 4 April 2017

Basket Bunch Easter Mini TicTac Gifts - "Carrot Pips"

Hello!
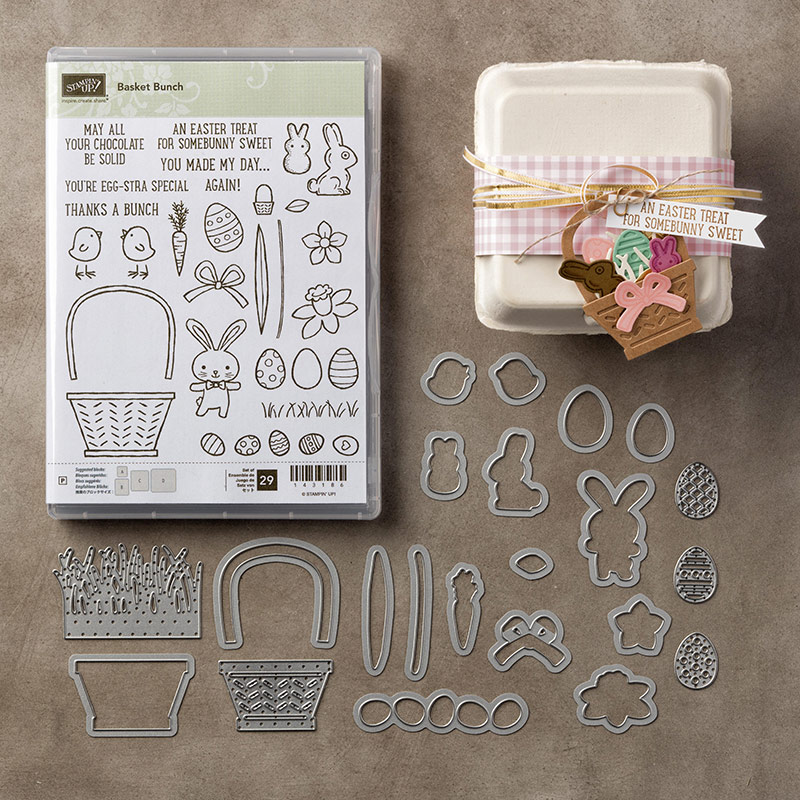
Today I have an updated version of my mini Tictac treats to make them all ready for Easter! I first designed to be used with the Cookie Cutter Christmas and Halloween stamps and punch HERE but I wanted to share with you how they could be easily updated with any stamps you have, these use Basket Bunch :-) It's such a cute set that I only purchased recently but I love! In fact this whole week will be full of projects using this set...
 I just used the orange tic tacs as I thought they were a little like "carrot pips" ;-)
 And I used lots of different images from the set. All the sizes work well and you could easily use any stamps with small to medium sized images to make them for any occasion.
 So, I thought I'd make an updated version of the video tutorial for you.
You can see the original HERE.
And one last shot to finish. These are such a cute little addition to Easter gifts!
So, I do hope you enjoyed todays video and have a go at making some of these soon :-)
All supplies (except mini tic tacs) can be purchased in my online shop ;-)
     Shop Online With Me
Stampin' Hugs,

Thursday, 9 February 2017

PopStand Card Video Tutorial

Hello!
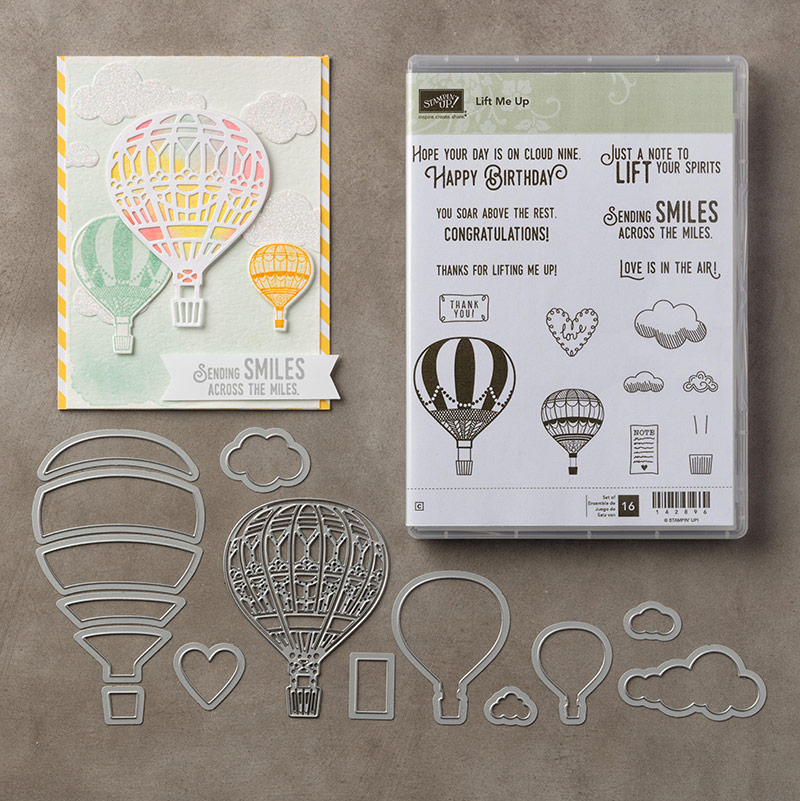
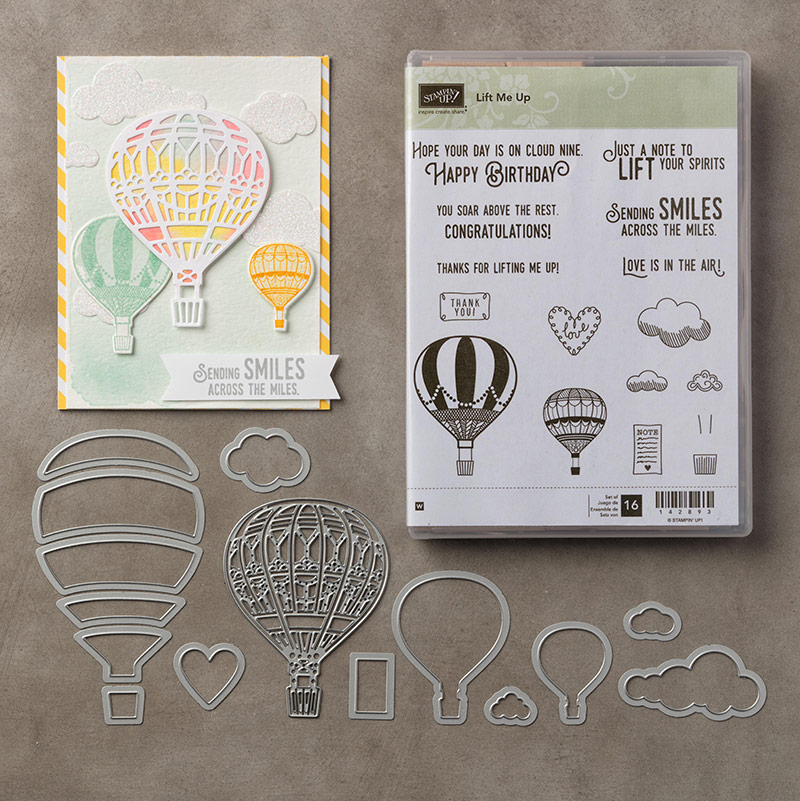
I'm super excited to share this video tutorial with you today! I have called it a PopStand card 'cause it pops up and it stands by itself too. You can see my first version HERE using the "Lift Me Up" bundle.
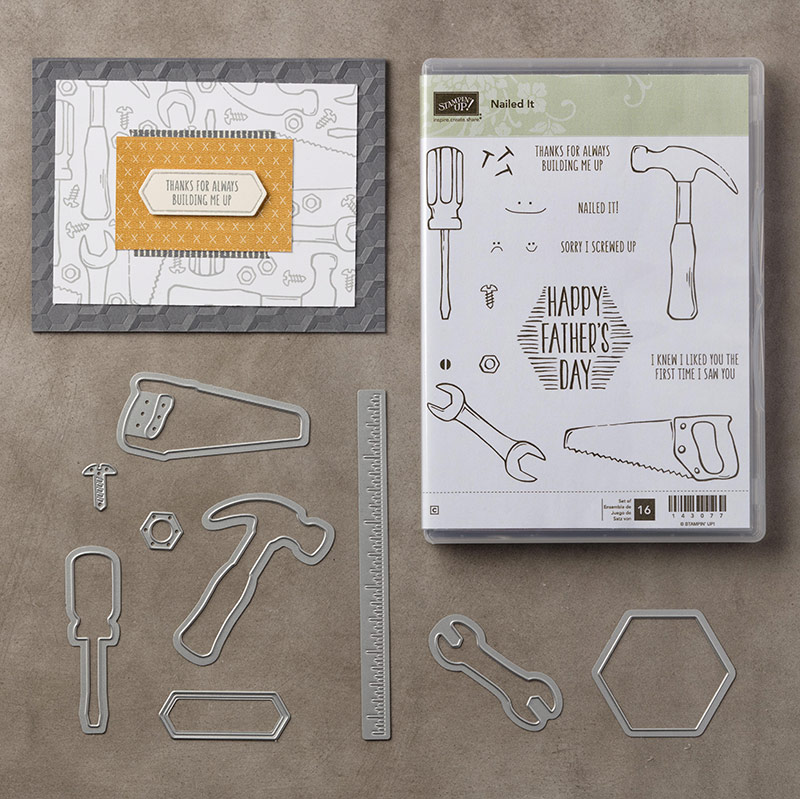
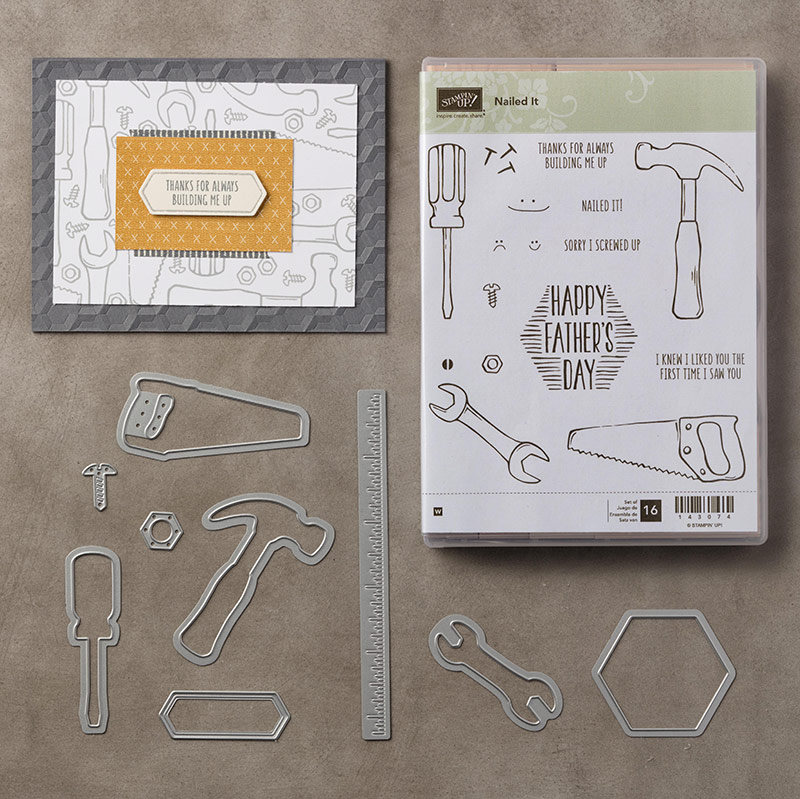
For this video tutorial (please scroll down) I decided to use "Nailed It" to make a more masculine card....
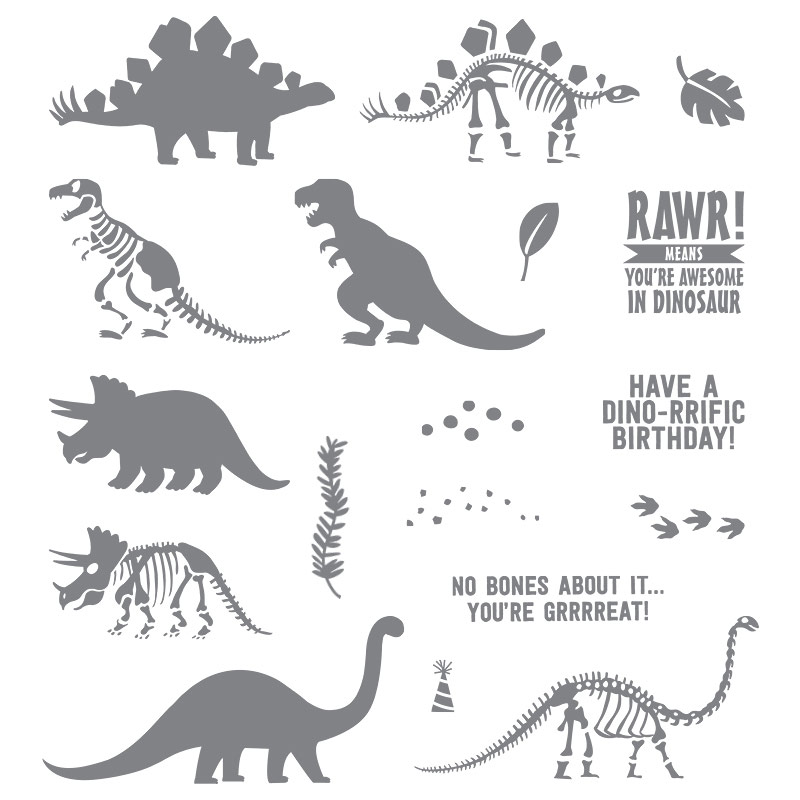
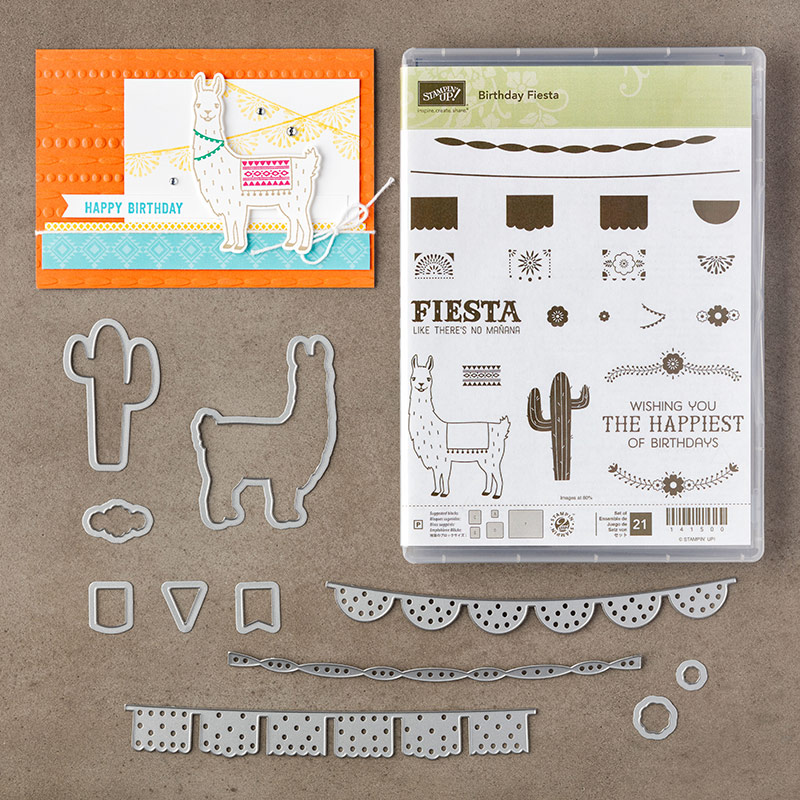
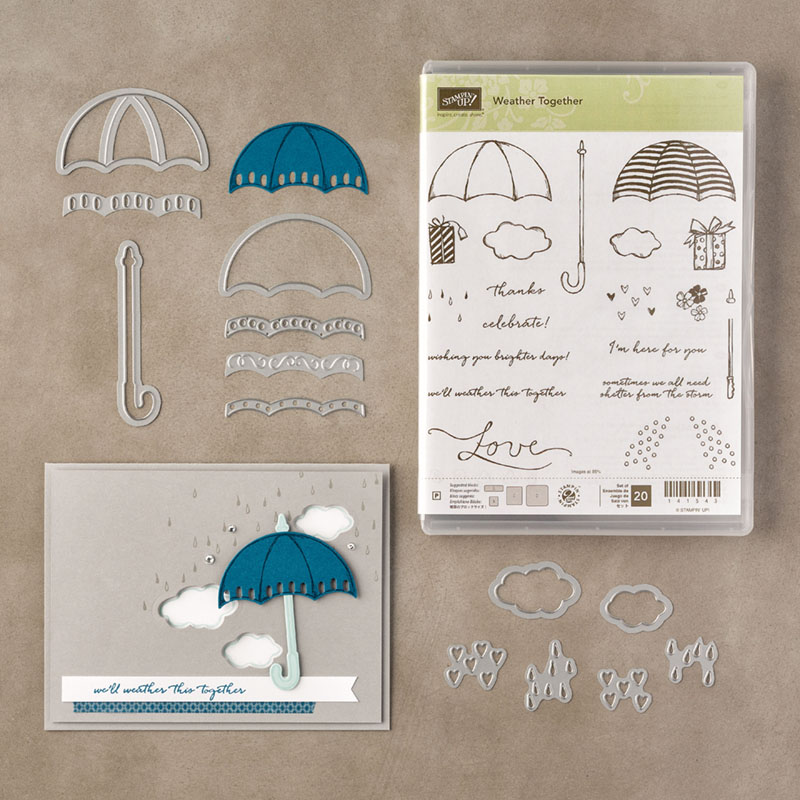
 ...but I think you could use sooooo many different stamps with this card design. You'll hear me mention these stamps/dies in the video including Birthday Fiesta, Umbrella Weather and No Bones About It, to name just a few!
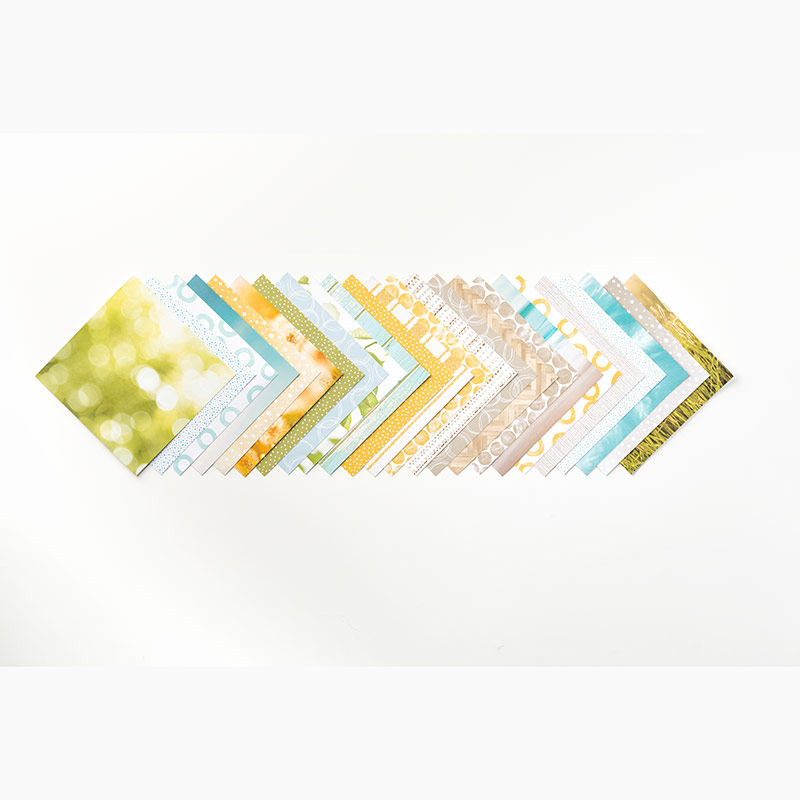
OK, back to this card ;-) I used the Serene Scenery DSP pad as I like the parquet flooring effect but it would look great made using the matching Urban Underground DSP pack too.
 I like adding the tools on acetate (window sheets) so they have a little wobble to them. Check out my Insta feed for a boomerang ;-)
 And of course, it's easy to post!
#tips...
So, here's the video for you!
Please do watch the video for instructions on construction and tips but here are the measurements for you as promised 
Metric:
1st sheet: Cut to 14.8cm x 17.8, score at 14.8cm.
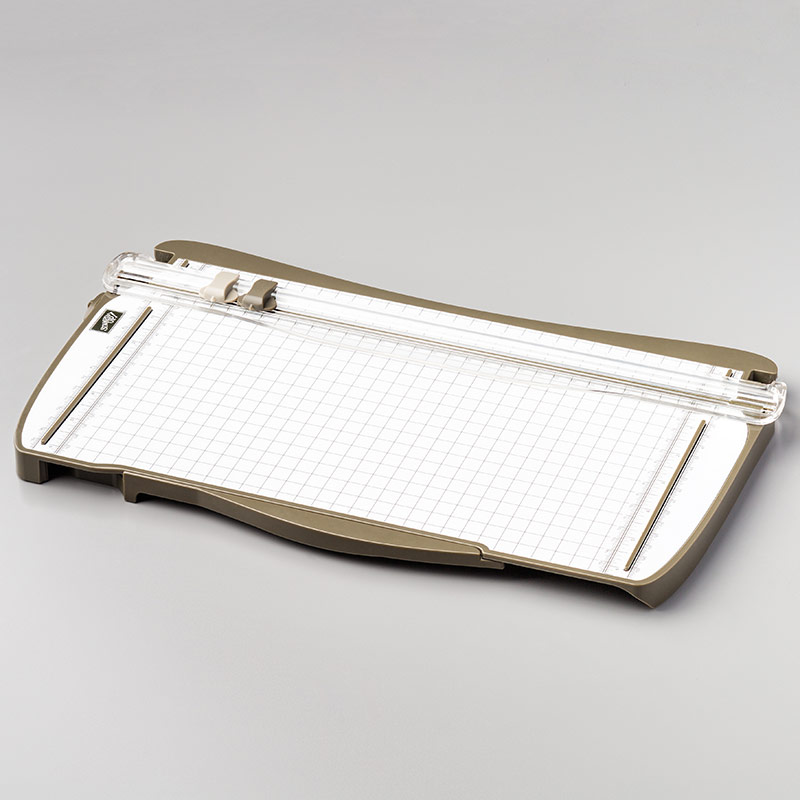
2nd sheet: 14.8cm x 21.8cm. Score at 18.5cm, 15.8cm, 14.8cm, 13.8cm.
Measure  across and mark on 13.8cm score line at 1.5cm, 3cm, 4.5cm, 10.3cm, 11.8cm, 13.3cm. Repeat along 15.8cm score line.
Imperial (this will be a slightly larger card)
1st sheet: Cut to 6" x 7"
2nd sheet: 6" x 8. Score at 7.5", 6.5", 6", 5.5".
Measure  across and mark on 6.5" score line at 5/8", 1+1/4", 1+7/8", 4+1/8", 4+3/4", 5+3/8". Repeat on 5.5"
And please, feel free to "Pin" this picture so you can find this tutorial again easily :-)
Thanks for stopping by today,
     Shop Online With Me

Related Posts Plugin for WordPress, Blogger...