
Hello!
I'm super excited to share this video tutorial with you today! I have called it a PopStand card 'cause it pops up and it stands by itself too. You can see my first version HERE using the "Lift Me Up" bundle.
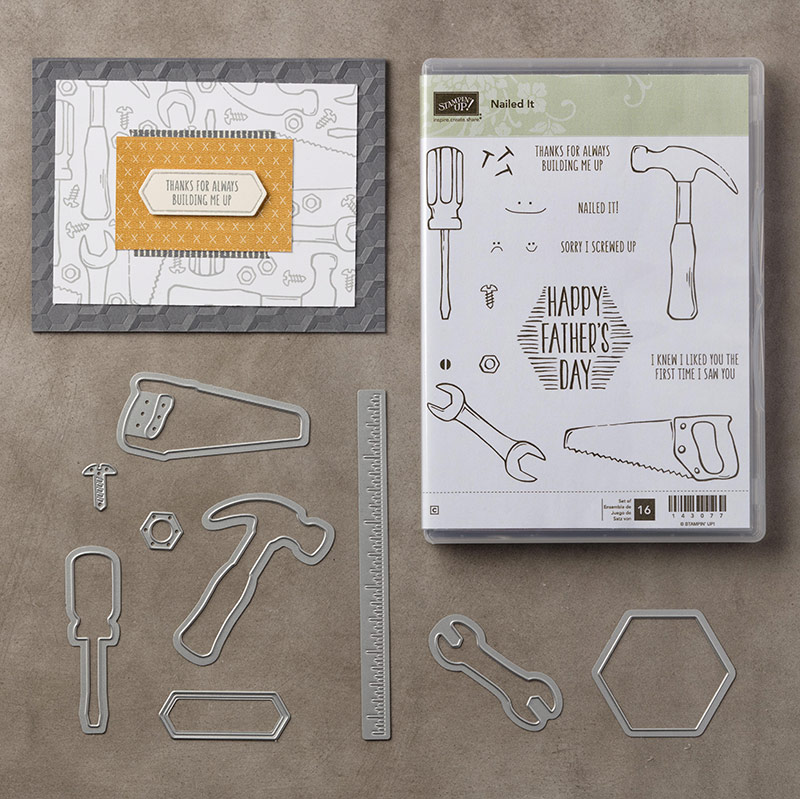
For this video tutorial (please scroll down) I decided to use "Nailed It" to make a more masculine card....
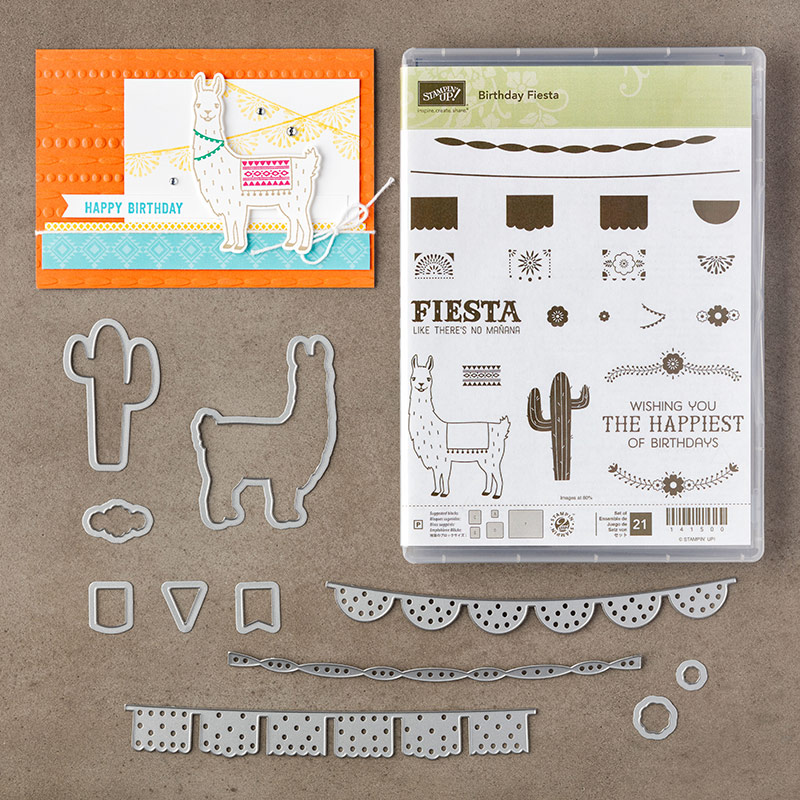
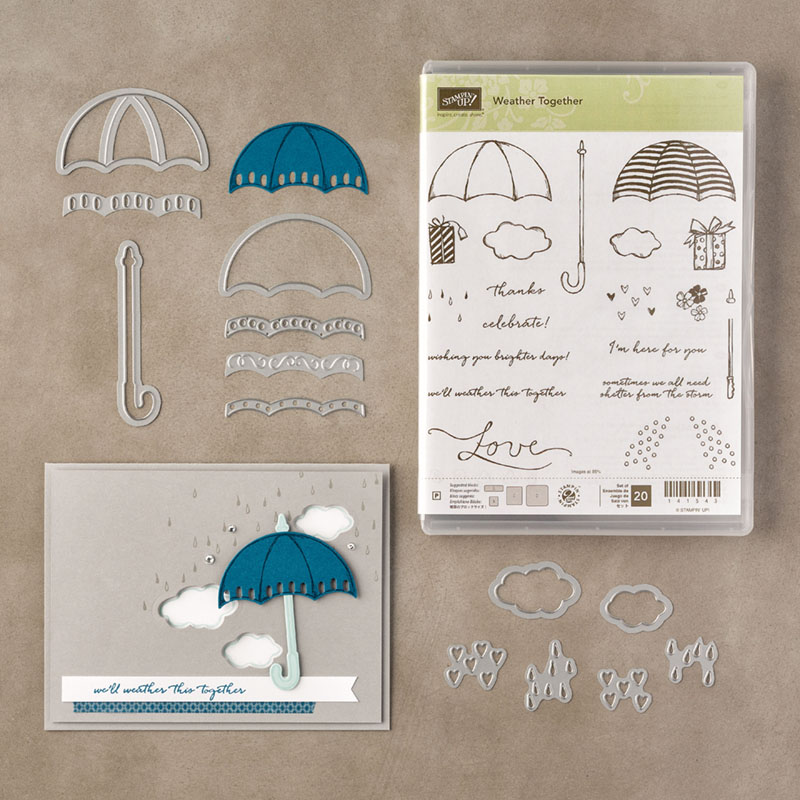
 ...but I think you could use sooooo many different stamps with this card design. You'll hear me mention these stamps/dies in the video including Birthday Fiesta, Umbrella Weather and No Bones About It, to name just a few!
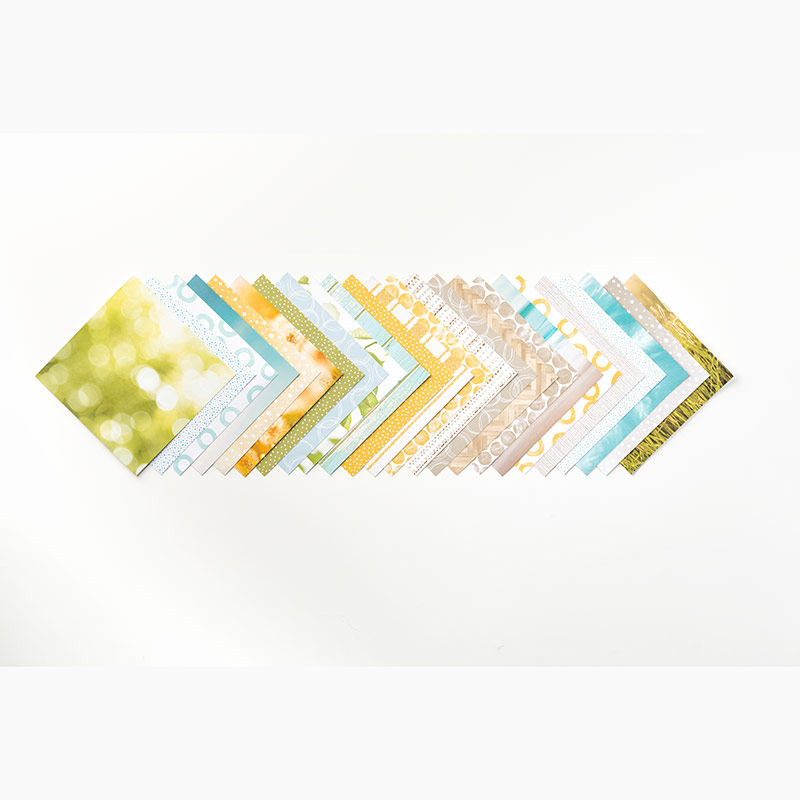
OK, back to this card ;-) I used the Serene Scenery DSP pad as I like the parquet flooring effect but it would look great made using the matching Urban Underground DSP pack too.
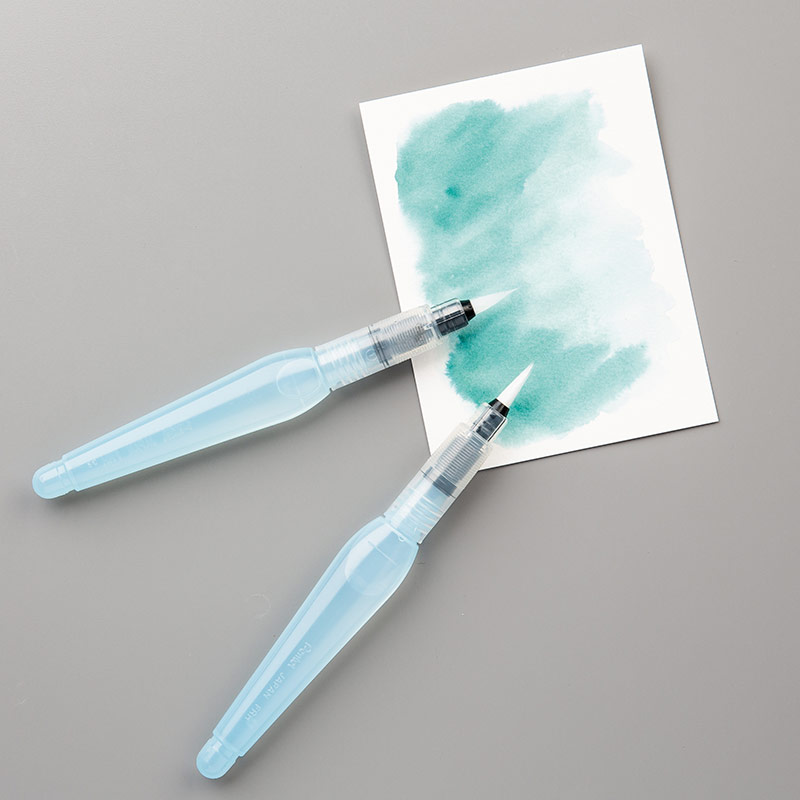
 I like adding the tools on acetate (window sheets) so they have a little wobble to them. Check out my Insta feed for a boomerang ;-)
 And of course, it's easy to post!


I'm super excited to share this video tutorial with you today! I have called it a PopStand card 'cause it pops up and it stands by itself too. You can see my first version HERE using the "Lift Me Up" bundle.
For this video tutorial (please scroll down) I decided to use "Nailed It" to make a more masculine card....

 |
 |
 |


#tips...

So, here's the video for you!
Please do watch the video for instructions on construction and tips but here are the measurements for you as promised
Metric:
1st sheet: Cut to 14.8cm x 17.8, score at 14.8cm.
2nd sheet: 14.8cm x 21.8cm. Score at 18.5cm, 15.8cm, 14.8cm, 13.8cm.
Measure across and mark on 13.8cm score line at 1.5cm, 3cm, 4.5cm, 10.3cm, 11.8cm, 13.3cm. Repeat along 15.8cm score line.
Imperial (this will be a slightly larger card)
1st sheet: Cut to 6" x 7"
2nd sheet: 6" x 8. Score at 7.5", 6.5", 6", 5.5".
Measure across and mark on 6.5" score line at 5/8", 1+1/4", 1+7/8", 4+1/8", 4+3/4", 5+3/8". Repeat on 5.5"
And please, feel free to "Pin" this picture so you can find this tutorial again easily :-)

Thanks for stopping by today,
Shop Online With Me

 |
 |
 |
 |
 |
 |
 |
 |
 |
 |
 |
 |
No comments:
Post a Comment
Thank-You for any comments you may leave, I appreciate the time it takes to do so and I love to read them all :)