Showing posts with label Bunny. Show all posts

Thursday, 28 March 2019

Fable Friends Bunny with Floral Headband

Hello!
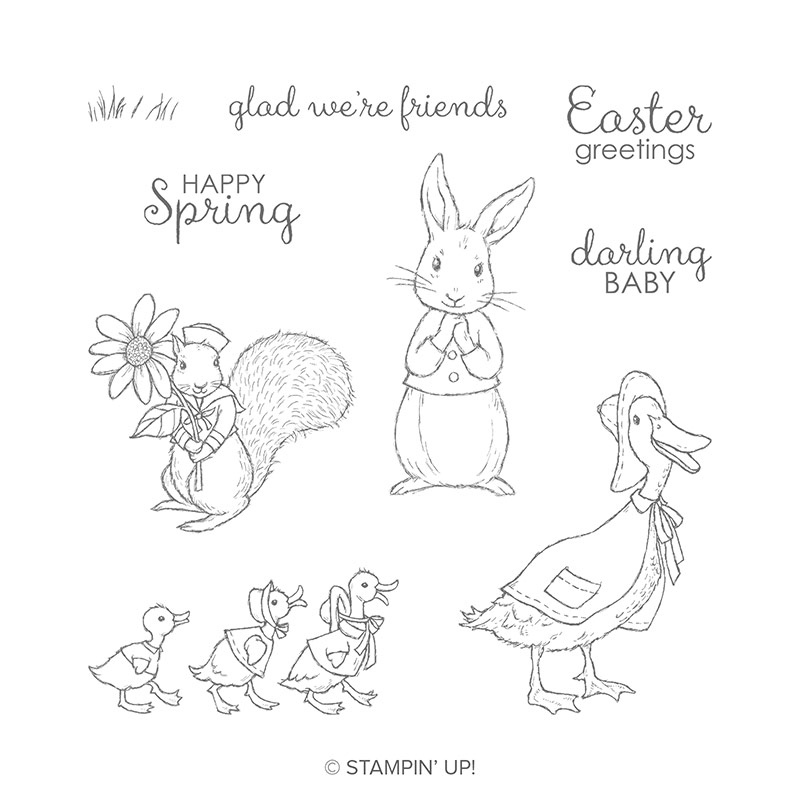
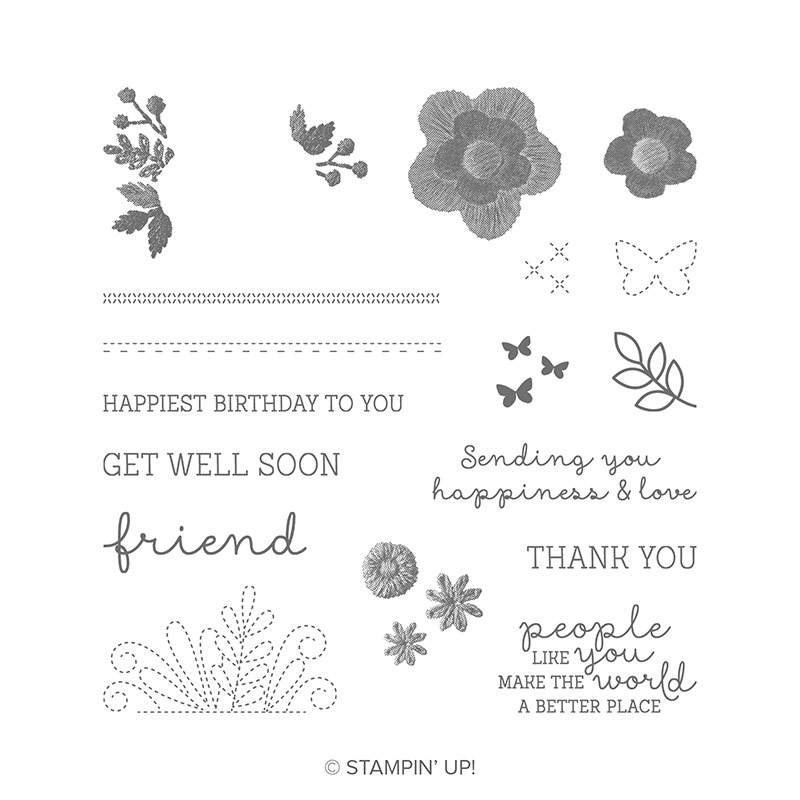
Today's card uses the Fable Friends stamp set again and this time I couldn't resist making a Bunny with a floral headband! I loved this idea when I saw a card using this by Nicole Kunzig on Instagram (search: wertschatz to find her) and just had to make one! So here it is...
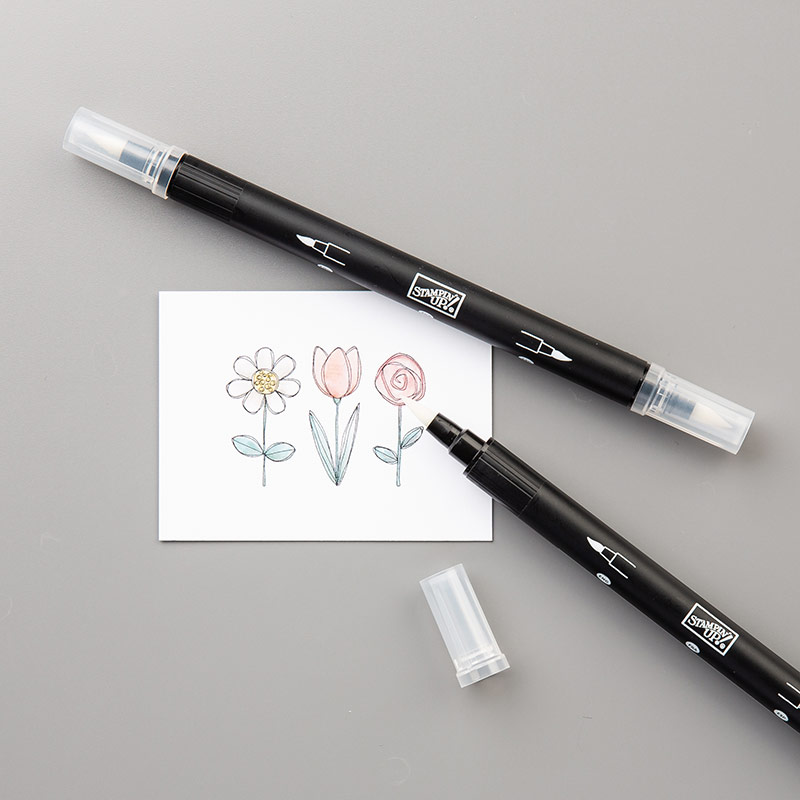
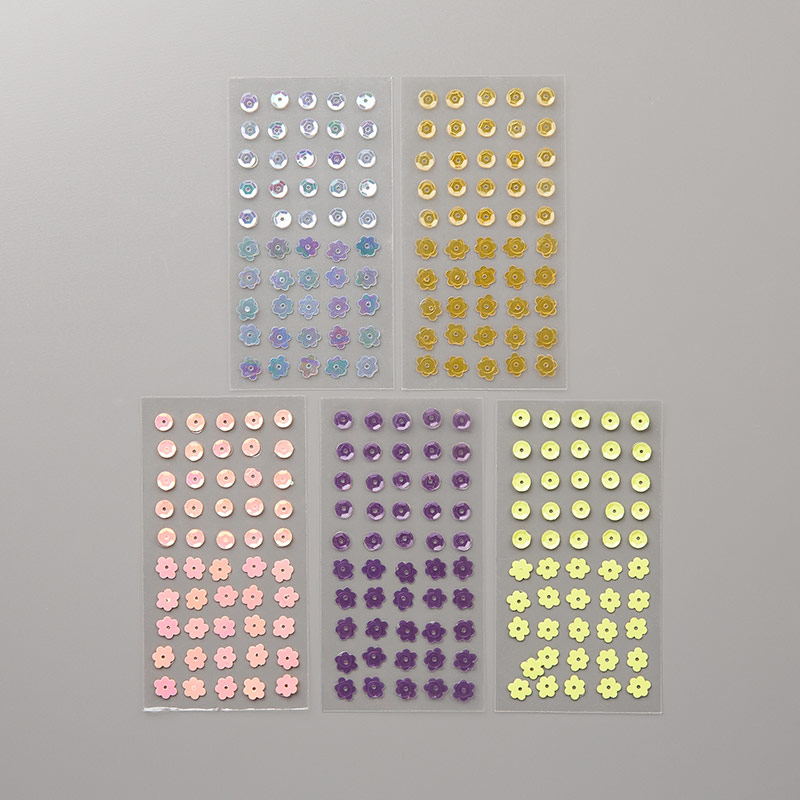
 I stamped my bunny using staz on ink onto watercolour card and coloured her in with a blender pen and ink pads, adding the flowers in Flirty Flamingo and Grapefruit Grove using a retired punch but (I thought later) I could have use flowers from the Needle and Thread framelits :-)
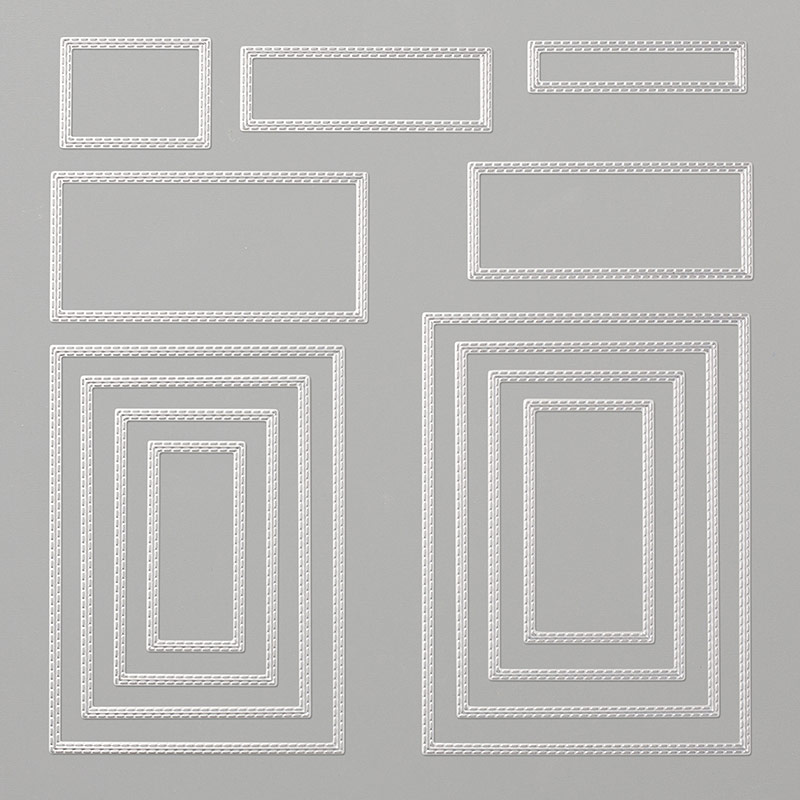
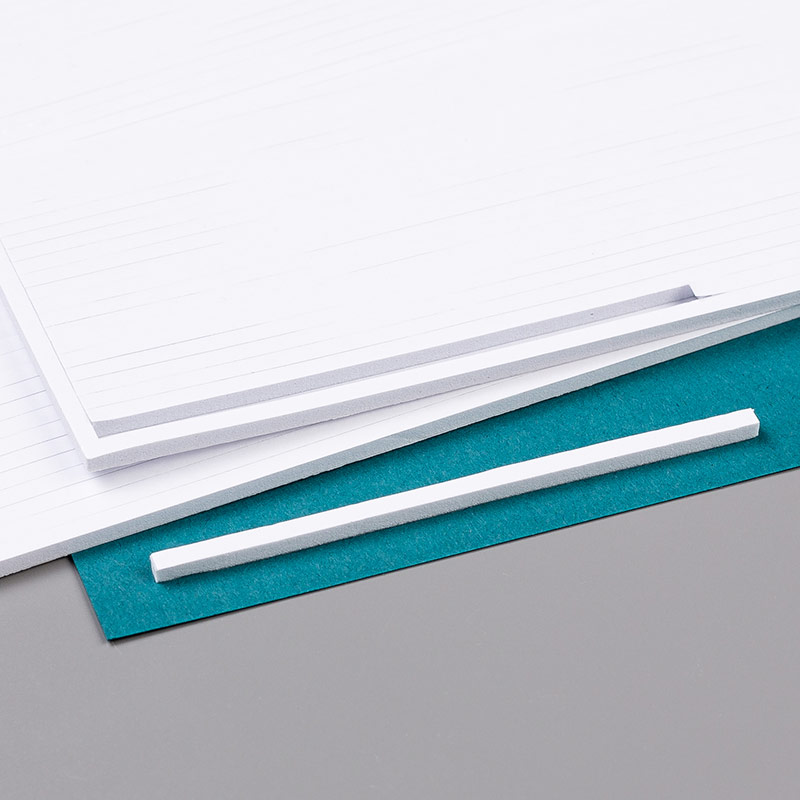
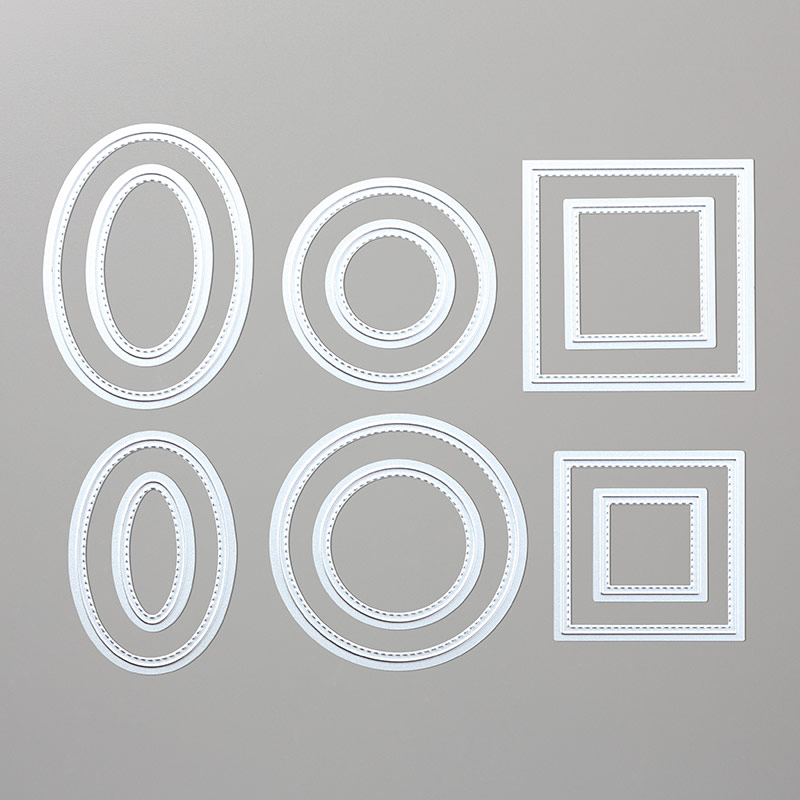
 I added a cute frame made with the stitched rectangle dies and popped it up for speed with foam strips, they are so quick and easy!
I finished it with a layered and heat embossed birthday sentiment so of course I just had to give this card to my daughter for her birthday!
Well, I do hope you liked today's card?
Just a quick reminder before you go that Sale-a-Bration finishes in just a few short days (31st March) so if you are thinking of joining SU! or just want to make the most of a free gift with every £45 spent (and why not?) then remember to order/join soon ;-)
I'll be back soon with another make but 'till then, happy stampin'
      Shop Online With ME!
Host code for March spends over £25 and under £150 is FKNZJAWT  

Stampin' Hugs,

Friday, 26 January 2018

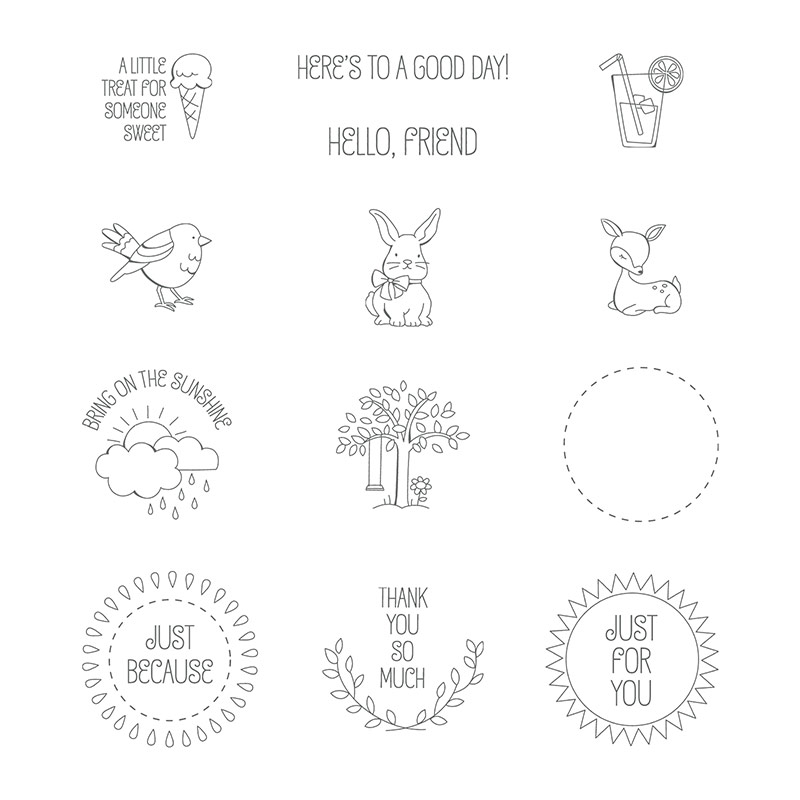
Using the "A Good Day" Bunny by Stampin' Up!

Hello there, I hope you are all looking forward to the weekend?
I'm here today to share a little cuteness and fun with you using this super adorable bunny from the "A Good Day" stamp set...
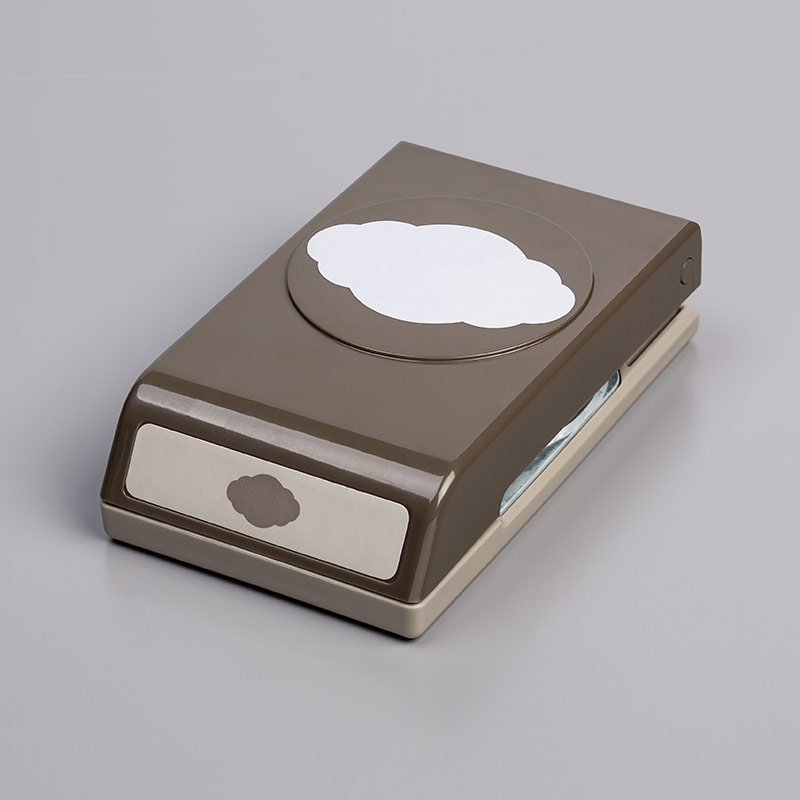
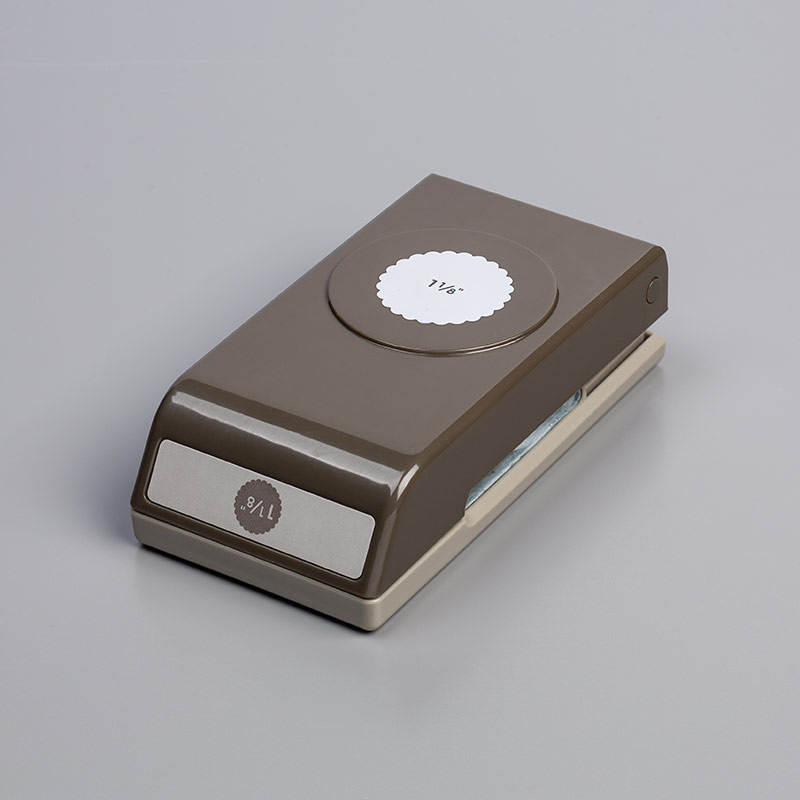
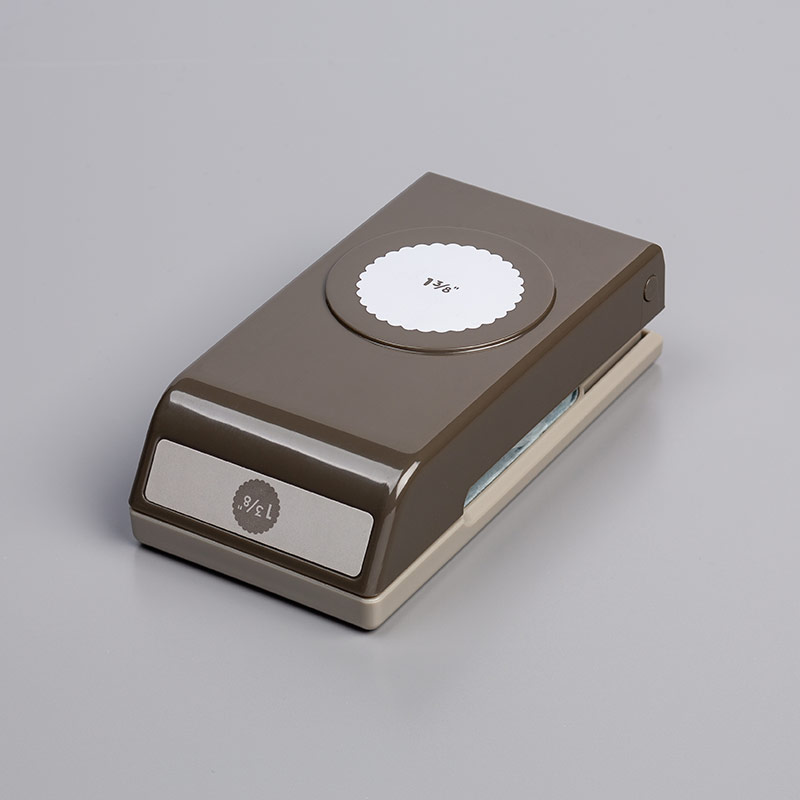
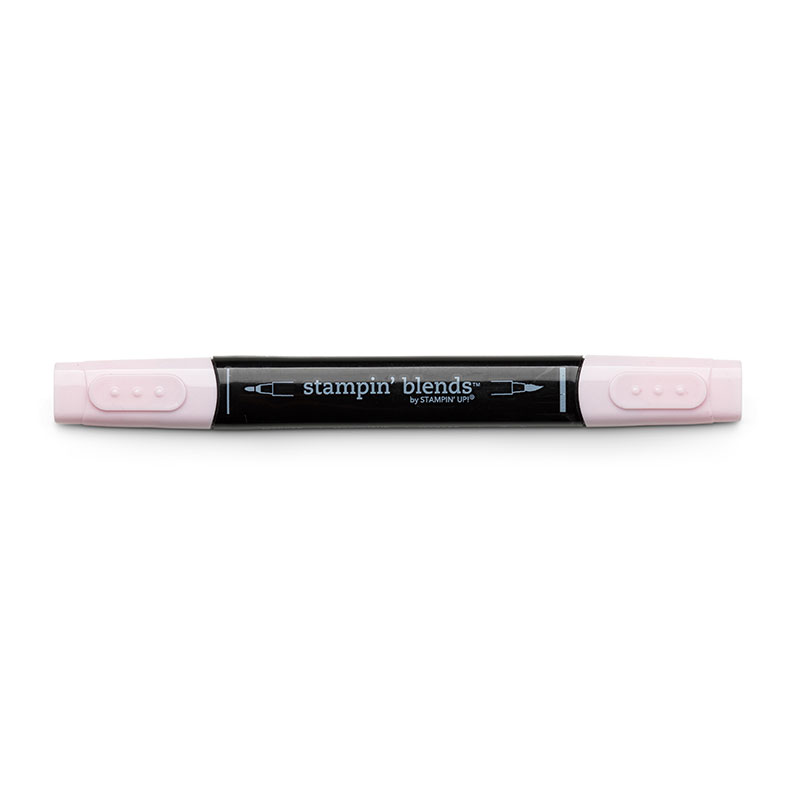
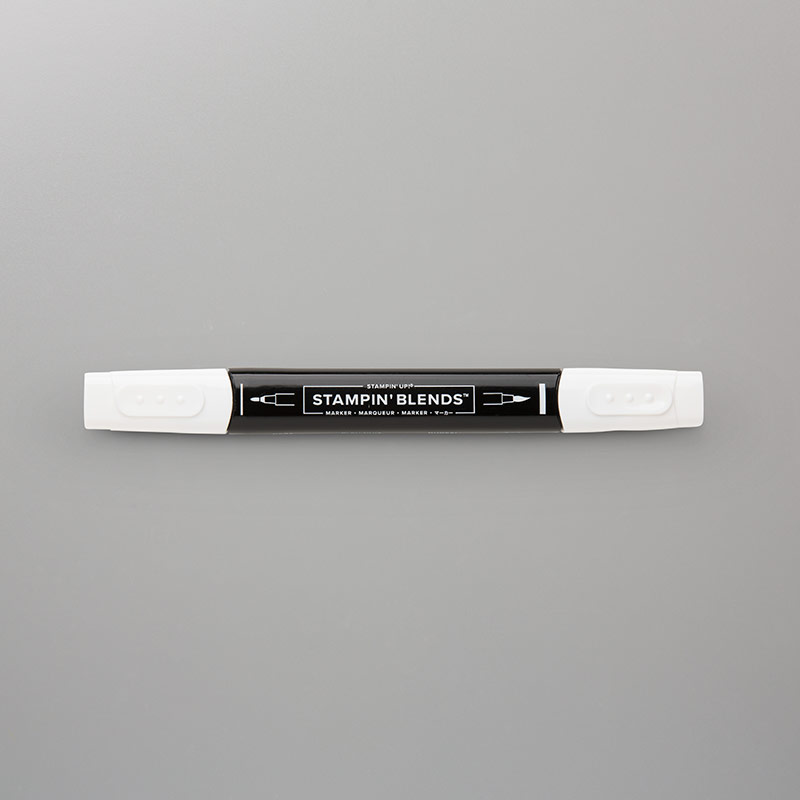
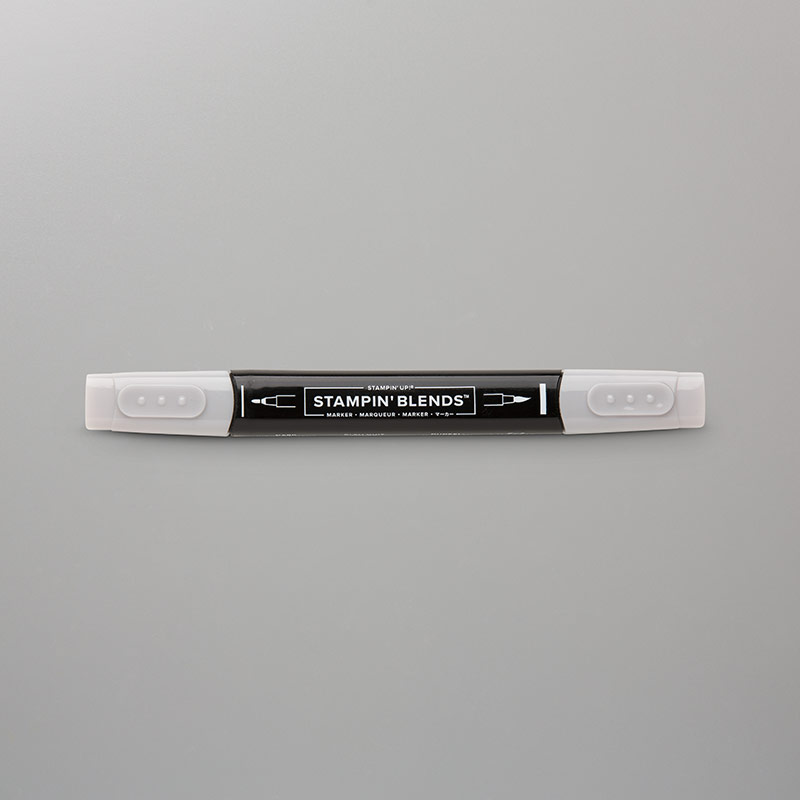
I coloured this bunny with my Stampin' Blends pens before punching with one of the new scalloped circle punches* and layering it with the (also new) slightly larger size - super quick!
*both in the S/S catalogue
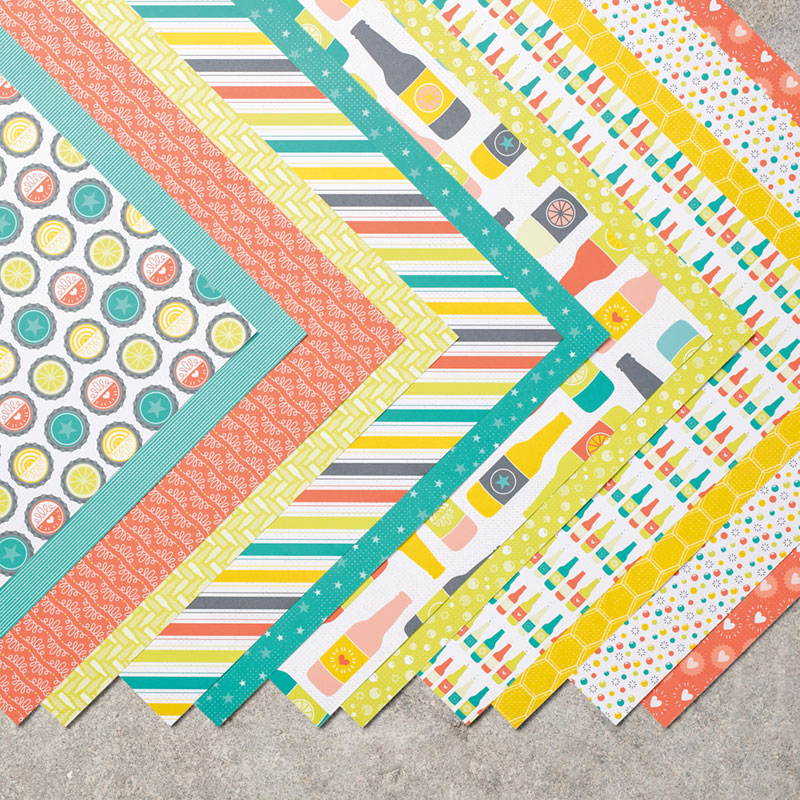
 This paper across this card is the SaB one - "Bubbles and Fizz" in Bermuda Bay, doesn't it look lovely teamed with some Blushing Bride? Who knew?
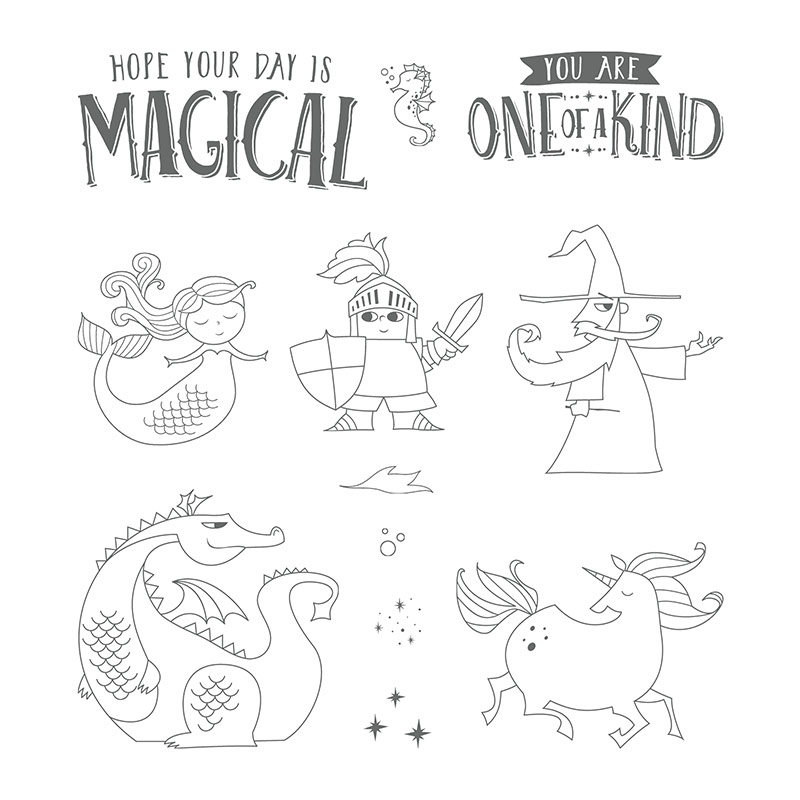
Oh, and those teeny little stars in the background are from the Magical Day stamp set ;-)

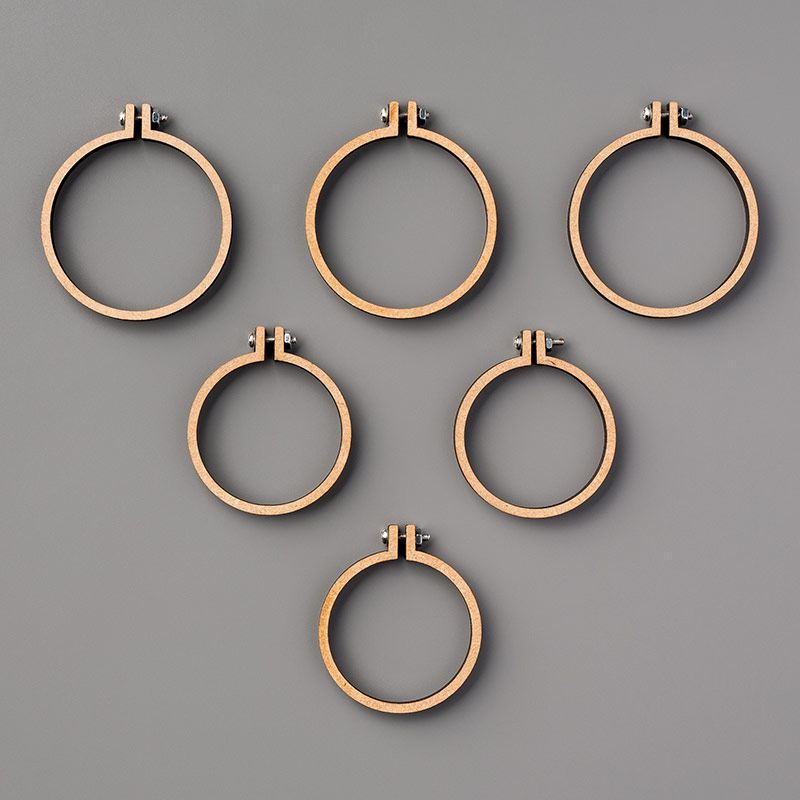
 And check out that cutie patootie mini embroidery hoop!! *swoon*
It just makes that cute little image the centre of attention on this card!
 Right, that's todays make for you, are you loving this set too? I have made quite a few cards with it already so I do hope so ;-)
Thanks so much for looking today...
     Shop Online With Me
Stampin' hugs,

Thursday, 6 April 2017

Pastel Basket Bunch Bunnies for Easter

Hello!
I have a fun and easy card today to share with you using Basket Bunch. I stayed with a clean, pastel colour combo to make this sherbert-y card, take a look....
 I stamped on thick white card and watercoloured with matching ink pads for a subtle colour to each bunny. I then added a little wink of stella in clear to give them sparkle!
 And finally finished with a little (retired) twine bow.
Well, that's all from me for today! Thanks for looking today :-)
     Shop Online With Me
Stampin' Hugs,

Sunday, 12 March 2017

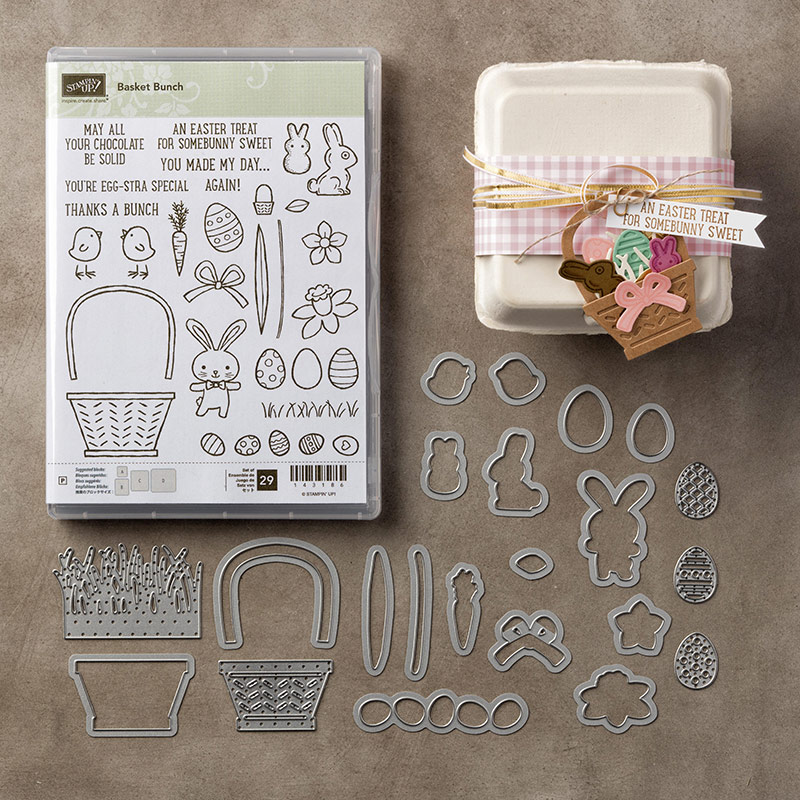
A "Basket Bunch" with Watercolour Stripes Card - with Tips

Hello!
If you don't follow me on Instagram, then why not?! He, he. That's where I post all the fun, 'what's happening right now' pictures ;-)  Like just the other day you will have seen me painting these stripes and colouring the mini eggs too - and this is the card that I made using them! I'm also totally in love with this little Easter set "Basket Bunch" that I only got this week, I'm already so happy I did ;-) see.....
All the white card I used here is shimmer card which is just lovely for watercolouring - I'm so loving watercolouring still!
TIP: I used Memento ink to stamp, this is perfect for watercolouring and it doesn't stain your photopolymer stamps. I know! I didn't realise this till very recently either. Just remember to leave it to dry completely before adding any water.
 So, here is the picture I shared on Instagram, it's a little blurry on here because it's from my phone but I wanted to quickly share the brush and technique I used to get these stripes.
How To: This paintbrush brush is a flat ended, very inexpensive brush that I already had here (it's a little scratchy, if I'm honest), but it did work perfectly fine for these stripes. I used the ink pad lid and gathered a pool of ink in the top by pressing the bottom of the pad into the lid when it was closed, spritz in a couple of pumps of water to loosen the ink and then using a wet brush I simply drew stripes across. If your stripes are a little pale add more ink to the watery area in the lid and go over them before they dry. I then dried the card with my heat tool. I didn't tape it down or anything as it was a little experiment that I ended up liking (a lot) and as I heat dried it that flattened it out just fine. You could of course do that (and possibly should) but I found it worked fine for me without doing that. And that's all there is to it! If you'd like a quick video let me know and I'll see what I can do and I haven't forgotten I promised a video on my concertina card, it's on my "to do" list :-)
OK, one last picture today for you today.
     Shop Online With Me
Thanks so much for stopping by today,
Hugs,

Related Posts Plugin for WordPress, Blogger...