Friday, 14 September 2012

Retiring Wedding Sweet for Hannah

Hello there, 
I have a super quick post today as I am busy getting ready for tomorrows All Day Class. It promises to be such fun and I have lots of projects to share with you soon!
But onto today's card for you and I made this card for my Down line Hannah's wedding day in August, she did receive the card in plenty of time for her big day, I am just really late on blogging it!! 
Anyway, seeing as this set is retiring at the end of the month I wanted to share it with you before we say goodbye to it :-)
The colours I used for the cars were Pear Pizazz and Rose Red, Hannah has used Celery and Rose Red for her invites and I wanted to go along with her colour scheme
 I added a cute Vanilla bow to the bottom of the flower spray along with plenty of rhinestones 
 and a little decoration inside too 
I saw Hannah the other day and she mention again what a fab day it was and how she had liked the card, happy days :-)))))
Thanks for dropping by today
Stampin' Hugs,

Wednesday, 12 September 2012

Owl Punch Birthday Wishes

Hello there!
I hope all is well with you, I am still getting ready for Saturday's All Day class and due to popular demand I am looking running it again at the beginning of October, it will probably be on a weekday running 9-3 so as to fit in with the school run ;-) please do let me know if you would be interested in joining us? I will be posting all the projects we are making in the next couple of days. 
Anyway, today I have the birthday card I made for Neil's Dad to share with you. 
I wanted something a bit fun and as I haven't used the Owl punch in a while I decided to give him a whirl!
 I made the tree with the large scallop circle punch and stamped it using the leaves from the ever versatile confetti stamp set, I hand cut the "trunk" from brown card
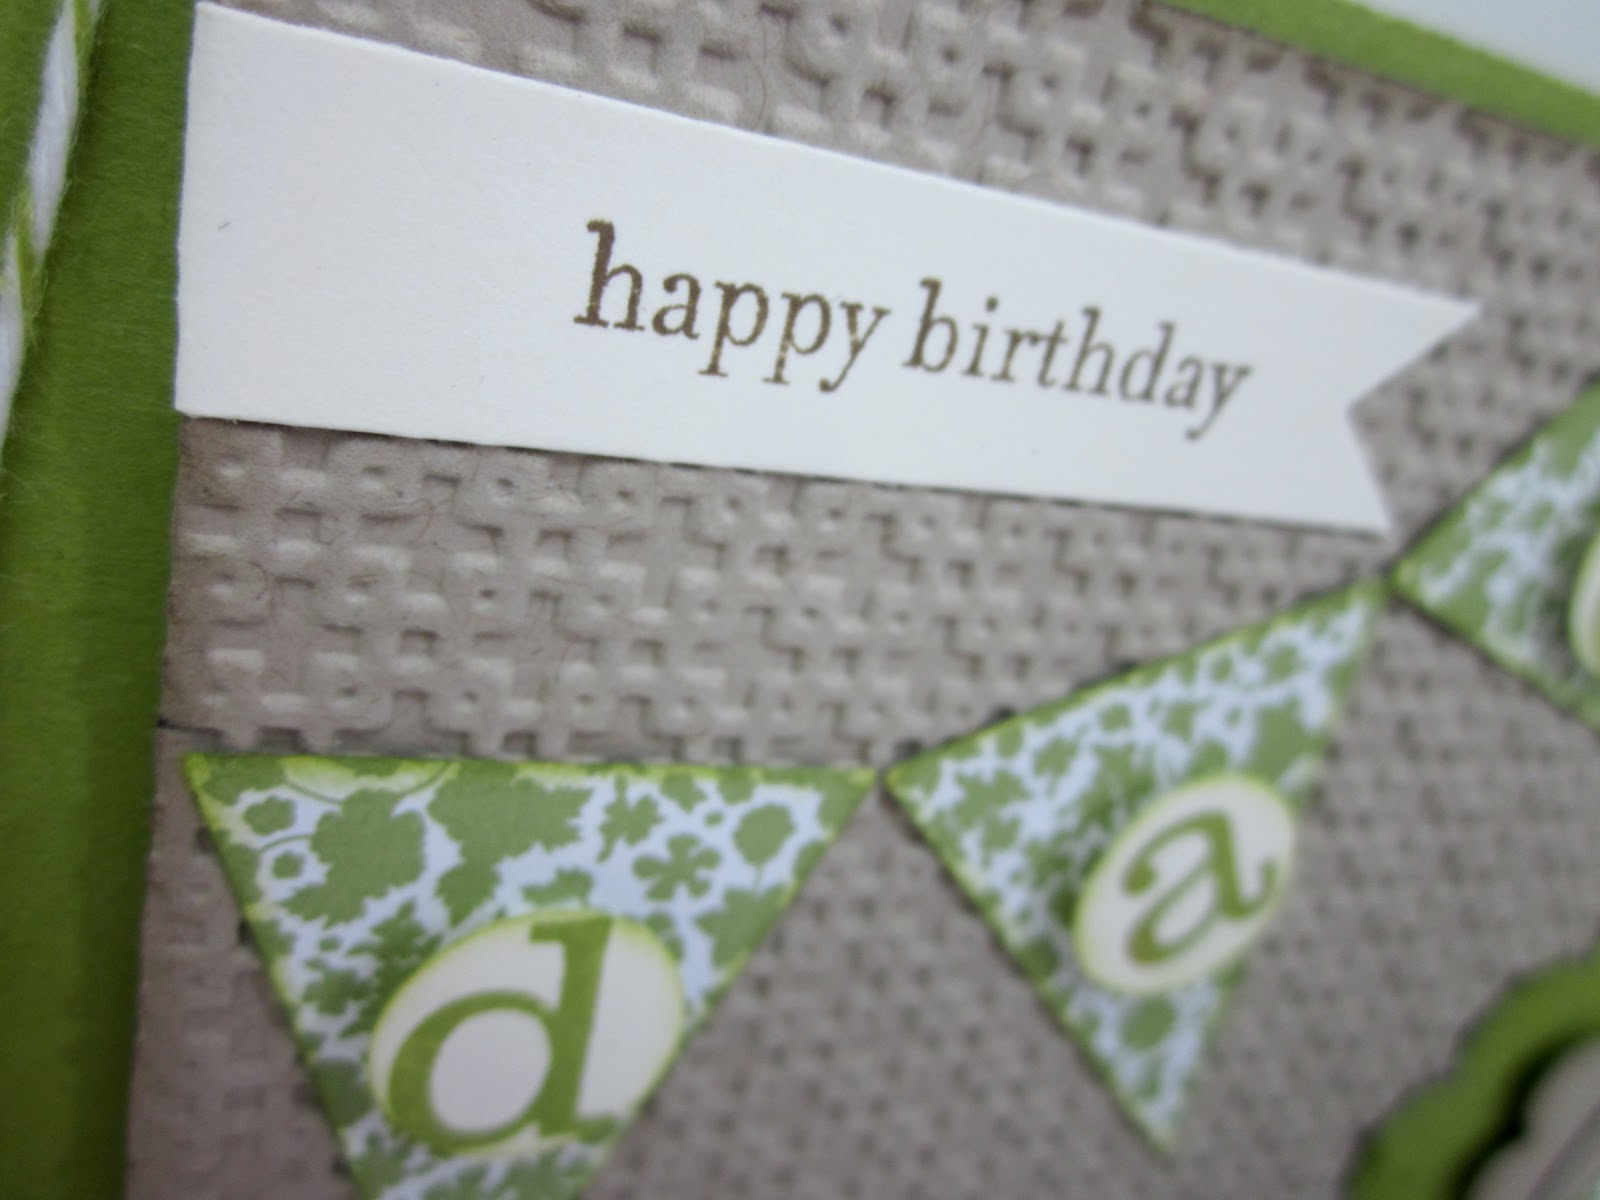
 Teeny Tiny Wishes Birthday sentiment and the retiring Just Perfect Alphabet was used on the pennants
 and I added a couple of pennants to finish off the inside.
Right, I'm off to cut more card! Thanks so much for stopping by today :-)
Stampin' Hugs, 

Monday, 10 September 2012

Perfectly Preserved Birthday with a Layered Curly Label Punch tutorial too!

Hello there,
It was my friends birthday the other day and so I played with new favourite stamp set Perfectly Preserved and the matching papers too, so gorgeous!
**Please scroll down for tutorial on layering the Curly Label Punch**

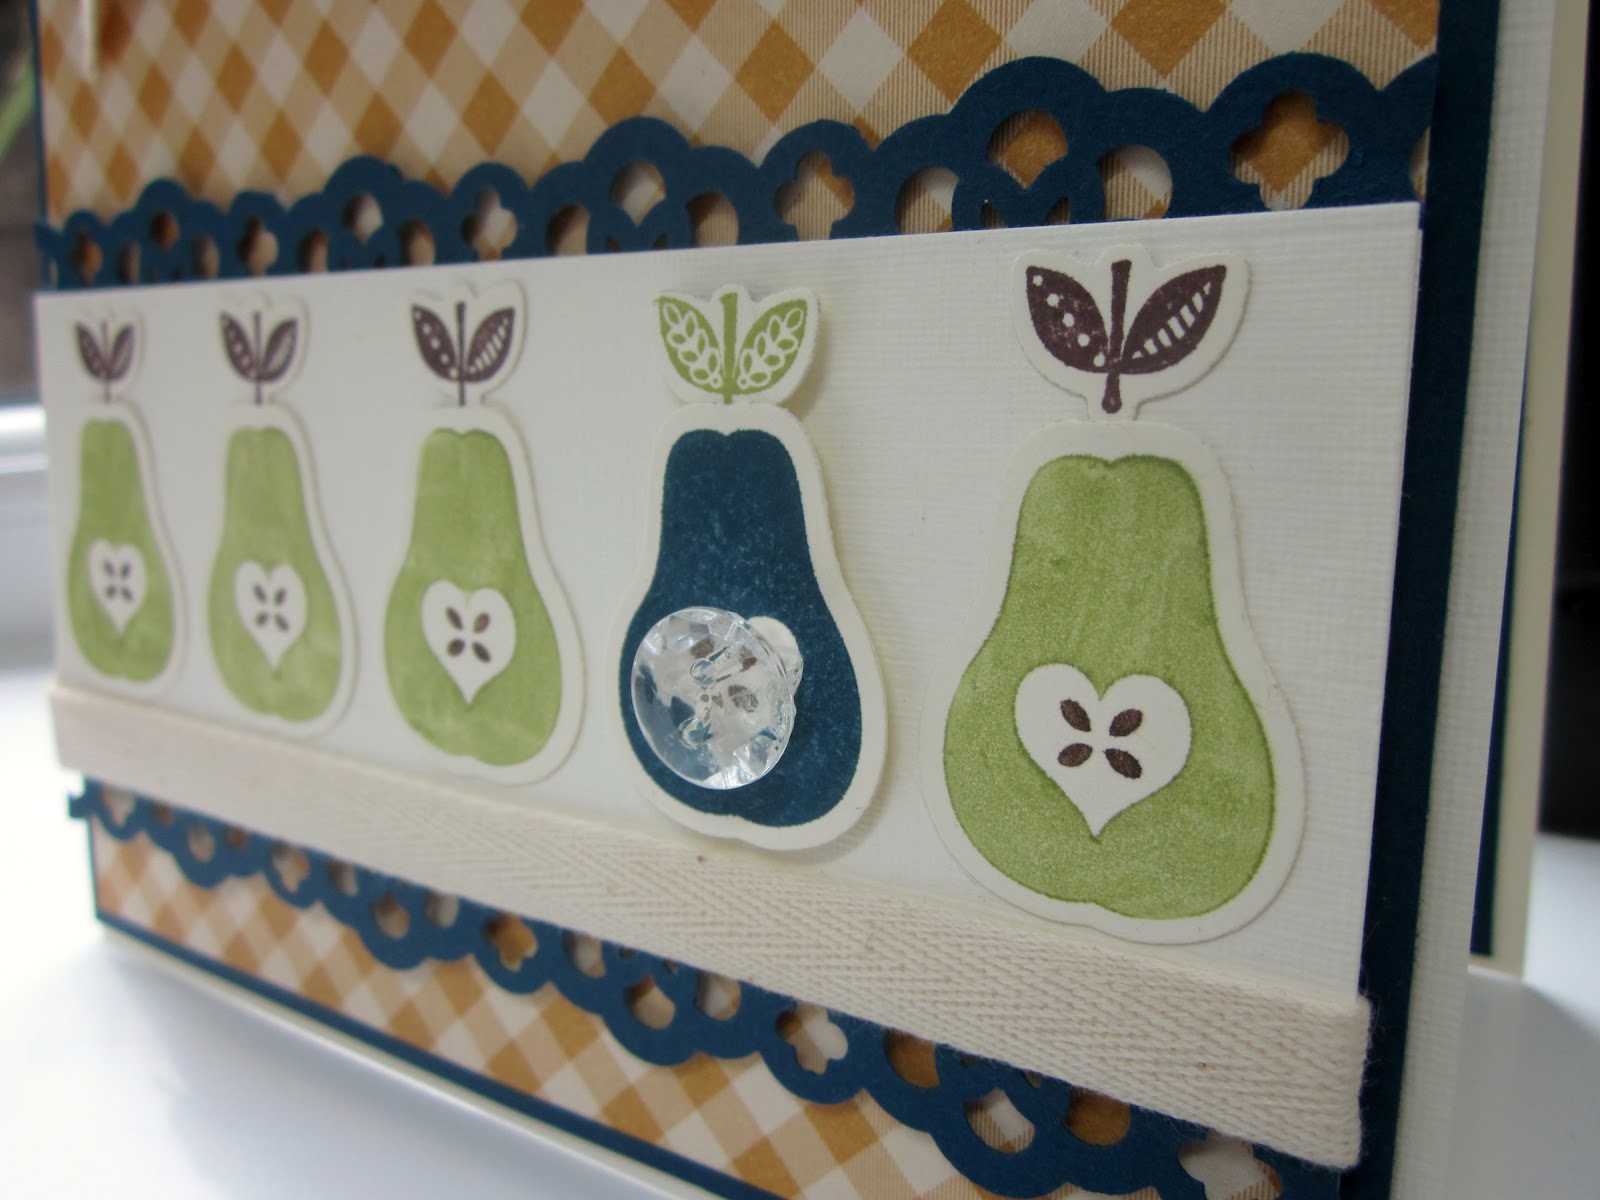
  I also used the matching Cannery framelits dies to cut out the little pears, these pears are my current crush and by far my most used stamp from this set...
I *heart* these buttons, my dear friend Julie gave me a few when she came to visit a few weeks ago, they are currently reserved for specials friends but I am counting the days 'till the 1st October when I can order at least 100 packs for myself (just in case I run out ;-) lol)
 and the inside was decorated a little too
So, do you like the button tab detail on this card? Well here is a simple way to achieve this double layered look to the punched Curly label tab! You need the Curly label punch (obviously) and the Decorative label punch too 
So, begin by punching the smaller Curly Label from your top layer of chosen card or paper, I inked the edges of mine but this is not essential. Then punch a Decorative Label from the background design again from either card or paper. Adhere the curly label to the decorative label with a narrow border at the bottom as shown here
Feed one side of the labels back into the Curly Label punch to make an even border at the side to match the bottom, punch it out!
 flip the labels around and repeat on the other side
 Now, the bottom corners will have this slightly uneven look so I just snipped it off with scissors, very easy
 and this is what you should have now. I then trimmed the top edge of the bottom layer so it was also straight
 and this is the finished tab!
I hope you have enjoyed this mini tutorial and I look forward to seeing it on your cards too ;-)
Thanks for stopping by today and if you need any help getting the punches (or anything else) I have mentioned then please contact me today to place an order ;-)
Stampin' Hugs from me today,

Thursday, 6 September 2012

Goodbye to Mocha Morning

Hello there,
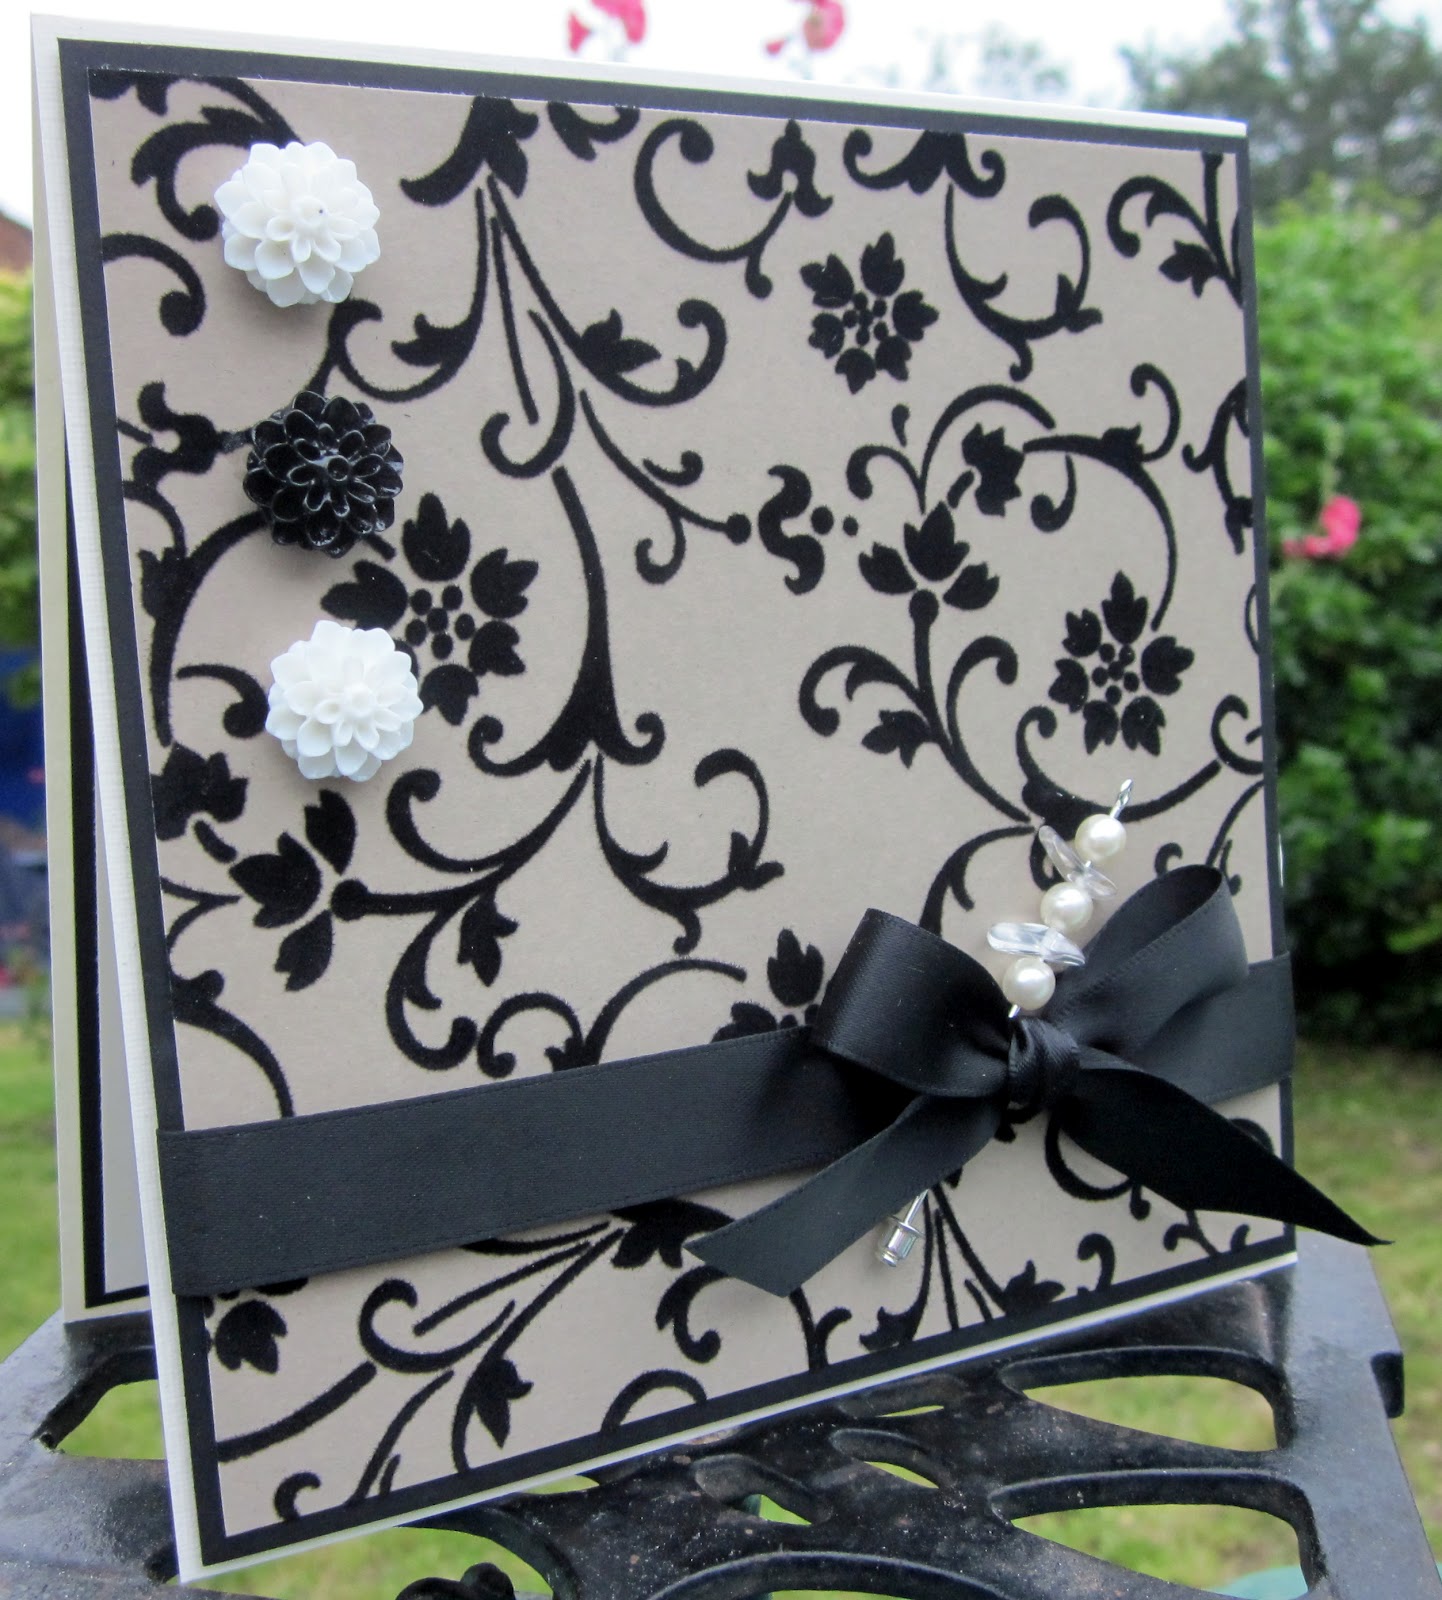
It was recently a very good friends birthday and the gorgeous Mocha morning papers are just perfect for elegant and special cards don't you think?! They are just so stunning in there own right that I decided to let the paper do talking, and they are also a massive 40% off right now too :-))))) This sheet has a gorgeous flocked texture to it...
all the satin ribbon is also retiring, sooo sad!!
Pin and beads from stash 
and these lush 'lil resin flowers are from my stash too, the perfect accompaniment but you can also see the flocking better on this picture too
Well, if you like these papers then please remember the Retirement List is strictly while stocks last with lots sold out already, for up to date info please look on the list HERE and email me your order asap to avoid any disappointment :-) Remember I am offering FREE postage on all orders over £60 during September too!
Thanks for visiting today,
Stampin' Hugs, 

Tuesday, 28 August 2012

September Class with Perfectly Preserved from SU!

Hello there,
I am off out in a minute to get those last minute school essentials like shoes (for all 3 kids!) lol but I just wanted to pop on here and share with you what we will be making at card class next week. I am full for Tuesdays class but am also running a class on Wednesday 5th September, message me if you would like to join us!
So, what will we be making....
This gorgeous stamp set is in the new Autumn Winter seasonal catalogue and it comes with matching framelits! I am loving this set!
 
 some faux stitching on this card
 

and look at the cute jar made with vellum!
 
If you would like to come along and join us then please message me asap as places are unfortunately very limited for this class, 
Plus please remember I have just 4 places left for my All day class on the 15th September where we will be making a start on your Christmas cards!!

sarah-janerae@sky.com

Stampin' Hugs from me for today

Friday, 24 August 2012

Reason to Smile x2 by Stampin' Up!

Hello there folks!
It's been another busy week in the Rae house! We have had my lovely Nan down from Birmingham with my uncle and his family over from the US too! So lots of family get togethers. Plus Jules has been visiting with her son Evan and they were staying with us. I have had such a fab time this week, surrounded by the people we love!
Anyway, I have once again neglected you, my lovely blog followers, so I have got a double hit for you today to make up for that lack of postings!
First of all I made this card for my sisters birthday at the beginning of the month using the outline shapes from the Reason to Smile stamp set to create the flower images. I have to say though it photographs like a face :-s  but IRL it turned out much prettier, honest ;-)
 An antique brad livens up the corner of the Wisteria Wonder ribbon on this monochrome card
with lots of decoration inside too.
Now, this second card was one  we made at this months Stamp-a-Stack and uses a Melon Mambo and Lucky Limeade colour combo. A firm favourite of mine!
We used the solid images this time,
 Inking the flowers with markers. The texture of the stamps produces this gorgeous watercolour effect on whisper white card. Doesn't the texture look cool?!
and the bottom was finished with the outline flower stamp and a brad in the ribbon to decorate
Well, I hope you have enjoyed today's cards and remember this stamp set is only available 'till the end of the month (August), Yours FREE with a £60 order or just £18.95 (w) or £16.95 (c)
Back soon with more cards.
Stampin' Hugs,

Thursday, 16 August 2012

Bordering on Romance class

Hello,
Last week I had my Bordering on Romance class, as I mentioned yesterday. We made 3 pretty cards and I based two of the designs on the last couple of cards I showed you. And so I thought today I would share the whole class with you as I have just been so busy with the kids that I have barely had time to blog this holidays!
Anyway, to start with I have a different design to the last couple of posts, I stamped the smaller flower image onto Crumb Cake card before water colouring it in pinks, I love the look this gives!
 We rounded the images quite a lot and double layered them with dimensionals to adhere, I thought the ribbon lace border punch made a great trellis for them to cling to too?
and a bit of bling for the sentiment never goes a miss :-)
 Right, this one is the one I based on yesterdays post, So Saffron and Pool Party
 We ruffled ribbon onto sticky strip for a different look at the bottom
 and finally this card was based on the other water colouring card I shared last week, instead of more colouring though we simply stamped the flower border in different shades of pink 
and then added punched Bitty Flowers and glass glitter for sparkle
Well, that's your cards for today, 3 for the price of one ;-)
I hope you have enjoyed our class makes and I will be back soon with more card fun. 
If you would like to come along to a class then please do get in touch 
Stampin' Hugs, 
Related Posts Plugin for WordPress, Blogger...