Hello,
So today I have a new video to share with you today, after all it is Tuesday! For a change I have it uploaded and ready to share with you nice and early this week but as the title today suggests it's much more than two minutes for this weeks video :-)
Today I'm sharing how to make this pretty die cut edge using your Beautiful Butterflies stamps and dies. Before we go any further I have a couple of things I need to point out- first of all I want to say I saw this video made by the fabulously talented Jennifer McGuire sharing a partial die cut edge and was inspired to make my own version, so big thanks to Jennifer for the inspiration! And secondly, I have had this video made for a good few weeks but have held off sharing it as these dies have been held up in shipping- happily I can tell you they are now available to order again. Because of this delay the video shares with you colouring your rhinestones with blendabilities but as you (hopefully) know these have sadly been discontinued. You could instead use a sharpie or other alcohol marker to colour your rhinestones or just use them plain or even swap them for sequins instead.
OK, lets see my take on this popular technique. I started by stamping the butterflies onto my card then die cut them to make this card. (All is explained in the video, please scroll down to view)
These butterflies were stamped using crisp cantaloupe which is now sold out :-( but you could try any of the subtles inks to get this look or maybe change it up and use a bolder colour!
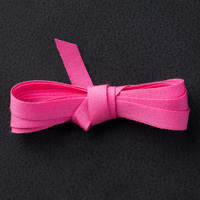
Melon Mambo cotton ribbon
This front panel was added with dimensionals...
...please see the video for full details, I hope you enjoy!
and one last picture to finish
Well, I hope you enjoyed today's video and I'll be back tomorrow with another card,
Stampin' Hugs from me for today,
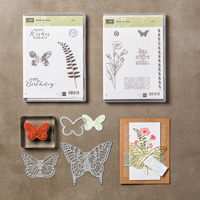
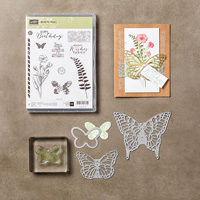
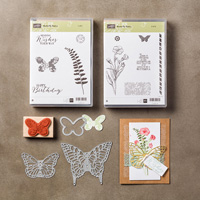
Products Used to create this project:




Oooh! That is so pretty Sarah-Jane . . . one for me to CASE methinks! Lovely! Have a great week! Hazel xx
ReplyDelete