Showing posts with label Sizzix. Show all posts

Friday, 18 January 2019

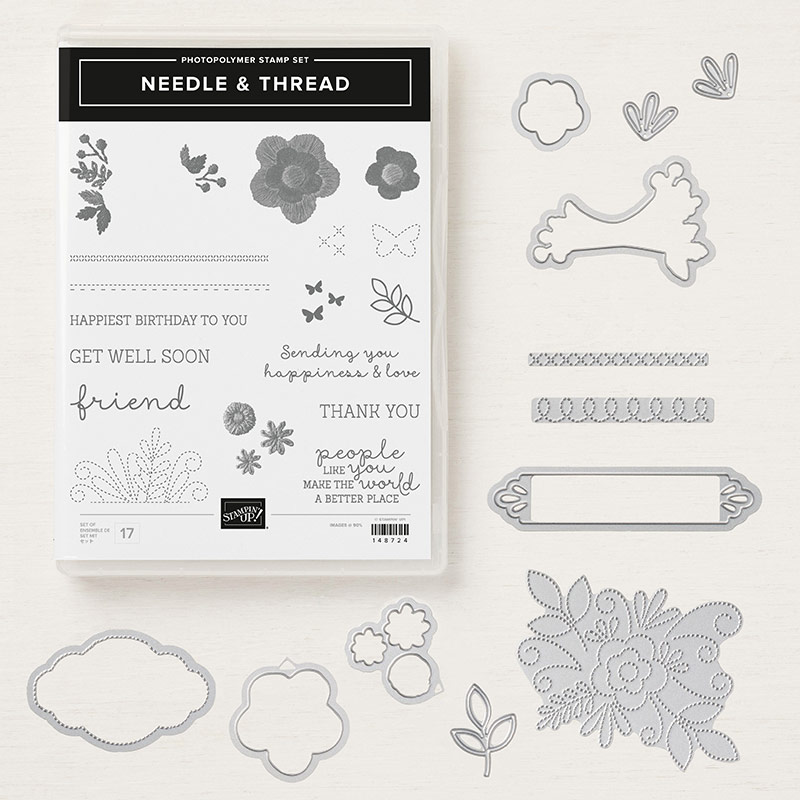
Stampin' Up's Needle and Thread bundle

Hello there,
I have a cute card today using the Needle and Thread bundle which I will be using in class later this week. This means I have made loads of samples with this set and so I will be sharing all of them here over the coming days!
This card started life at On Stage but I didn't assemble it while I was there as I wanted to add a few extras and tweak it a little to create this card...
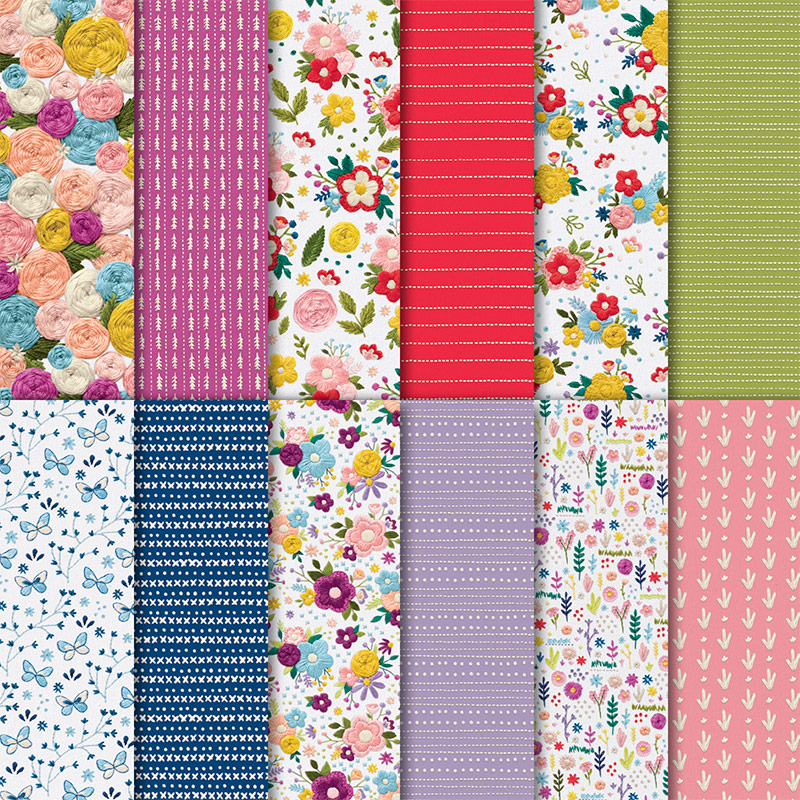
Some of the tiny changes I made were to cut the DSP in half, layer the pink card with a pop of Berry Burst and use those lovely swirl stamped images too.
And don't you adore that pin effect the background die creates on here?
 I have loved using this suite, so much so that I have to actually force myself to move on to some of the other lovely stamps in the Spring/Summer catalogue so I have some other projects to share with you here, lol!
I hope you have enjoyed todays make and I will be back with loads more makes over the next week or so! I do hope you'll pop back to see :-)
Thanks for looking today.
    Shop Online With ME! 
Host code for January spends over £25 and under £150 is UFQDSB72
Stampin' Hugs,

Saturday, 4 November 2017

Seasonal Chums Window Card for a Jems Blog Hop!

Hi!
So it's time for another blog hop with the Jems and you may even have arrived here from the lovely Amanda's blog? It's easy to see everyone's marvellous creations, just follow the link at the end of each post...
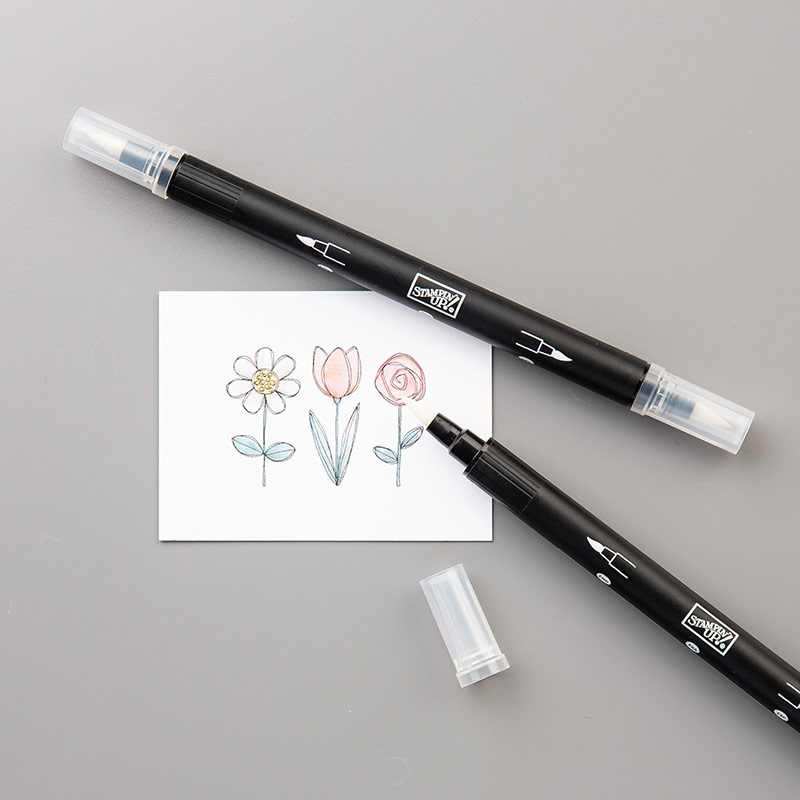
The theme for this hop is colouring! With the launch of the new Stampin' Blends everyone agreed colouring was a great excuse to have a play!
I am doing a three month club/class for these pens starting in January. Watch this space for news as I'll be doing both a regular class and an "In The Post" version too!
Sadly I didn't get to order mine 'till this week so  have gone with watercolouring for this challenge. Any colouring counts so I do hope all the inspiration as you hop round helps to inspire you to break out your favourite colouring medium this weekend!
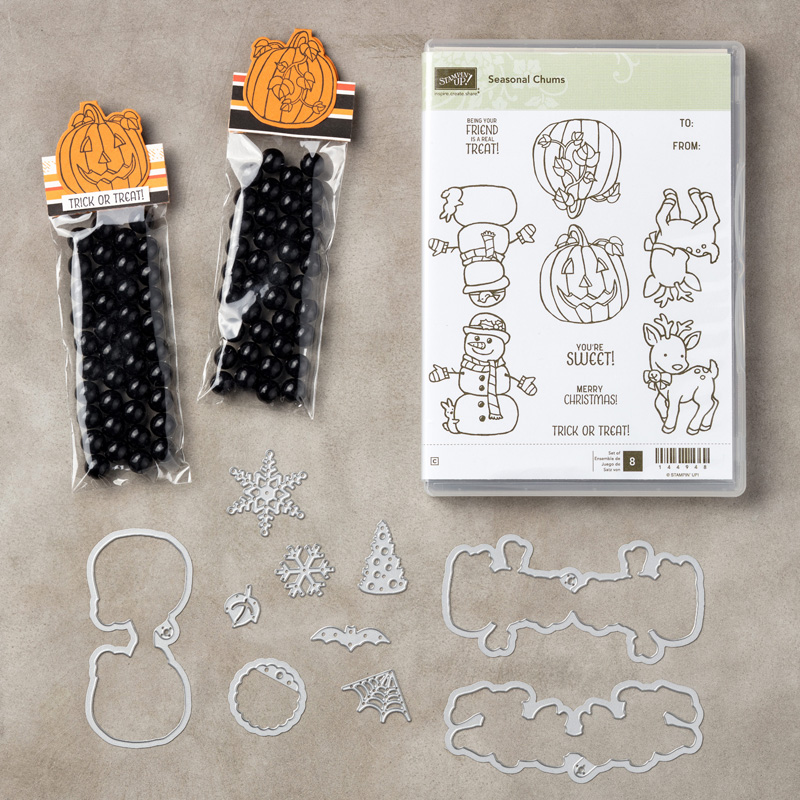
My card today uses the Seasonal Chums bundle with the snowman to make, what I'm calling a "Window Card". I wonder if it already has a name? Answers on a postcard, or in the comments section...
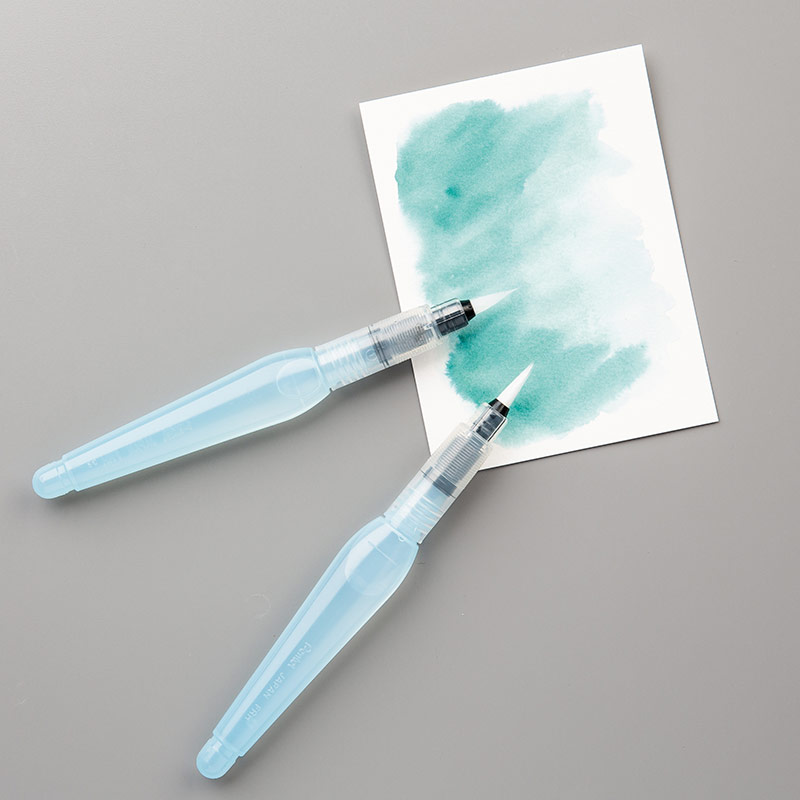
I used ink pads and both blender pens (for the tiny sections) and an aqua painter for the larger areas like his body.
I like to colour like this on either thick whisper white, like here, or shimmer card is great too as it gives you a bit more time to work before the ink soaks in.
As the images in this set have matching backs (that are identical in size and shape) I decided to add this fella either side of a window sheet to make the window card idea.
This is an easy card to make with a glimmer paper frame and the background inside, but there is a particular order to assembling this card...
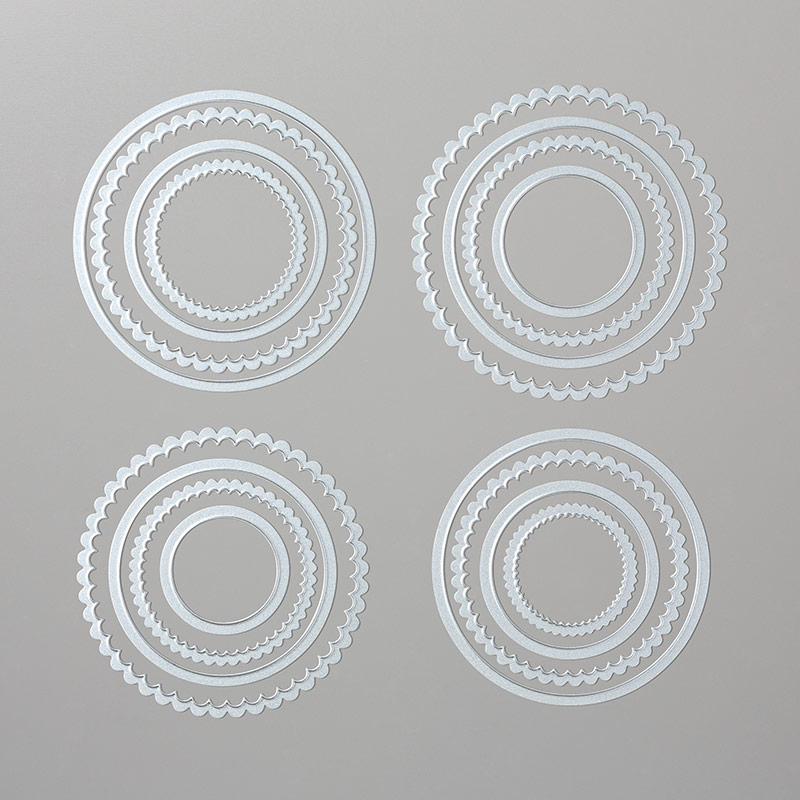
1. Die cut the scalloped circle and smaller plain circle (from the inside) from glimmer paper. Do these at the same time to save passes through the big shot.
TIP: Use washi or a post it note to hold the circles in the correct place when die cutting.
2. Die cut the smaller, plain circle from your card base.
3. Close the card and add the glimmer circle to the rear, through the front window.
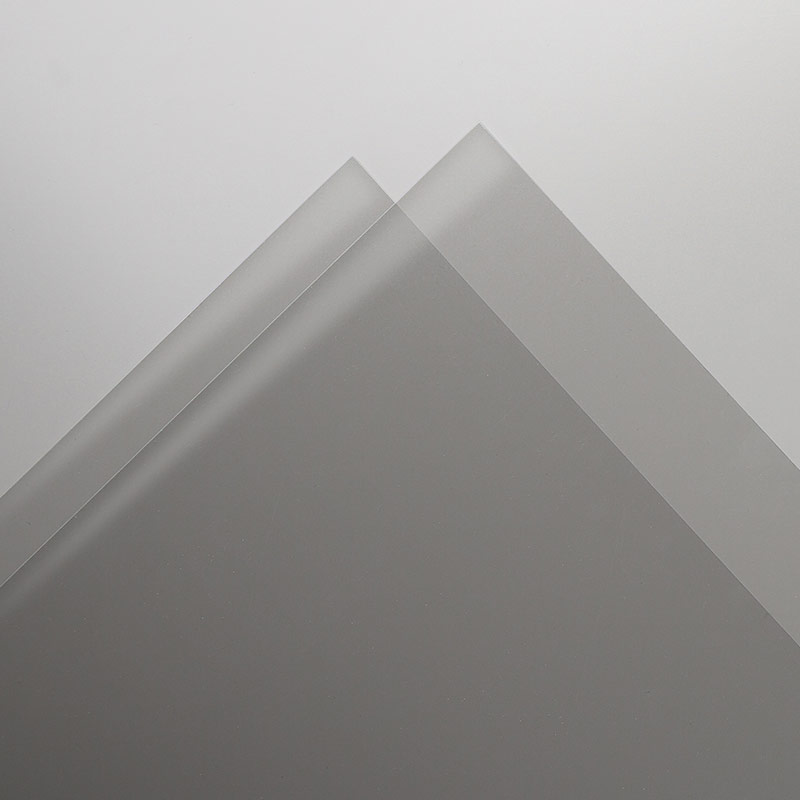
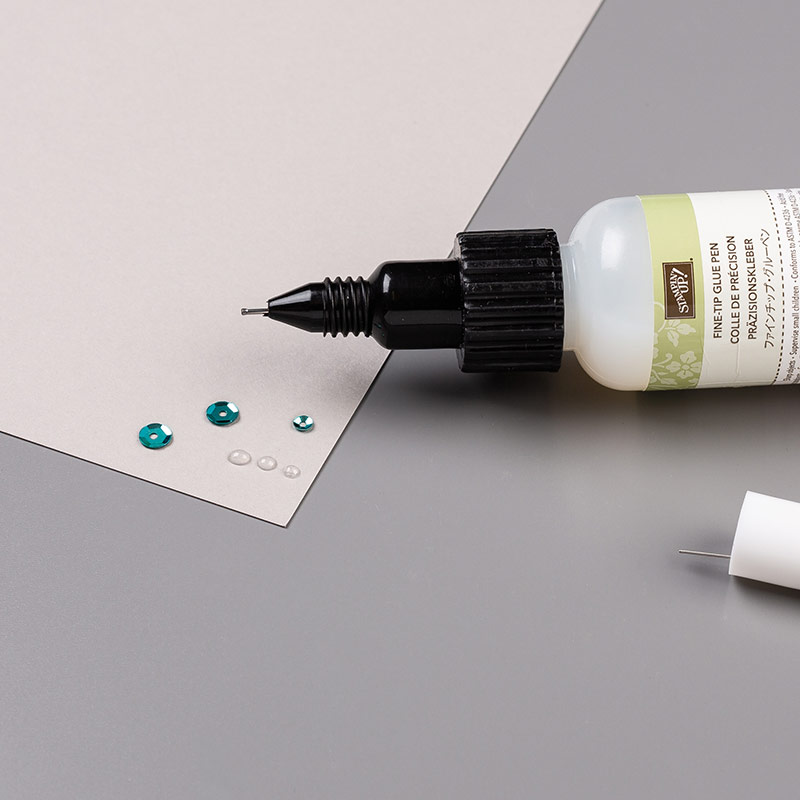
4. Die cut the scalloped circle only from a window sheet and adhere behind the glimmer scalloped circle using fine tip glue pen. Leave to dry.
5. Add the frame and window to the card front. Leave to dry.
6. Trim away the tab on the snowman and cut the front and rear apart. Add the front of the snowman to the window using the fine tip glue sparingly, so it doesn't leak out the sides. Leave to dry.
7. Open up and add the rear of the snowman and leave to dry.
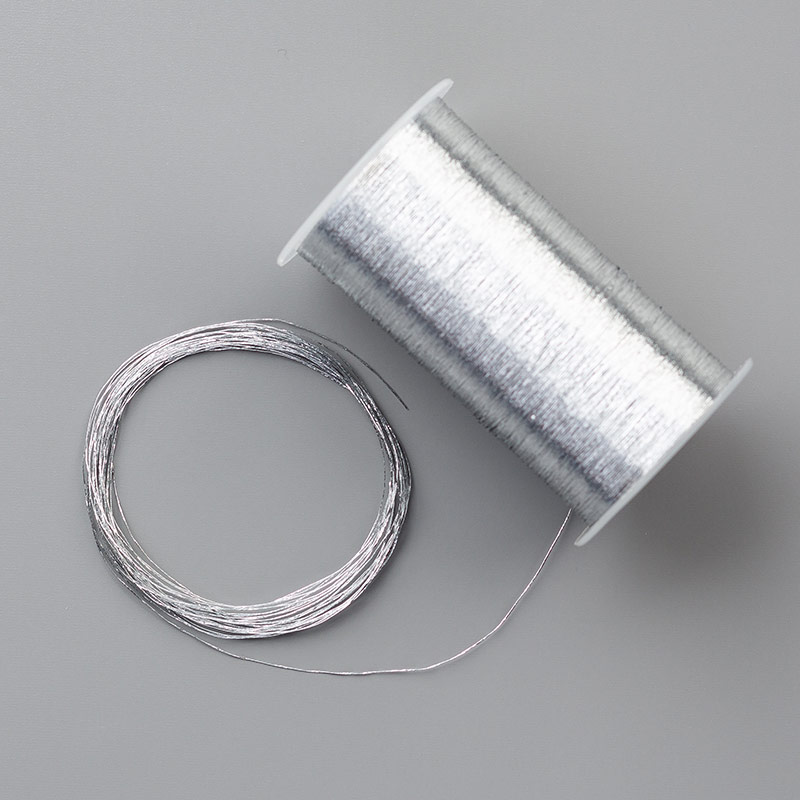
I doubled over and then wrapped a little silver thread around the top of the card.
TIP: To stop the thread unravelling add a dot of Blu Tac to the top of the spool and pop the end in it to hold it!
Finish with a sentiment and a snowflake which are both from the Seasonal Chums bundle too :-)
Phew, that was a lot of chatting! If you managed to stick with me then thanks! Next up is Umalini and I'm sure she'll have lots to inspire you, do hop over...
Thanks for looking today!
   Shop Online With Me
Stampin' Hugs,

Thursday, 12 October 2017

Using Inspire. Create Challenge Sketch #002 with the Seasonal Tags dies

Hello there,
I have my third, but I'm sure not final card using the great sketch from Inspire. Create. Challenges second challenge (#002)! You can see my other makes using this sketch HERE.
So, this card is the one that most loosely follows the sketch but it was certainly inspired by it ;-) Let's see...
Here is the sketch... And there are still a few days to join in the fun! This challenge ends Tuesday 17th October 2017
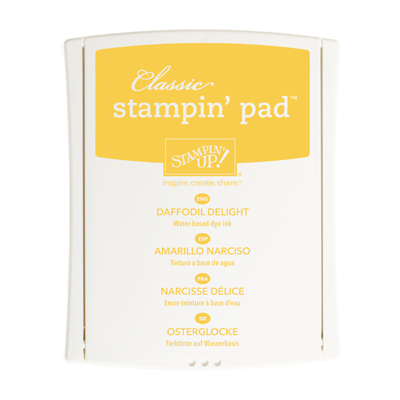
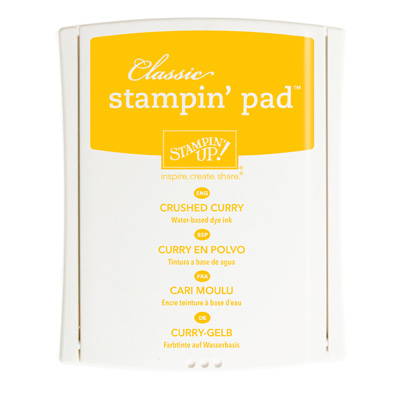
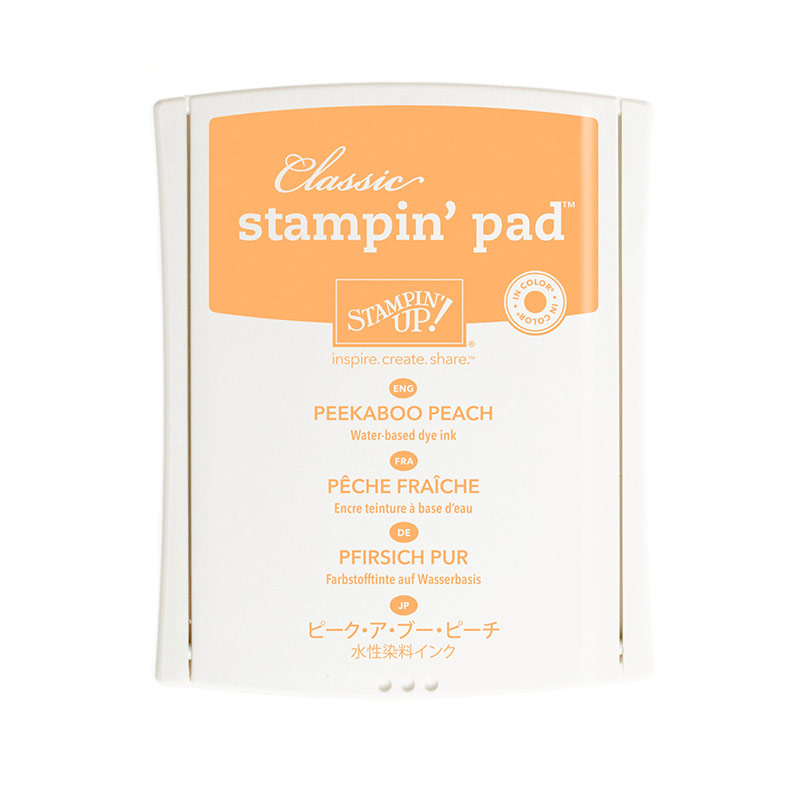
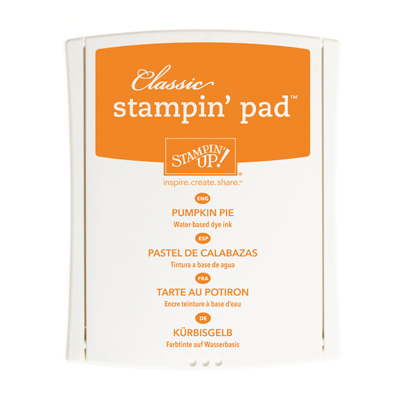
I made this watercoloured wash background using the following colours:
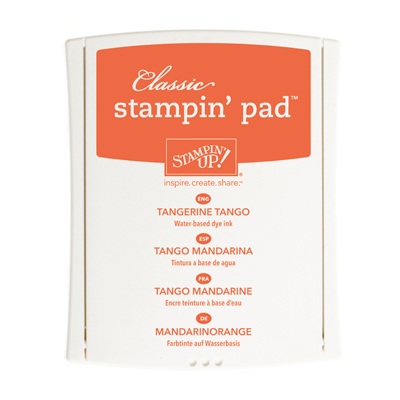
Daffodil Delight, Crushed Curry, Peekaboo Peach, Pumpkin Pie and Tangerine Tango.
I dampened the watercolour paper before adding the wash then sprinkled it with sea salt while it was still wet and only left it for about 30-40 seconds to achieve this effect...
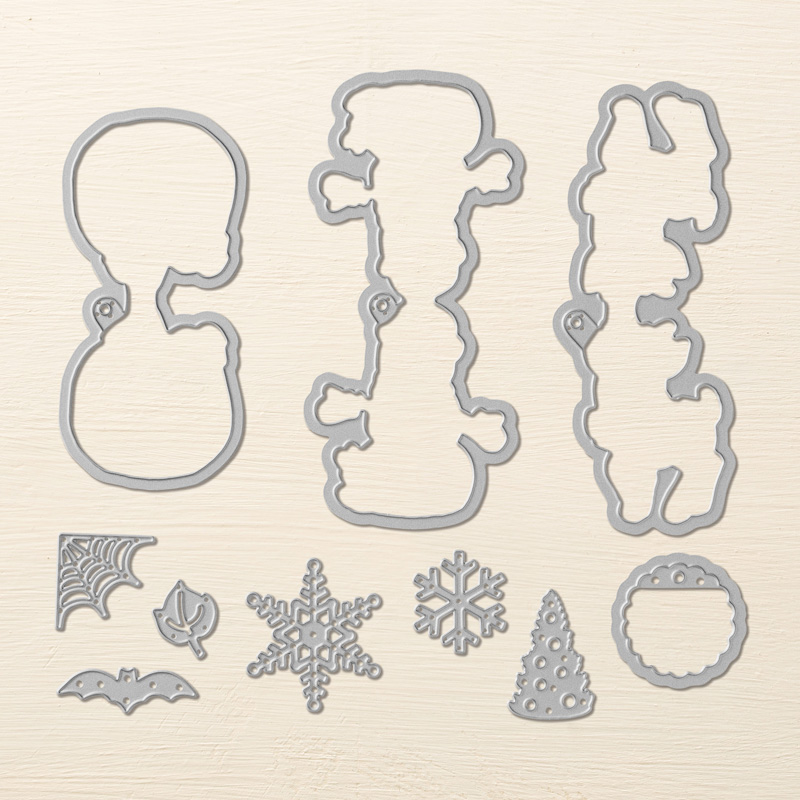
 OK, so had you noticed these super stylish, mini leaf dies in the Seasonal Chums set? No? Me neither - 'till last week that is! I think they are just adorable! After die cutting I added them back in with mini dimensionals and then topped the leaf vein with a thin coat using the fine tip glue pen.
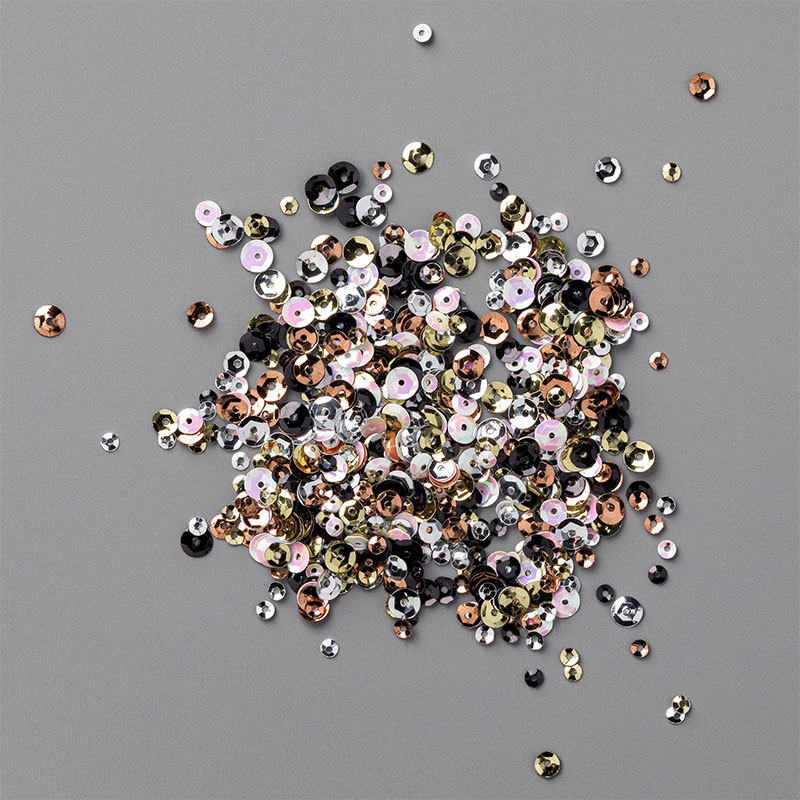
 Finished with a knot of ribbons and some sequins!
I really loved making this card and I do hope you liked it too?
Thanks for looking today and don't forget you still have a couple more days to try out this sketch challenge ;-)
     Shop Online With Me
Stampin' hugs,

Related Posts Plugin for WordPress, Blogger...