Hello!
Did you miss me? I've been away for a couple of days and had been hoping to get this video and the pictures uploaded while I was away but unfortunately the internet was rubbish!
So, I'm going to share this video today and then tomorrow I have a load of things to share with you from my weekend ;-)
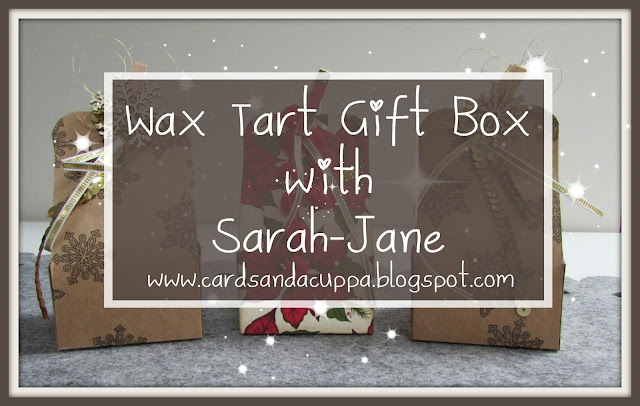
Today's make is a Wax Tart gift box. I used the small round tarts from Yankee Candles and these cute boxes fit two of them in - all with with minimal cutting and glueing, for speed.
This box works well in either card or DSP so you can choose a design to match all your other gifts this Christmas... or is that just me? ;-)
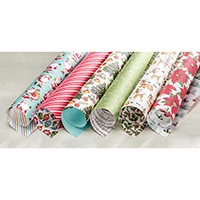
This version uses Home For Christmas DSP. There are some lovely papers in this set but for this box I recommend choosing a non-directional design as the box is assembled by folding the paper/card around. This poinsettia design is perfect, as is the holly in this paper pack.
To make the matching peg simply draw around the mini peg (twice) on the reverse of the paper, trim and glue using tombow to the peg front and back. Leave it to dry for a few minutes then sand the edges in a downwards motion (to avoid tearing) with a sanding block.
TIP: If you don't have a sanding block use a nail file!
Peg to the top of the box to secure, adding some ribbon and pom pom trim.
You could also use it to hold your gift tag ;-)
These boxes easily fit in two of the Yankee Candle Wax Tarts, as you can see..
And a few more photos of this box.
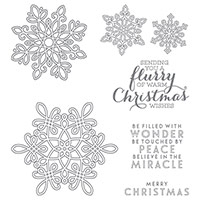
This version is made using Kraft card. I stamped snowflakes from Flurry of Wishes in Early Espresso ink.
TIP 1: I found this card takes a couple of minutes to dry when it's stamped on, be sure not to smudge it while you're waiting! ;-)
TIP 2: Stamp before you score your box to get good quality images all over.
TIP 3: I found this photopolymer stamp set stamped best with a piercing mat underneath it.
I explain how I added the snowflake to the peg in the video...
And a few more pictures of this box.
OK, let's watch the video shall we?
So, as promised, here are the measurements for those who prefer to read but remember they make a lot more sense if you watch the video first! ;-)
In Centimetres: 30cm x 14.5cm. Score at 4cm and 10.5cm. Mark in at 7.7cm from each end score at 11.7 and 18.4.
**In Inches**: 11+13/16" x 5+3/4". Score at 1+1/162 and 4+1/4". Mark in at 2+13/16" from each end and score at 4+5/8" and 7+14".
**Please Note**: I have converted the inches measurements on my trimmer but not tested them, if you try this box in inches please let me know if they work :-)
~~~
Well, that's all from me for today. I'll leave you with one more picture of all the boxes together again today.
Thanks as ever for looking and I hope you'll be back tomorrow to see my weekends makes?
Stampin' Hugs,
Products Used to create this project:









No comments:
Post a Comment
Thank-You for any comments you may leave, I appreciate the time it takes to do so and I love to read them all :)