Hello!
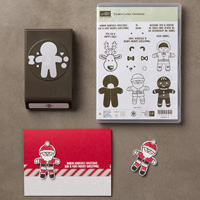
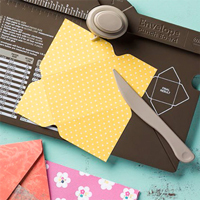
I am kicking off today with the first of many cards I have made with the Cookie Cutter Christmas stamps and punch. I think its one of the most versatile sets in the A/W catalogue and today I want to share a cute little stepper card for you using just half a sheet of card. Now this is non-standard sized card so I've made it a mission to use up some of that (mountain) of retired DSP, that I know you all have too, and make more of my own envelopes!!
So, lets get started...
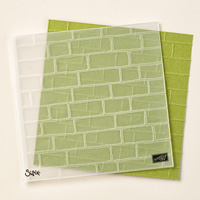
I added white card to the back panel, embossed with the brick folder, for an igloo effect. I'm just telling you here because nobody who came to class realised that's what it was supposed to be ;-)
This cute "cold hands" sentiment is in the set too.
And then the matching other part of the sentiment. I heat embossed both in silver.
TOP TIP: Stamp your sentiment and heat emboss first then stamp your background using Versamark for that paler effect. This is because Versamark stays wet for a l-o-n-g time, like even overnight long... Wonder how I know that?
So, how about a super quick video for making this card and the matching envelope? Okay...
And one last picture today to finish
So, I hope you liked today's card and video? I do hope you give it a go!
Shop Online With Me
Back tomorrow but 'till then,
Stampin' hugs,
I am kicking off today with the first of many cards I have made with the Cookie Cutter Christmas stamps and punch. I think its one of the most versatile sets in the A/W catalogue and today I want to share a cute little stepper card for you using just half a sheet of card. Now this is non-standard sized card so I've made it a mission to use up some of that (mountain) of retired DSP, that I know you all have too, and make more of my own envelopes!!
So, lets get started...
I added white card to the back panel, embossed with the brick folder, for an igloo effect. I'm just telling you here because nobody who came to class realised that's what it was supposed to be ;-)
This cute "cold hands" sentiment is in the set too.
And then the matching other part of the sentiment. I heat embossed both in silver.
TOP TIP: Stamp your sentiment and heat emboss first then stamp your background using Versamark for that paler effect. This is because Versamark stays wet for a l-o-n-g time, like even overnight long... Wonder how I know that?
So, how about a super quick video for making this card and the matching envelope? Okay...
Shop Online With Me
Back tomorrow but 'till then,
Stampin' hugs,
Products Used to create this project:





No comments:
Post a Comment
Thank-You for any comments you may leave, I appreciate the time it takes to do so and I love to read them all :)