Hello and welcome to my blog and Octobers Jem's blog hop. First of all - Wow, October? Already?!
So, this month for the hop we had the brief "All That Glitters" You may have hopped here from the lovely Sharon's blog - where I'm sure her project has wowed you! Please do continue to hop around everyone for lots of sparkly inspiration!
*all hop links are at the end of this post*
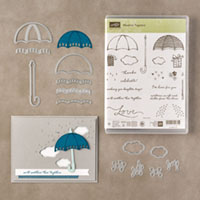
Anyway I made this fun and sparkly card using the Weather Together bundle. I loved this bundle as soon as I saw it and really haven't used it anywhere near enough yet, but this card is a start, right?
So, let me share my card for today, I added a ton of glimmer hearts to this card and it is really sparkly IRL...
This card started out because I had die cut the umbrella extra when making another card, what a happy accident ;-) Because of this I had to stamp after cutting, which I don't usually do, but as this stamp set is photopolymer it was fine ;-)
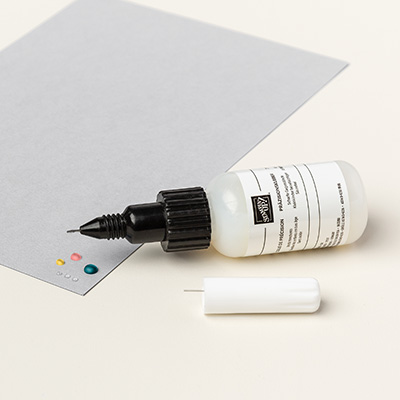
I added some Crystal Effects (retired) to the spots on the brolly for extra shine and sparkle. You can use the fine tip glue pen for a very similar effect.
So, I do have a few tips for making this card...
TOP TIP #1: To make sure your sentiment is straight use a ruler and your grid paper. Just rest it straight across and look through the block when stamping. And no pencil lines to erase!
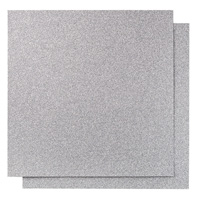
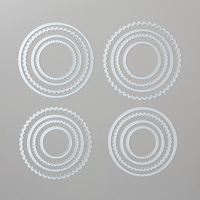
TOP TIP #2: Don't waste glimmer paper behind your image where it won't be seen, die cut a smaller circle from the centre and adhere as usual. I used this panel to die cut all those little hearts that I added to the card.
TOP TIP #3: To make adhering all those hearts easy (after I had positioned them where I wanted them) I dropped a blob of glue from the fine tip pen onto a clear block (or use a silicone sheet), then swiped the hearts through the glue before wiping the excess off on the side of the block. Remember to clean your block before the glue dries though!
TOP TIP #4: Finally, for that "designer" look remember to adhere your hearts over the edges, wait 'till they dry then flip the card over and trim the excess away from the rear for maximum accuracy.
And here's one final photo of todays card.
Next up you will be hopping over to the very lovely Sarah! or you can hop back to Sharon's blog :-)
Thanks for looking today, I have a ton of things to share with you as today is World Card Making Day, so please visit my OTHER POST HERE to view new specials launched today.
Shop Online With Me
Products Used to create this project:




Gorgeous card Sarah Jane... and great Top Tips too...
ReplyDeleteStunning!
ReplyDeleteSuper card Sarah and great tips. Anne x
ReplyDeleteGreat card and tips k x
ReplyDeleteBeautiful -I love this set and I love the colours you have used-the sparkly hearts look amazing.
ReplyDeleteGorgeous card Sarah Jane love all the sparkle & the tiny heart detail is so cute. Great tips too. Thanks for taking part.x
ReplyDeleteLovely card love all the hearts
ReplyDeleteSo pretty and classy! I love this card, thanks for sharing.
ReplyDelete