Hello!
I'm a bit late today so sorry about that - but as the saying goes, better late than never! ;-)
I have a super cute set of PL cards to share with you today, as you know I like to credit my original inspiration and for these I want to credit my beautiful daughter! She came to me the other day and suggested we make some Emoji cards and I immediately knew punch art was going to be the way to do it, so thanks Zoe! We had a blast in the craft room together last week with our phones, ink and some card to make these....

I've mounted mine onto home made Project Life die cut cards so they are approximately 3" x 4" or 10cm x 7.5cm. That way I can use them as toppers for last minute cards or they can be used in PL layouts too, of course. All the sentiments and decoration you see on them are made using the Age Awareness stamp set.
Here are the designs all together...
.JPG "Emoji Punch Art")
LOL!
.JPG "LOL Emoji Punch Art")
.JPG "LOL Emoji Punch Art")
Sad face...
.JPG "Sad Face Emoji Punch Art")
.JPG "Sad Face Emoji Punch Art")
Love You!
.JPG "Love You Emoji Punch Art")
.JPG "Love You Emoji Punch Art")
Say Cheese!
.JPG "Say Cheese Emoji Punch Art")
Be Happy...
.JPG "Smiley Face, be happy Emoji Punch Art")
And these are the two Zoe made - already mounted onto Cards and ready to go.
.JPG "Emoji Punch Art")
So, I also made a tutorial for you so you can make your own EMOJI Punch Art :-D
As ever, please feel free to "CASE" these ideas but I do ask that you post a link back to here if you share these or your own makes online, on a blog or social media. Please do not copy this, or other tutorials and ideas found here, for publication, competitions or pass them off as your own ideas. Thanks in advance xx
OK, enough with the grumpy talk, let's go make some Emjoi!
A few Top Tips:
1) When I say 5th smallest I mean to count from the smallest out to get to the number 5 framelit (or 4th).
2) I inked the edges of the mouth of the LOL Emoji with Crumb Cake ink using a sponge.
3) All the emojis were inked heavily around the outside edge with Pink ink and a sponge.
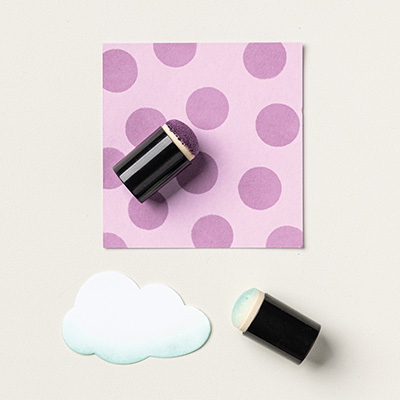
4) The warm blush was made using pink ink and a sponge dauber.
5) Add the mouths first to get good placement of said blush.
5) To make the half eyes (on LOL and both smiley faces) punch a half circle away from the edge of Espresso card, then move the punch up to make the half eyes. It's much easier to do this than trying to punch a section away from a full circle. Same with the mouths.
7) To shorten the Word Window punched shape for the Cheese emoji; punch the full word window and feed one end back in from the underside, trim to desired length using the punch.
8) Always add the crystal effects at the very end of making and leave flat to dry.
LOL Emoji Tutorial
.JPG "LOL Emoji Punch Art")
Sad Face Emoji Tutorial
.JPG "Sad Face Emoji Punch Art")
Love You Emoji Tutorial
.JPG "Love You Emoji Punch Art")
Say Cheese Emoji Tutorial
.JPG "Say Cheese Emoji Tutorial")
Smiley Face Emoji Tutorial
.JPG "Smiley Face, be happy Emoji Punch Art")
As you know there are hundreds (maybe more) of Emoji so I'm sure I will have a go at making more of these and if you try different Emojis before me please dont forget to share them with me too!
Thanks, as ever for taking the time to look and I hope you enjoyed today's tutorials as much as we did making them!!
Stampin' Hugs,
Stampin' Hugs,
 and Zoe!
Products Used to create this project:
 |
 |
 |
 |
 |
 |
 |
 |
 |
 |
 |
 |
 |