Showing posts with label Beautiful Wings Embosslit. Show all posts

Friday, 27 April 2012

Stampin' Up! Beautiful Wings

Good Afternoon,
I am running really behind today, I have only today finished all the jobs I have to do ready for SU! training in Reading tomorrow, I am sooo excited about meeting up with so many wonderful demonstrators I have met through SU! Lots of us live a fair way apart and only get to meet up and chat, (a lot!) at events so once or twice a year :-)
So, onto my third card from next weeks Stamp-a-Stack, we will be using the woodgrain background stamp with beautiful wings embosslit die with a sneak peek at a new product too...
 I stamped the frame from four frames and cut it out so that when I punched the solid layer it gave a nice layered frame :-) Sentiment is from Party This Way.
I still have just a couple of places left for this class, message me to come along and join us :-D
Stampin' Hugs for today,
 

Sunday, 1 April 2012

A Special Card with a Broadsheet Alphabet and How to Punch An Image Larger Than Your Punch Tutorial

Hello there,
I am here today with a special card for a special friend, Jules. She is my SU! Upline but has become so much more than that, she is a real friend to me. Anyway, Jules made Gold 1 in promotions last week and so I had to make her a card to show her how I was thinking of her and how proud I was too!
Of course it needed Gold in there somewhere and what better colour to go with Gold but Calypso Coral! The perfect colour combo.
 Ribbon rose with Blossom Party die and a pearl
a lovely Butterfly embosslit with pearl body
 and a little decoration inside too :-)
 Now, Jules called me yesterday to ask how I made the "G" and "R" overhang the postage stamp punch so I made a super quick tutorial on how it's done for you all! This method would of course work with any stamp and punch combo where the image is slightly larger than the punch ;-)
Begin by stamping your letter (lower down the card would have been better, but we can work around this ;-) Also punch another postage stamp out too from scrap card.
 position the extra punched square over the top of the letter, I had the letter slightly to the left so the loop at the bottom fitted in the square's edges, and mark lightly with a pencil
 trim around the bottom of the letter, up to the lines you just marked, I also cut off some of the bottom pieces where I stamped too high at this point
 use your scissors to feed the extra part of the image that will be outside the punched area
 like so, and then just punch
 rub out your pencil lines and tidy up your cutting if needed
OK, that's me for today, I hope you like the card and that my mini tutorial has been a help, any questions, please email me :-)
Stampin' Hugs,

Saturday, 10 September 2011

Simply Stampin' Flutterby Butterfly Chalenge

Good Morning!
First of all I should apologise for not getting round to visit people this week who entered the challenge last week, it has just been manic here with classes and my training day tomorrow! I will do my best to visit all of last weeks entrants this week as well as those of you who take the time to enter this weeks fab challenge too!
And it is a good one, "Flutterby Butterfly"
I have decorated this cute little bucket I had picked up in a supermarket of all places for my friend and down line Anna, she is visiting me for training this weekend, such fun!
I also covered these cute pegs finishing with another butterfly, love the pegs ;-)
a closer view of the flutterby butterflies, LOVE this embosslit die, it cuts and embosses at the same time!

Seam binding ribbon on the handle to add a bit of interest! This would look fab on any ones desk filled with pens or glue etc.
Anyway, I hope you like this mornings project and we would love it if you get a chance to enter the challenge,
Please pop back later as this is the first of TWO posts today, I am participating in a retirement list blog hop at 10am today, and you won't want to miss that , I promise ;-)
Stampin' Hugs for now,

Friday, 26 August 2011

More FREE gifts :-)

Hello,
I have some more Rich Razzleberry ribbon and mini clips for you today.
I have teamed this lovely colour with Marina Mist and Sahara Sand, I really like this colour combo and will definitely be using it a lot more,
I made this card for a friend using my flatter 3d flower. I really will post the tutorial for this on Sunday, I promise! It is all done, I just need to upload it but I have so much I want to show you it just keeps getting bumped!
I used the Marina Mist Designer Series Paper from the Subtles stack for this card. 
Curly Cute for the sentiment again, held onto a scallop circle die cut with a mini bulldog clip, also free this month, see HERE for more details.
I also added a few embossed butterflies made with the Beautiful Wings Embosslit, another SU! exclusive.
and a bit of pretty inside too
That's today's card for you, I hope you like?
Back tomorrow with my Simply Stampin' Challenge card
But don't forget there is still time to enter this weeks challenge :-)
Stampin' Hugs for today,

Wednesday, 6 July 2011

Mandi's 40!!!

Good Morning to you :-)
** EDIT**
I had this post scheduled for Tuesday morning but for some unknown reason it hasn't published, ah well, here we are, all details are one day back! lol! Sorry about that! xxx
This week two more of my friends have very special birthdays,  Mandi's 40th was on Sunday and she spent the day with her family so we had a day out yesterday, and what a day we had! We went to Gunwharf Quays, wandered around the shops, had lunch at Wagamamas and then out for tea last night at Prezzo's too! I love birthday's :-)
Today we will be going out for Nicky's special 40th  birthday but more on that later in the week!
Today I am sharing with you a gift I made for Mandi, another of the letters like Julie's from Sunday's post.
Now, Mandi loves Black and White so I used some retired Night and Day papers,
with an Old Olive double bow topped with a Melon Mambo big button and some die cut Butterfly Embosslits in matching colours
I added some rhinestones to the centres of some of the butterflies,
and spritzed shimmer spray (shimmer paint in rubbing alcohol) all over,
and I gave her this card, more details on THIS post,
Well, Mandi seemed pleased with her gifts, i just want to wish her a very Happy Birthday Mandi!!
I will be back tomorrow with the first part of Nicky's 40th presents. Please do pop back :-)
Thanks for stopping by today,
Stampin' Hugs, 

Wednesday, 4 May 2011

Less is More ans Clean and Simple :-)

Hello again,
Well, 2 posts in one day, that is virtually unheard of eh?!
So, as I have been struggling a bit of late to get what is in my head onto paper and card I decided to go for a couple of challenges and see if that has the right effect... I wanted to joing in with Mandi and Chrissie at Less is More where the theme this week is Thanks or Congratulations and loved the sketch over at Clean and Simple and this is what I came up with,
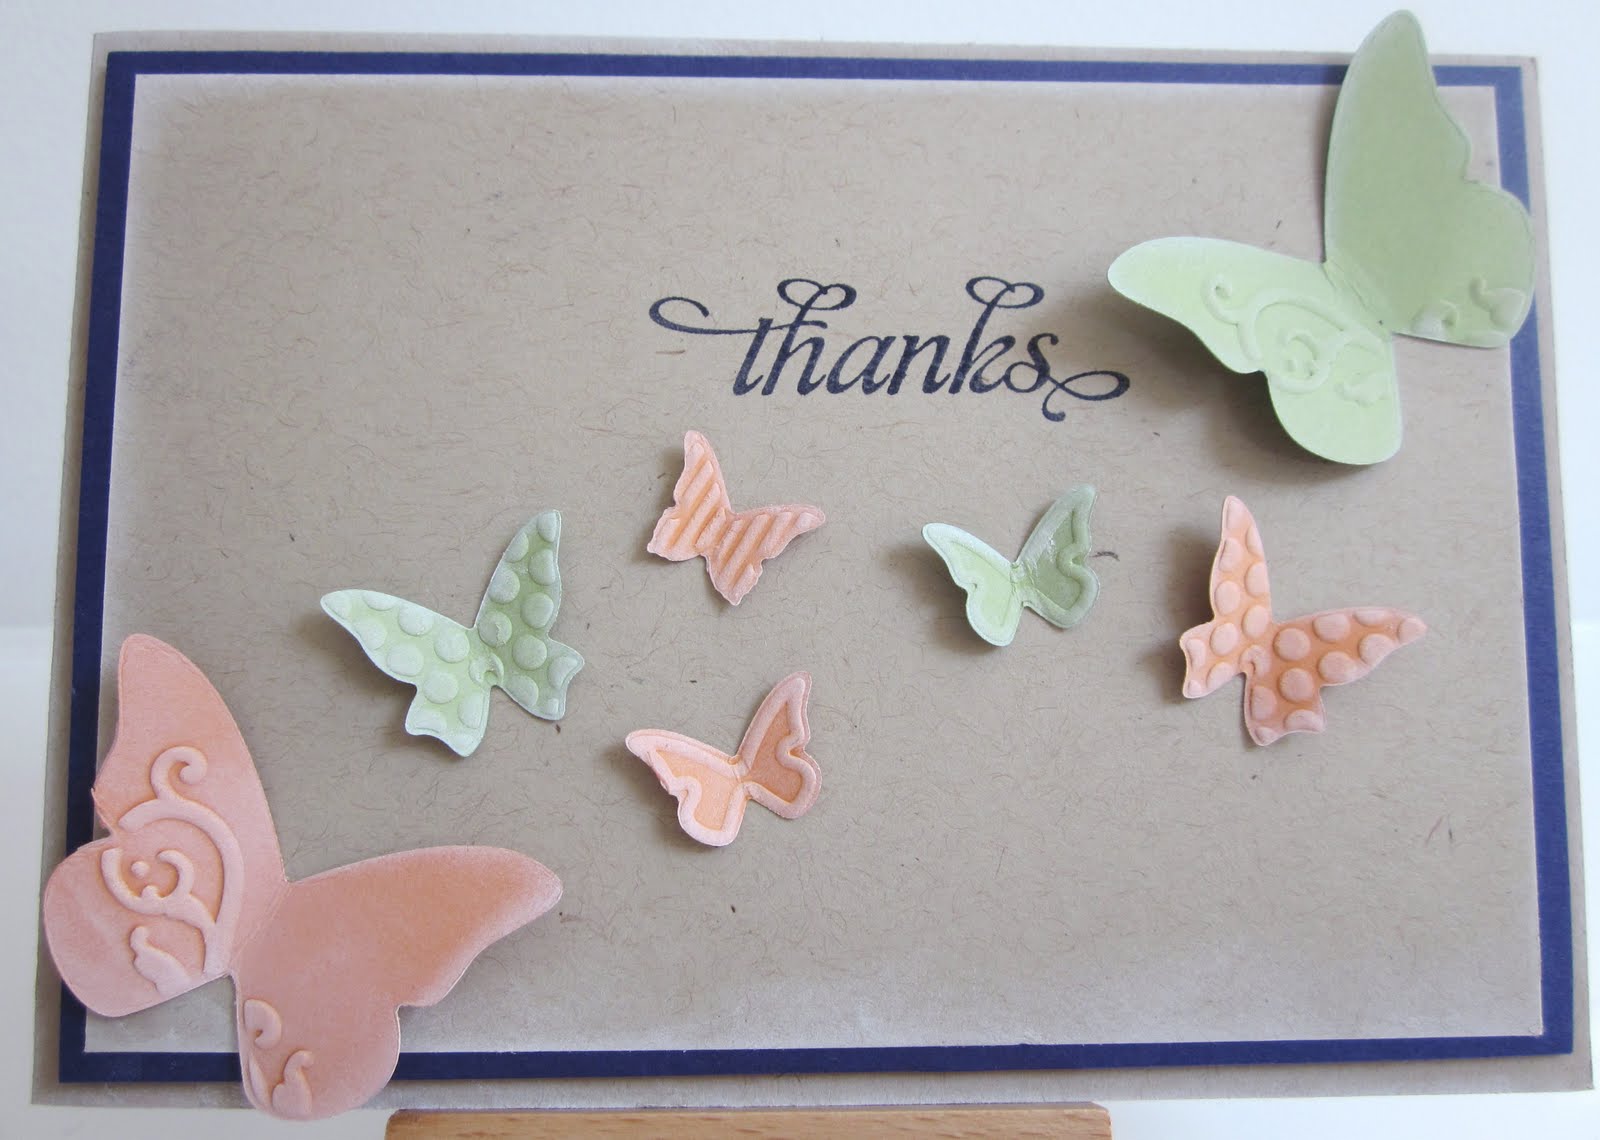
Colour combo is from the colour coach, Pear Paizzazz, Peach Parfait and Concord Crush. I knew I wanted to use this Beautiful Wings butterfly embosslit and once run through the big shot I inked the butterflies using Craft Whisper White ink to show off the gorgeous embossing,
  I decide to die cut the corner inside with the Stampin' Up! Fun Flowers die to make a Concord Crush cut away flower to add the butterflies to, iykwim!
Well, that really is all for today, I am looking forward to doing some blog hopping later, but first I really have to shorten my "to do" list,
All supplies used are SU! contact me if you would like to place an order :-)
Have a lovely day, whatever you are up to,
Stampin' Hugs,

Saturday, 9 April 2011

Jems Blog Hop

Hello again,
WOW! This is my second post for today, aren't blog posts round here a little too much like buses?? ha ha!!  If this is the first post you have seen today, then please scroll down for my Simply Stampin' Challenge Card.
Anyway we are having a little "HOP" for you to follow and see some great new ideas using the products from the mini catty :-D.
Earlier this month between the Jems we did a swap  using products from the mini, I chose to make mine using the Scrumptious Mini Milk Carton, I *heart* this die sooo much!
I cut the Milk Cartons in Crumb Cake card and decorated them using the Springtime Vintage DSP (surprised I have used that paper again?? nope me neither! lol!)
The cute little butterflies were cut using the Beautiful Wings Embosslit and I also love how the carton comes scored to make the pouring spout easy to open,
I added a line of pearls to the largest butterfly and a little clip from the Clips Assortment decorated with Baja Breeze Seam Binding, Don't they look like little rooftops all together like this?
So onto JULIE next, thanks for visiting me and my little blog today :-) and have fun on the rest of your Hop!
Stampin' Hugs

Friday, 1 April 2011

THE NEW MINI IS HERE!!!!!!!!!!!!!!!!!!!!!!!!

Good Morning to you all!!
And so we have finally got here! I have been teasing and telling you about all these wonderful products and now I can finally share it ALL! CLICK ON THE CATTY PHOTO to have a look inside at the most amazing products SU! have released including the thing I have had the most requests for... The Big Shot! and exclusive SU! Dies too!
To place an order for any of the products in this new catalogue (or the old one) please email me.
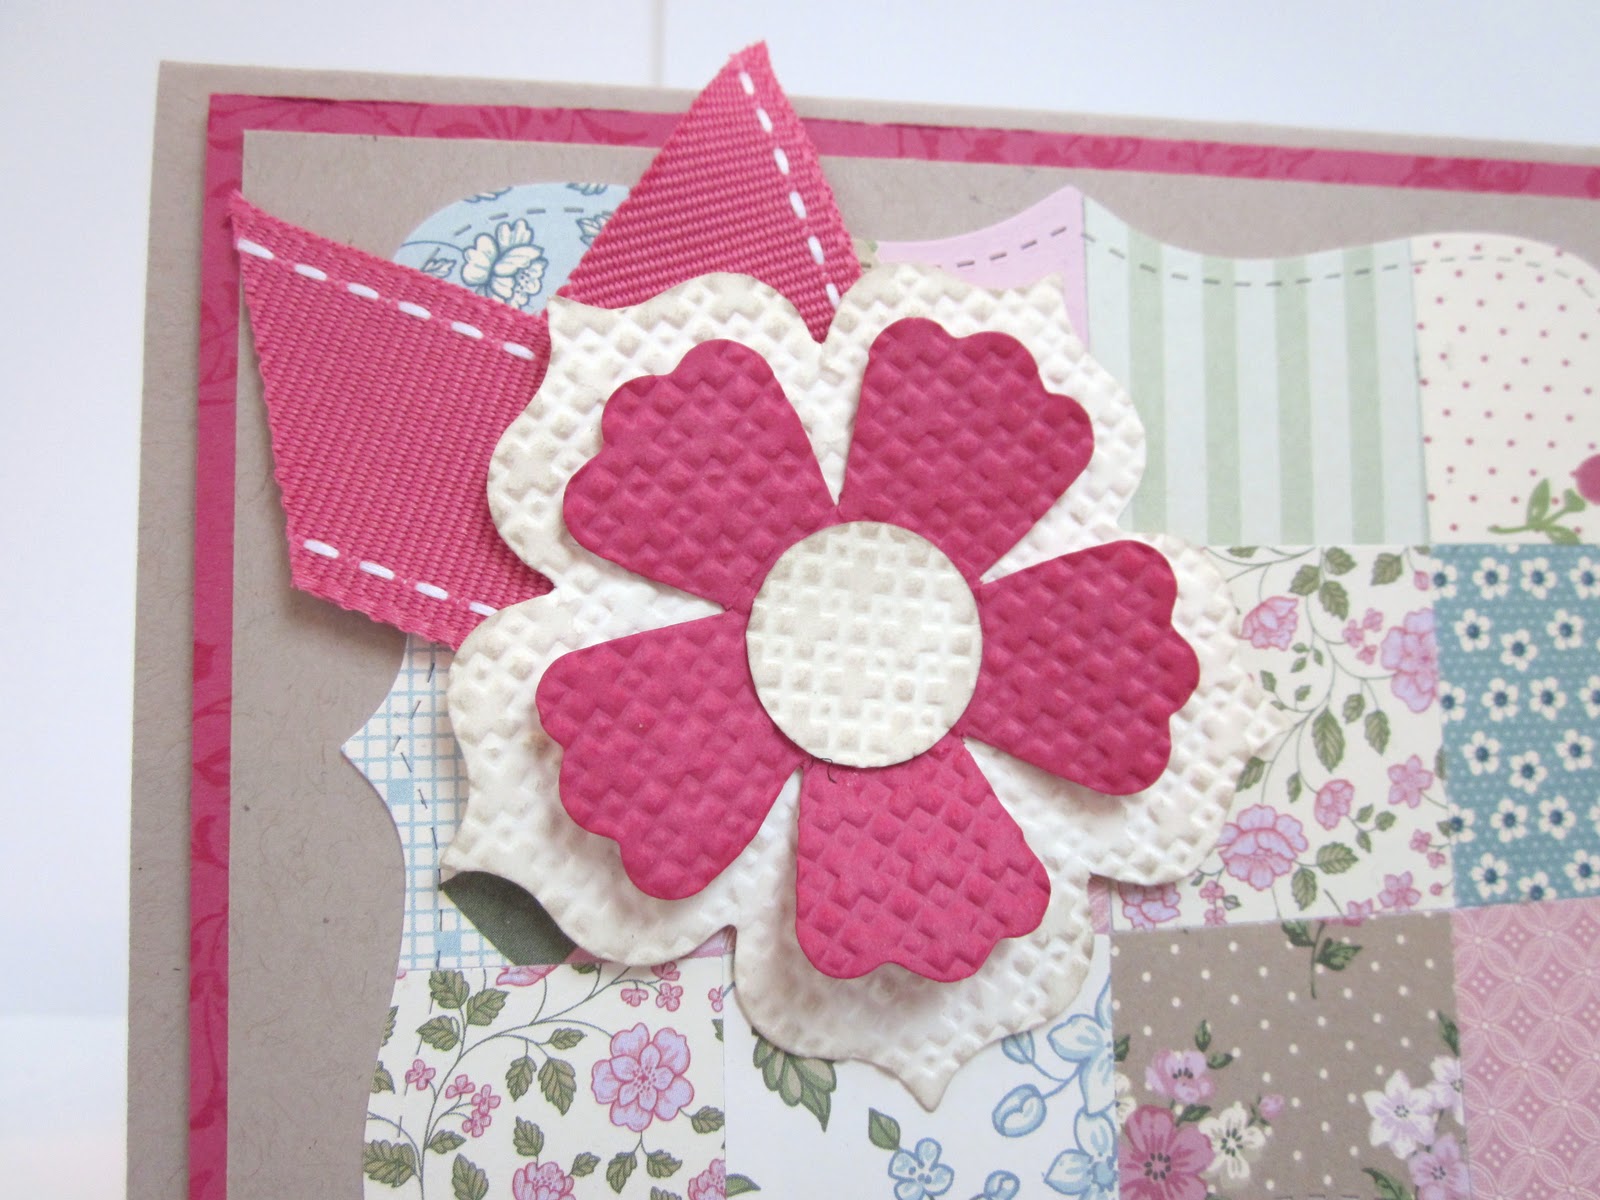
And so I suppose you would like to see something I have created using mini products? Oh, Okay then! lol! Although the eagle eyed amongst you may have spotted a few sneaks on Zoe's card earlier this week ;-)  This card has LOADS of the new products on it. Patchwork Top Note Die cut using Springtime Vintage DSP, which is even prettier IRL. 
Flowers made using the Fun Flowers Die and then embossed with the Square Lattice embossing folder, I inked the edges in Crumb Cake ink using a sponge, this colour gives a great "antiquey" {made up word} finish to your card/papers,
Sentiment is from Occasional Greetings and the darling little butterflies were die cut and embossed at the same time with the Exclusive Beautiful Wings Embosslit,
The Rose Red layer was stamped with the vine from Vintage Vogue and I added a layer inside to finish,

That's it for today, I hope you love the Mini Catalogue as much as I do and come back tomorrow (saturday) as I have my DT card for the NEW challenge blog "Simply Stampin' Challenge Blog"
So much going on at the moment! Exciting times!
Stampin' Hugs,
Related Posts Plugin for WordPress, Blogger...