Showing posts with label Merry Christmas To All. Show all posts

Friday, 21 December 2018

Happy Christmas Winter Woods

Hello there,
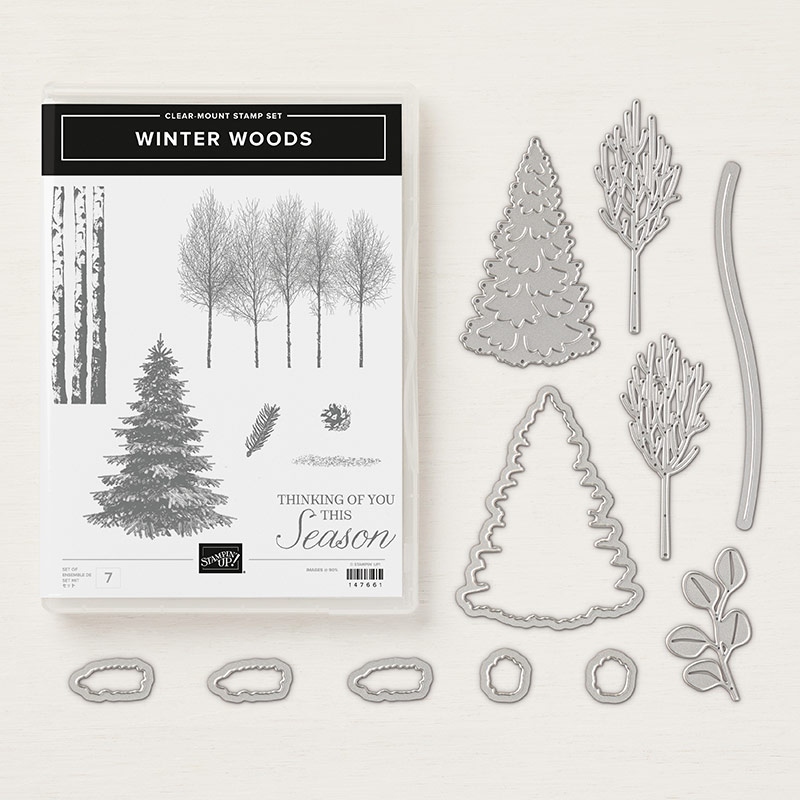
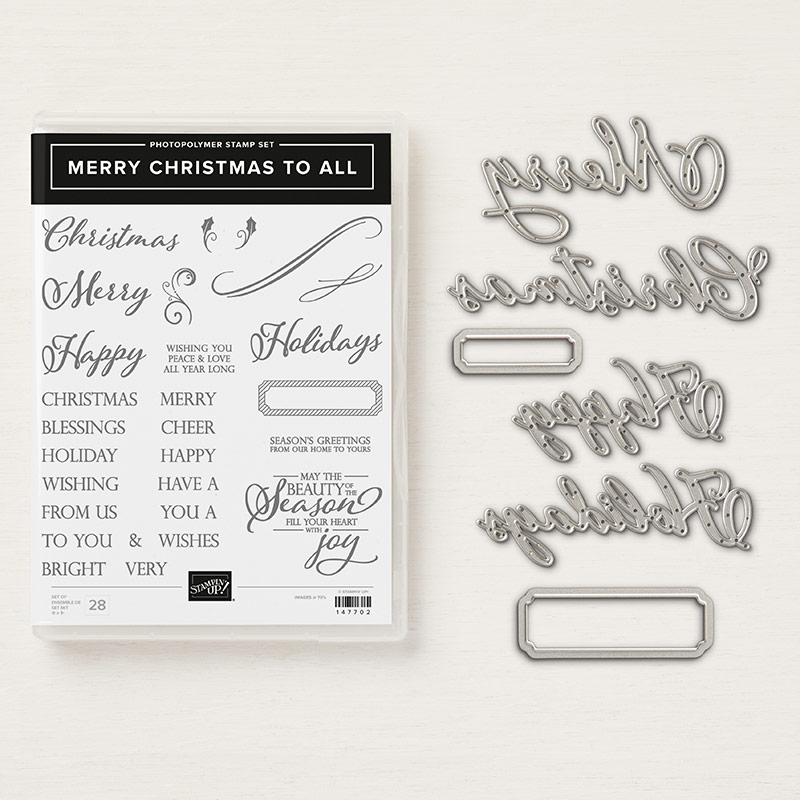
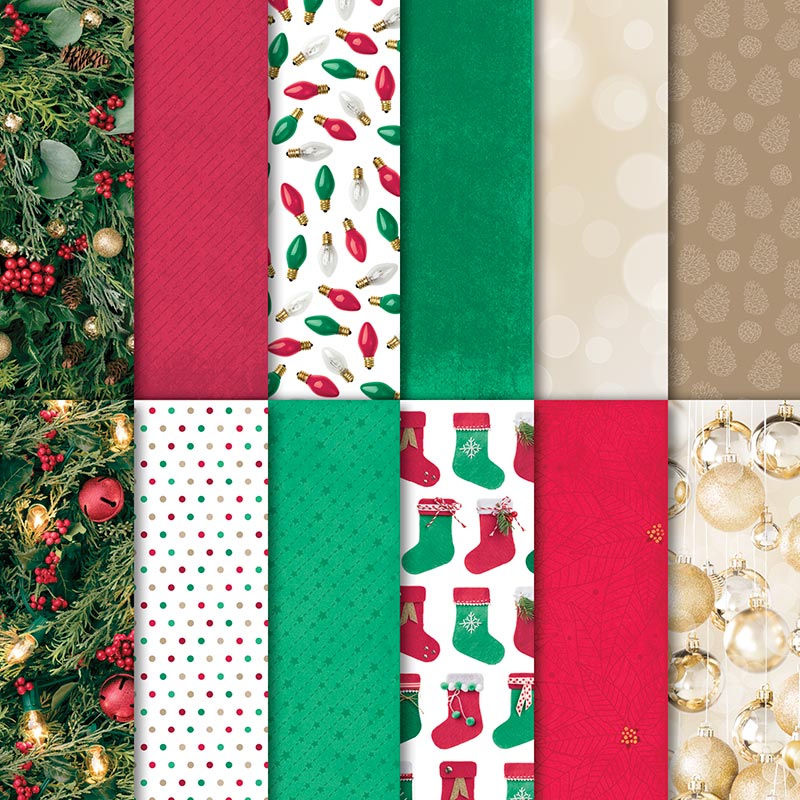
Today I have another card from my All Day Christmas class and for this make we used the Winter Woods teamed with the Merry Christmas To All thinlits and the All Is Bright DSP...
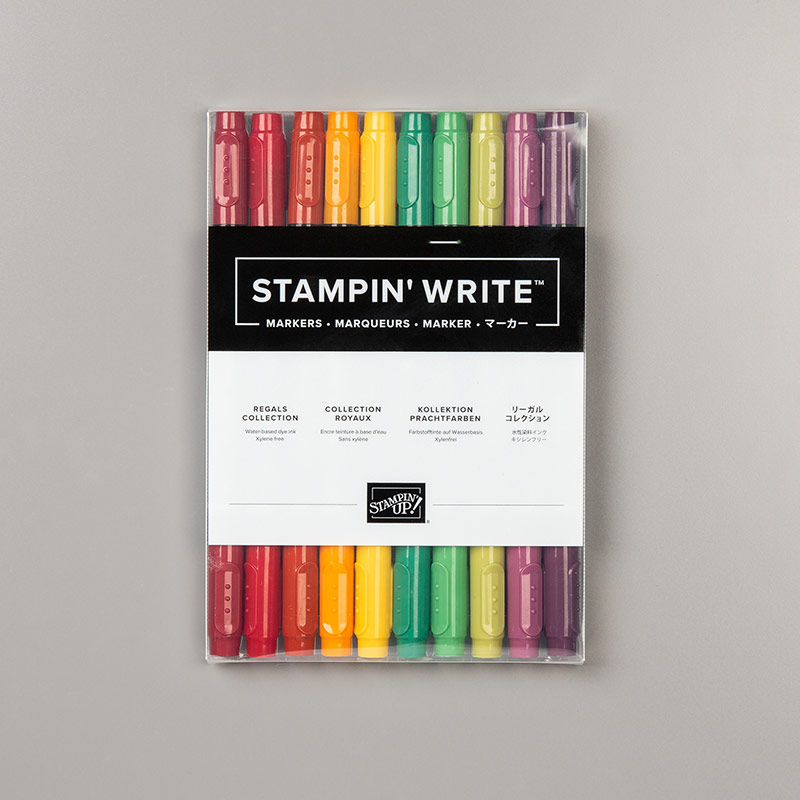
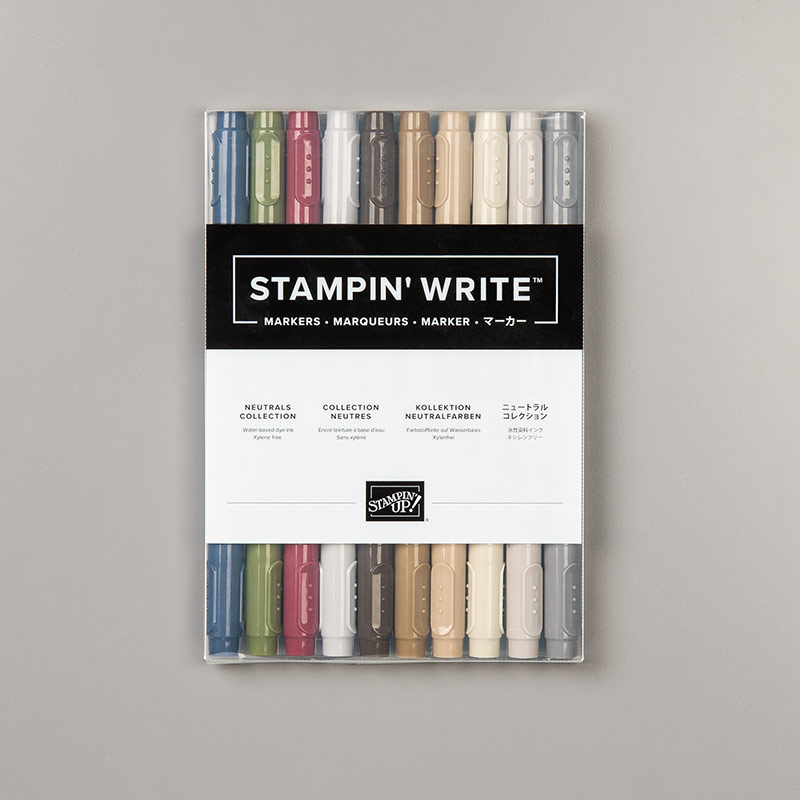
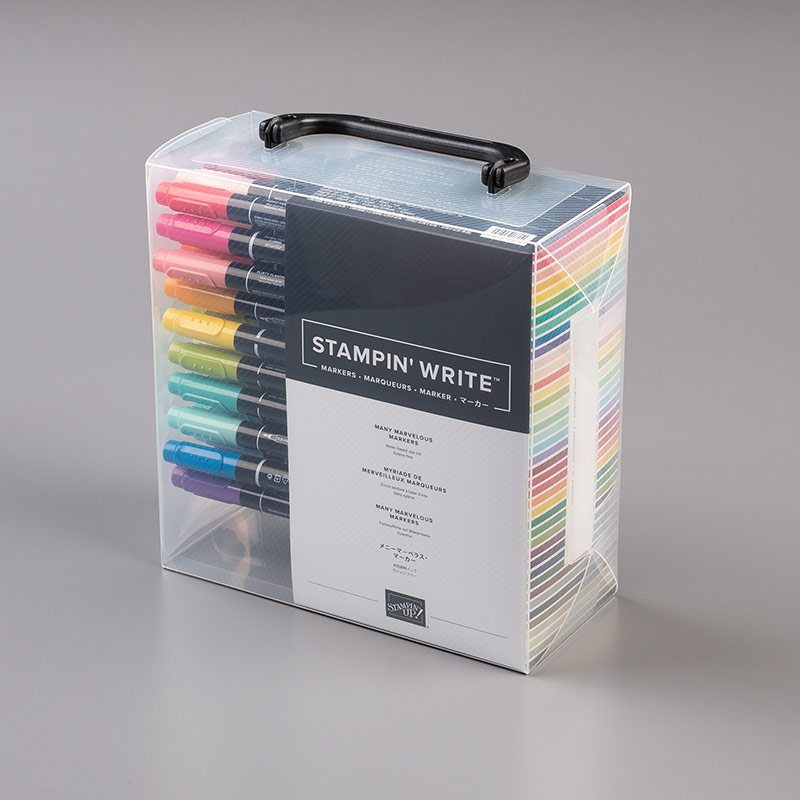
We inked the trees using markers to get this multi coloured image. I haven't used my markers for quite a while and so had *almost* forgotten how great the effect is!
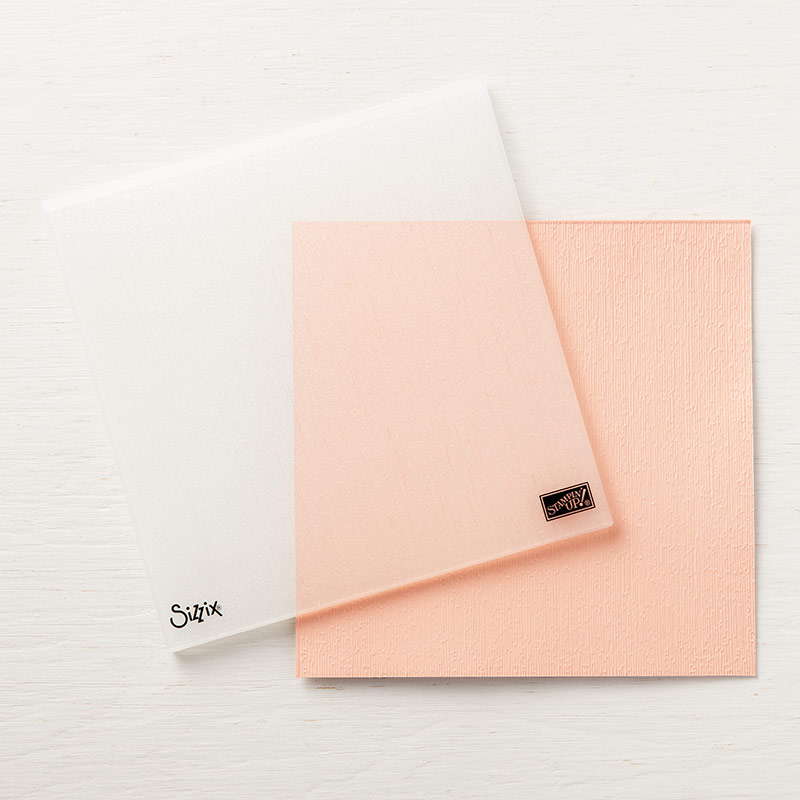
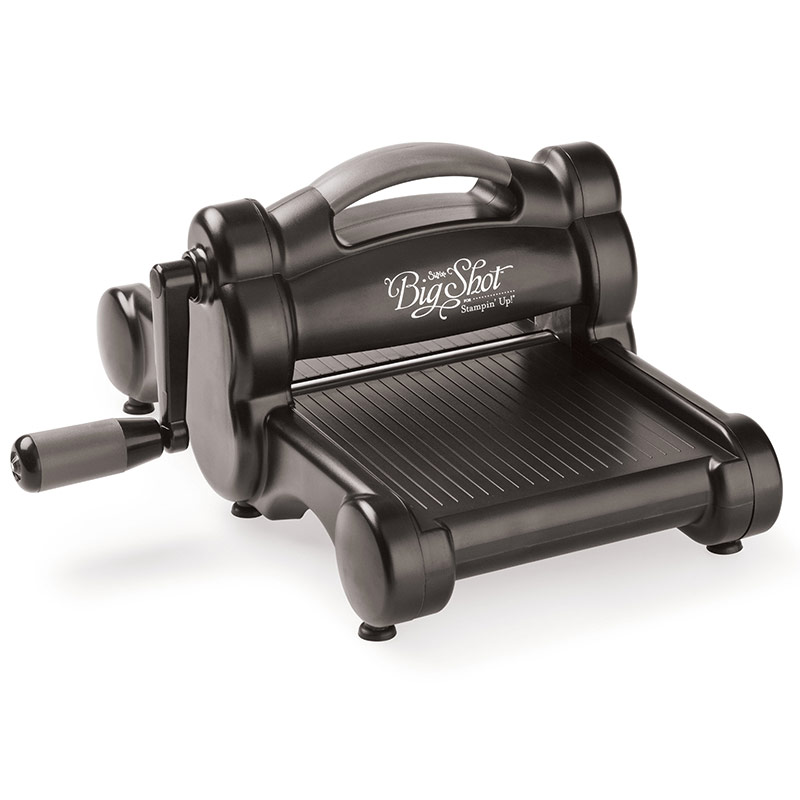
After we stamped we ran this panel through the big shot with the Subtle embossing folder giving a lovely linen effect to the card.
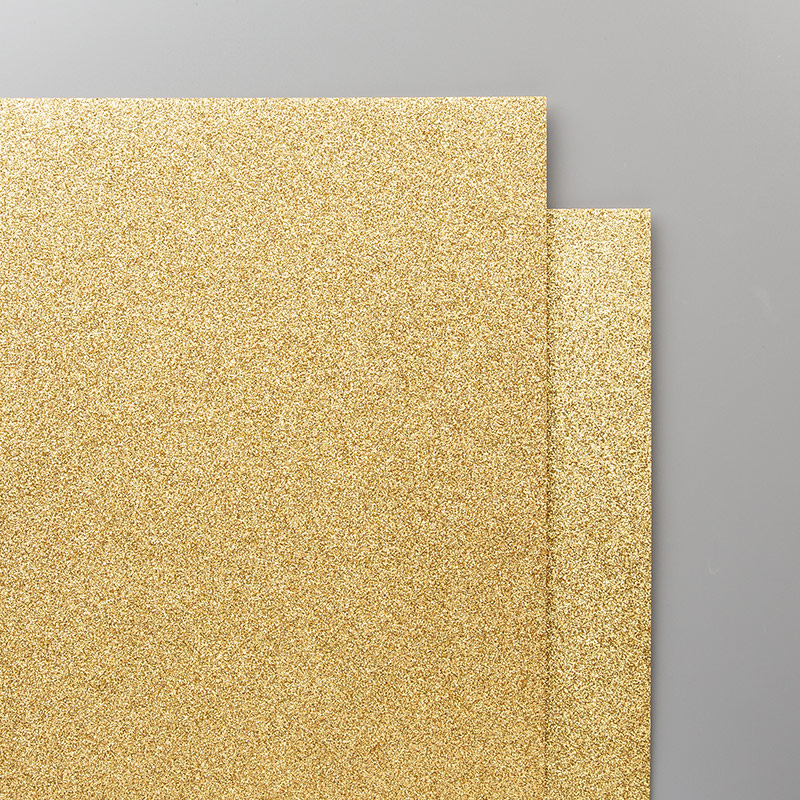
The Gold Glimmer paper for the sentiment adds just the right amount of festive sparkle.
I really like the layout of this design with the designer paper covering the whole of the card base.
So, that's all from me for today.
I hope you get a chance to stamp this weekend :-)
Happy Stamping!
    Shop Online With ME! 
Host code for December spends over £25 and under £150 is UH9TAFNK
Stampin' Hugs,

Friday, 14 December 2018

Merry Christmas Dies with Gold Baubles Paper.

Hello there,
Today I have a sparkly little creation for you! I love this bauble paper and it really shines when left to be the star of the show, as I have here... 
 I die cut the gold glimmer sentiment and added it to a strip of vellum (using tiny dots of glue) then added it to paper, cut to be same size as a card base (10.5cm x 14.8cm) by adding more glue behind the sentiment.
 I also added a few little snowflake enamel shapes to catch the light
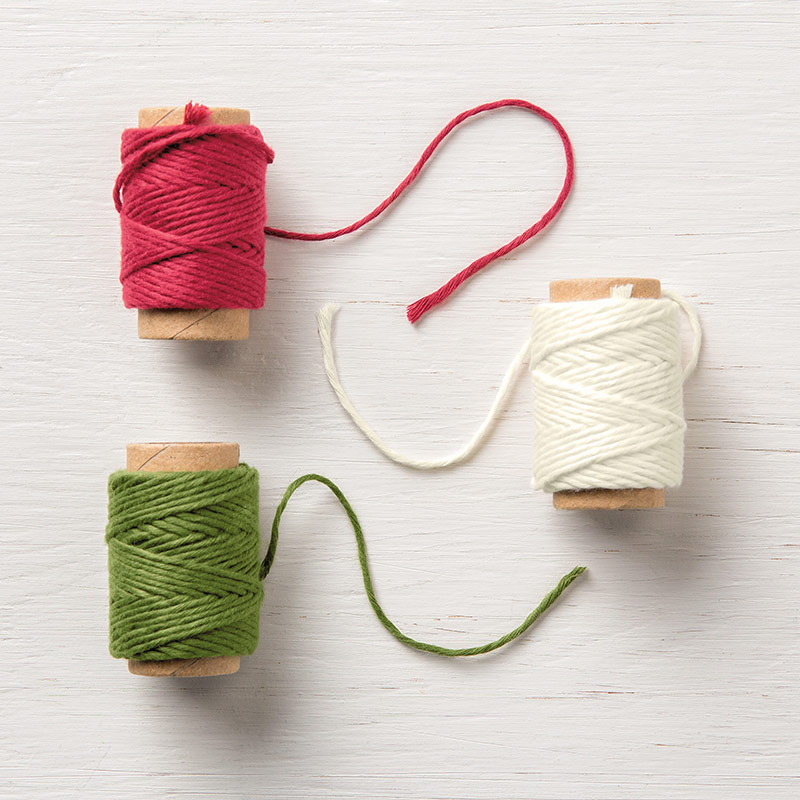
 Adding a wrap of twine and a white, heat embossed sentiment under the die cut to finish.
So, that's all from me for today, 
I hope you have a chance to be creative today :-)
Shop Online With ME! 
Host code for December spends over £25 and under £150 is UH9TAFNK
Stampin' Hugs,

Tuesday, 27 November 2018

Stretching the "Merry Christmas To All" Bundle

Hello there,
I'm finally back with another card from my "Stretch your Christmas Supplies further" class last week :-)
*EDIT: TO SEE ALL THE OTHER CARDS IN THIS SERIES, GO HERE*
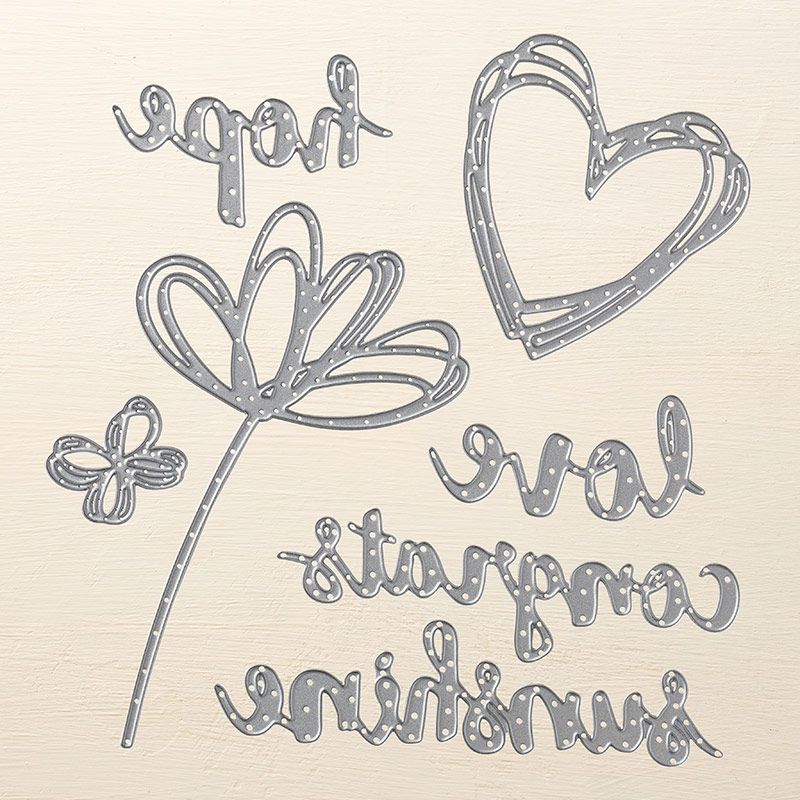
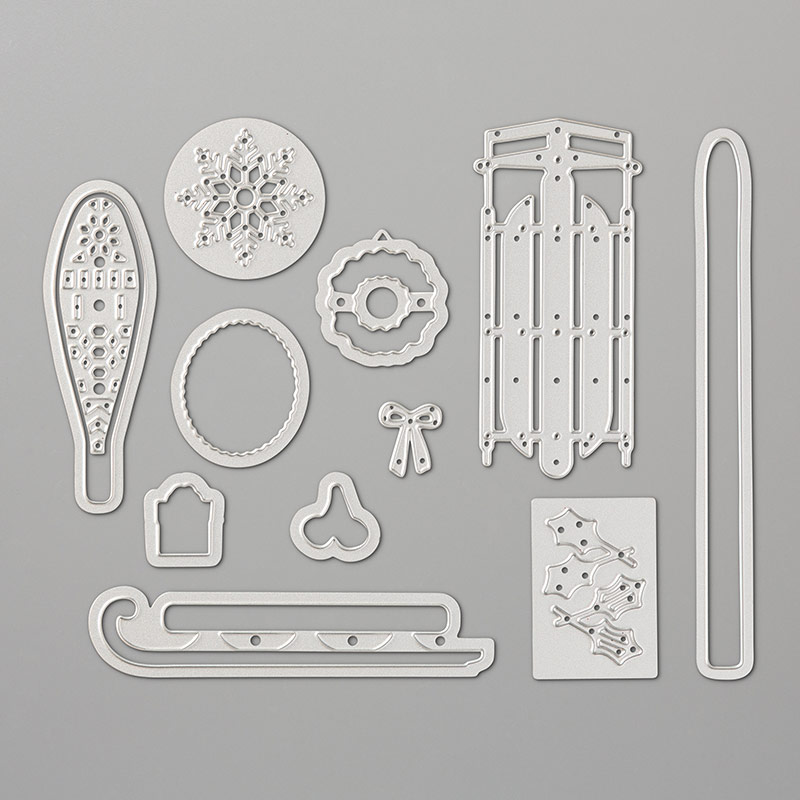
For these cards I used the Merry Christmas to all dies for both cards and the matching stamps with snowflakes from Beautiful Blizzard for one and stretched my supplies by adding a birthday sentiment and  a mini butterfly for the other, let's see...
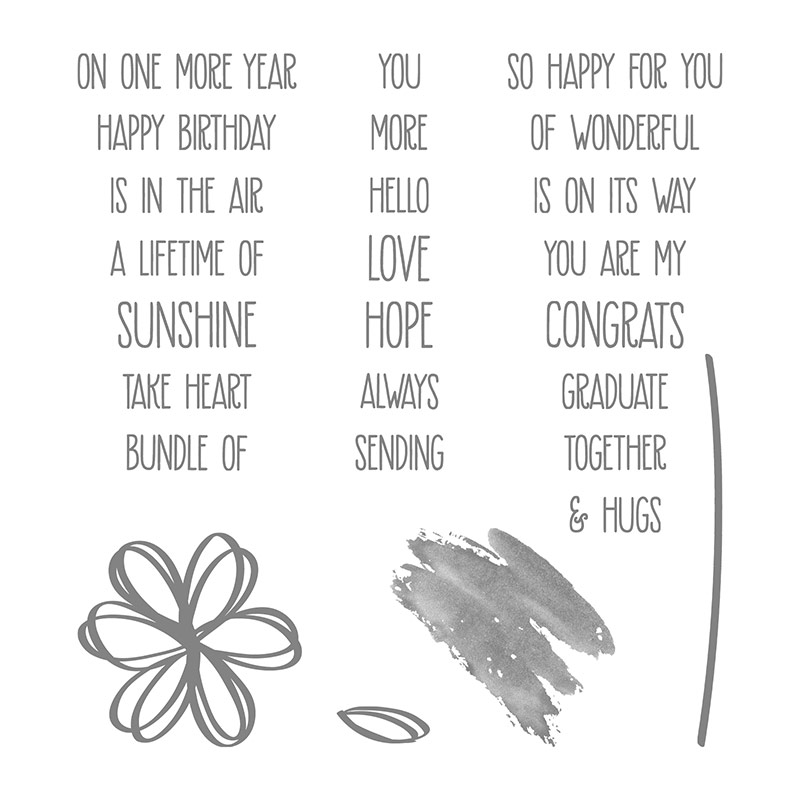
 So here's the birthday version a little closer. I inadvertently used a retired set for the "birthday" sentiment but you could use any! See the Sunshine Sayings set which goes with the Sunshine Wishes dies used for this butterfly...
 I embossed the white card layer on both cards using the Tin Tile folder, cutting t large enough so it peeks out from behind the edges of the blue card layer and also the inside, die cut circle...
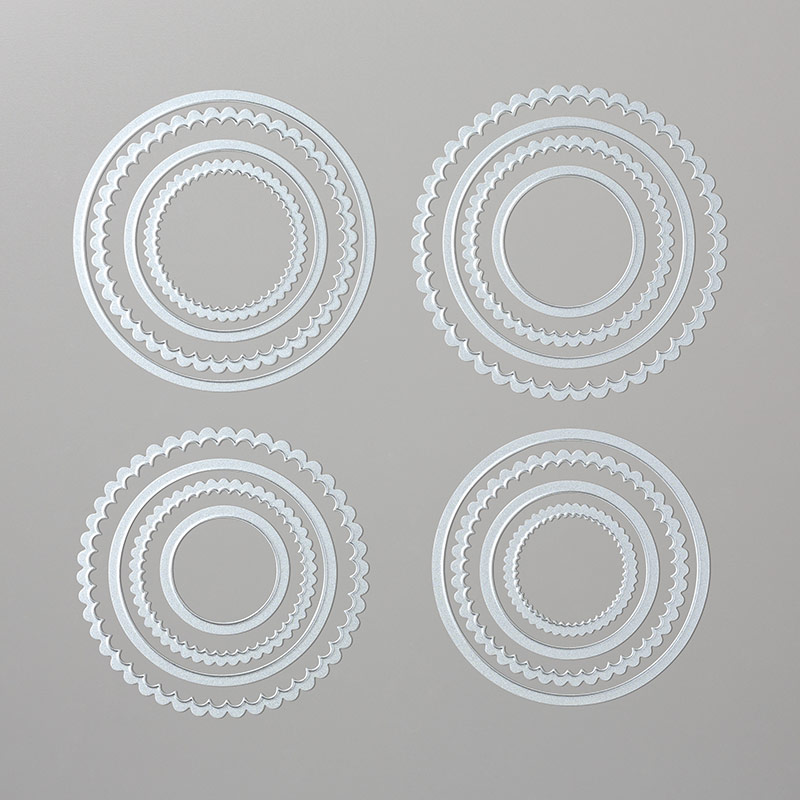
TIP: I used the stitched edge framelits to cut out the circle so I can use it on another project but you can also used the regular circle frameilts too!
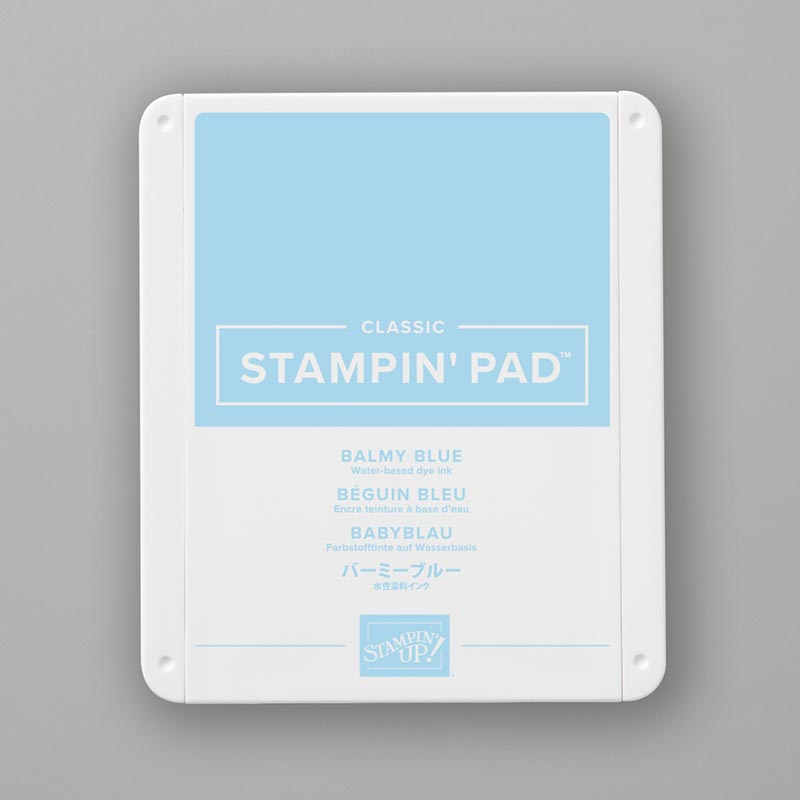
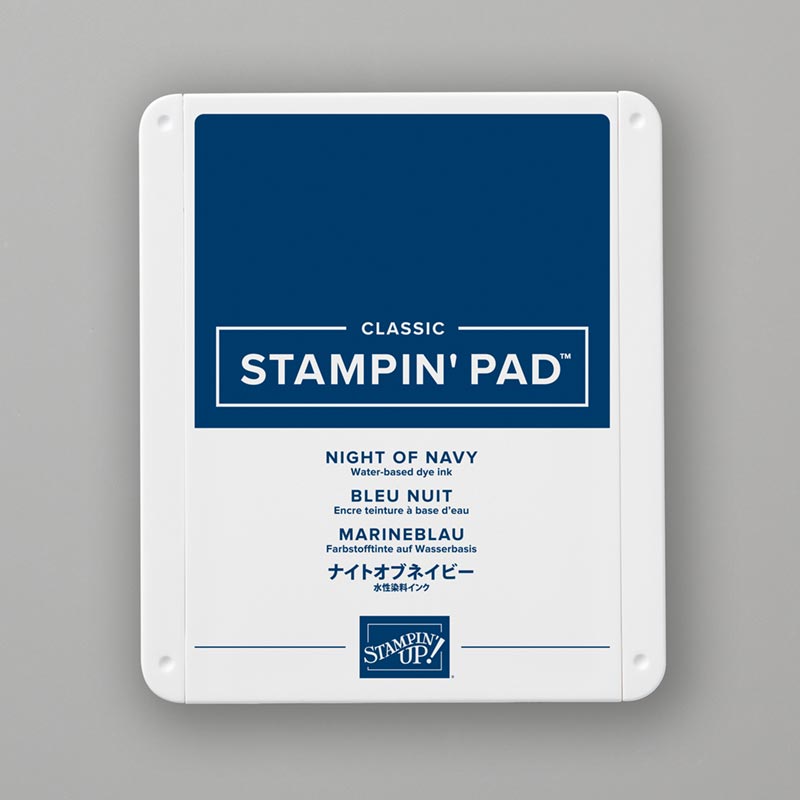
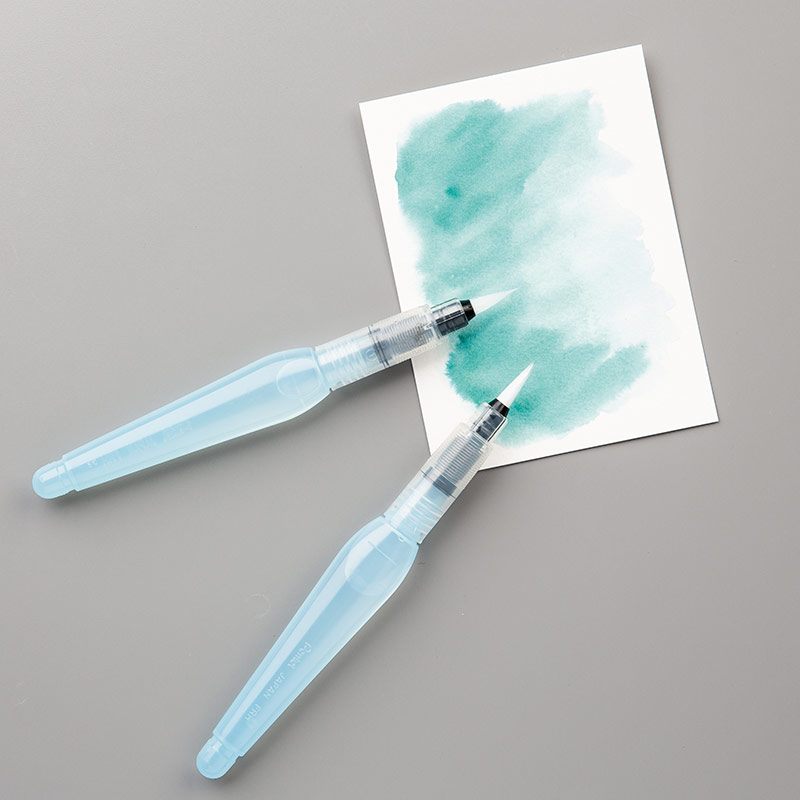
 I created the ombre "Happy" by watercolouring on watercolour paper with Navy and Balmy Blue ink using my aqua painter. Leave to dry or speed it up with a heat tool before die cutting. I like to layer up by die cutting three more "happy's" from white card and topping them with the watercoloured layer.
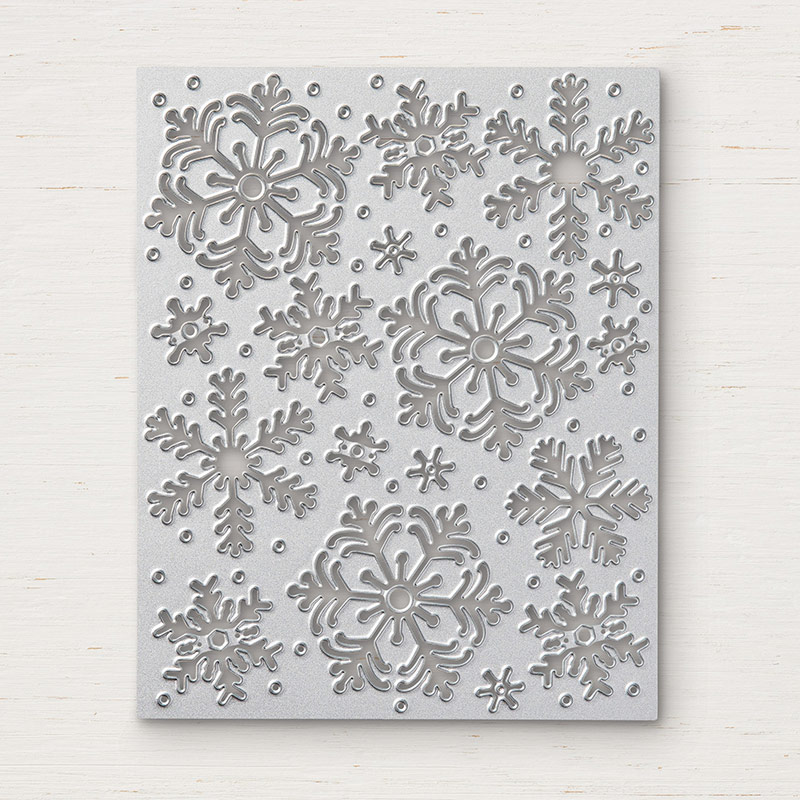
And here's a closer look at the festive version. I used the Blizzard thinlits die for the snowflakes...
 And as I didn't use twine on this version I adhered the top layer flat to the tin tile embossed layer, making it easier to post which is always a good thing at Christmas, right?
 So, that's todays pair of cards! I hope I have inspired you a little and maybe to keep your Christmas stash somewhere closer to hand this year? Which sets will you use to make more than Christmas cards?
Back soon with my third and final make from this class.
*EDIT: TO SEE ALL THE OTHER CARDS IN THIS SERIES, GO HERE*
 'Till then, happy stampin'
      Shop Online With ME!  Host code for November spends over £25 and under £150 is  UATQ2BWV
Stampin' Hugs,

Related Posts Plugin for WordPress, Blogger...