Hello there,
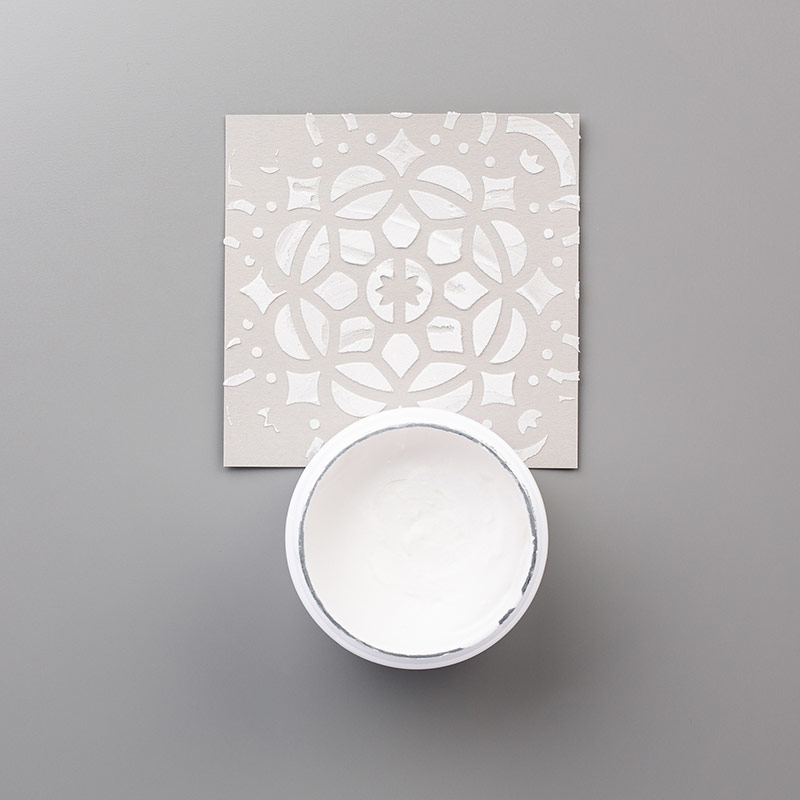
Today's card was one that came to mind when I first saw the embossing paste in the new catalogue! I'm loving this paste and it's super easy to use too.
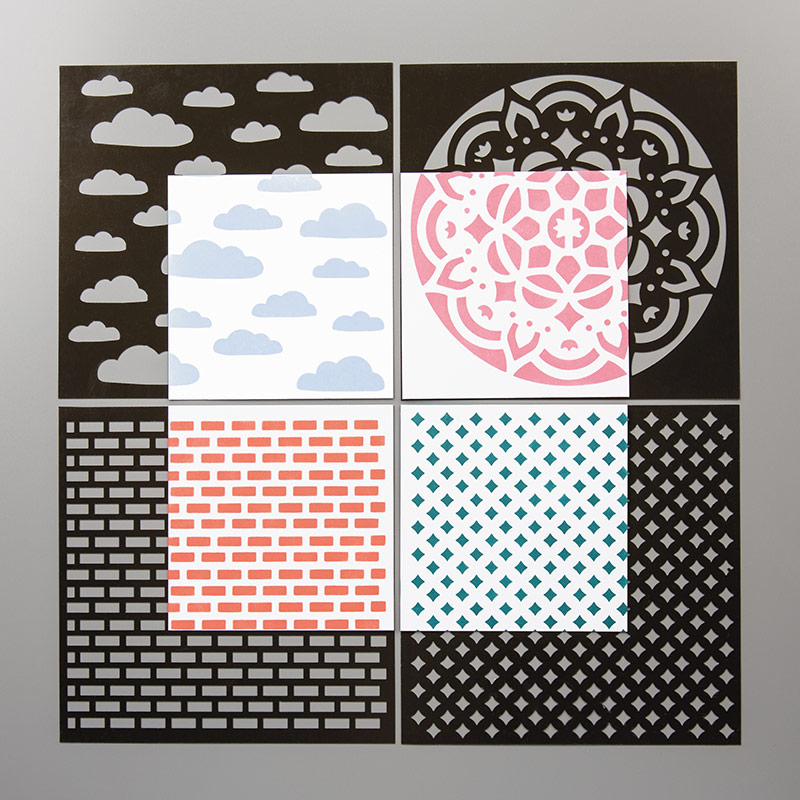
Now, the stencils are (obviously) great for this paste but can also be used for sponging ink through too, like on THIS card. And if you fancy a bit of bling (who doesn't) simply sprinkle with Dazzling Diamonds glitter while wet, like I did on THIS card.
OK, so I have a few more tips and tricks for this paste and the stencils so please do scroll down to read those but lets start by looking at today's make, shall we....
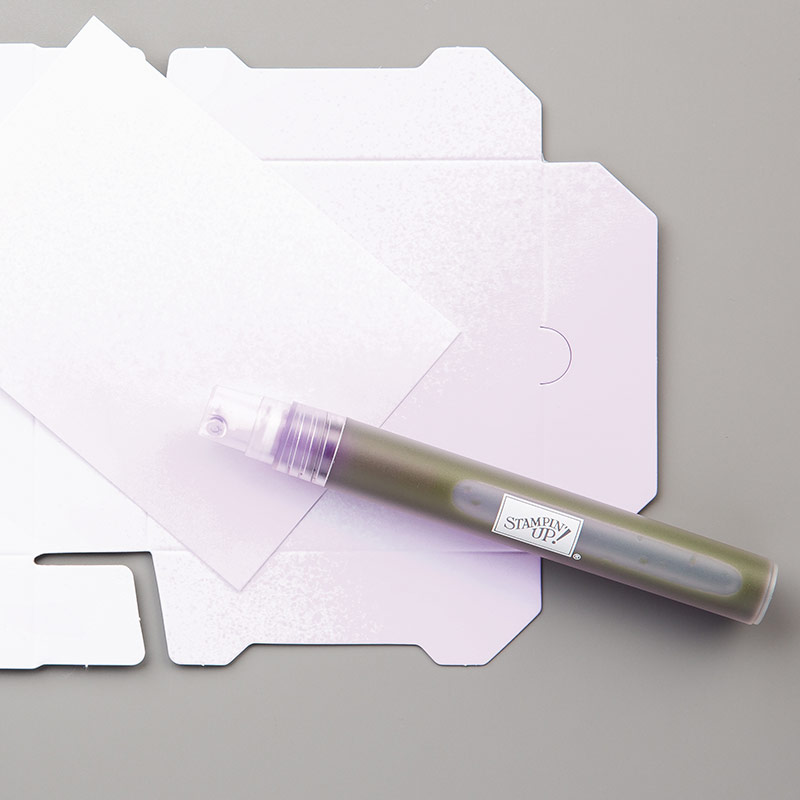
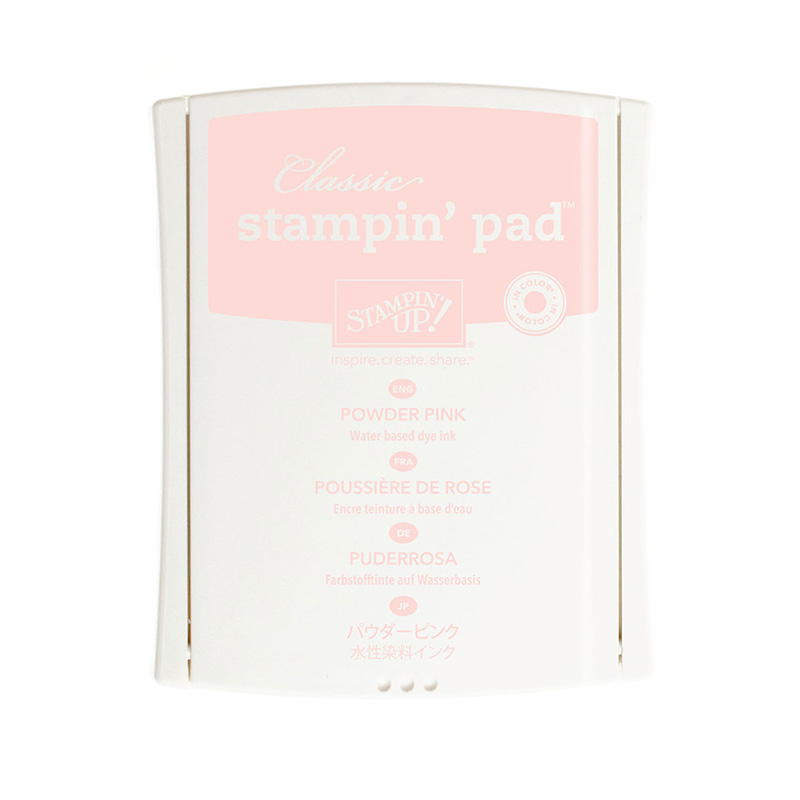
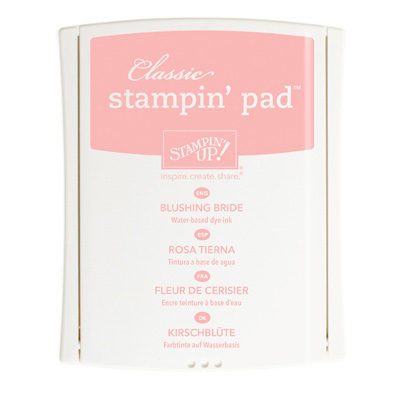
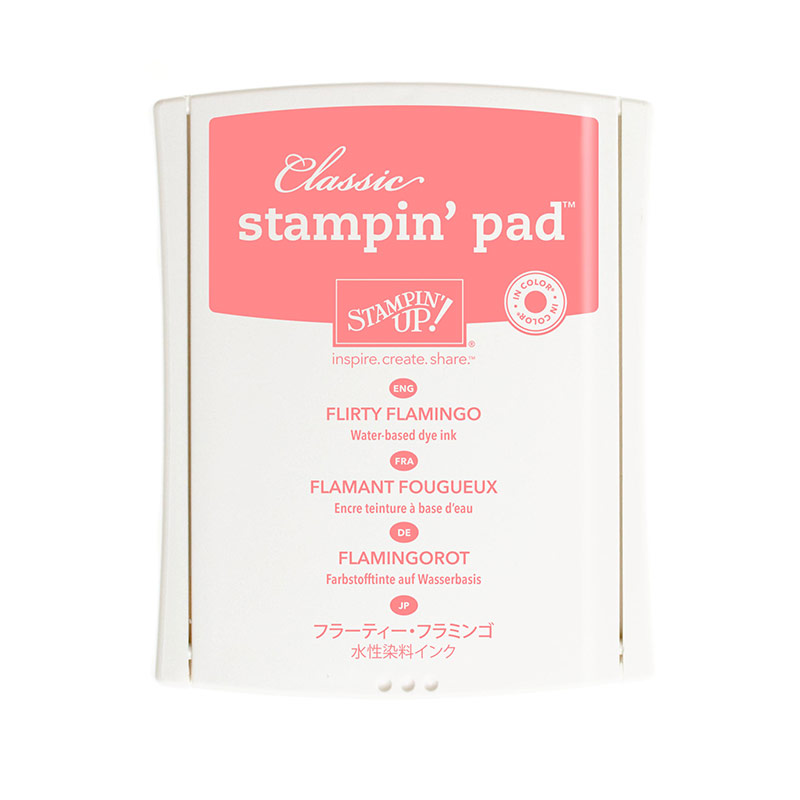
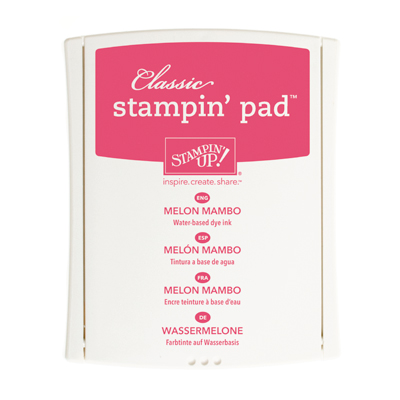
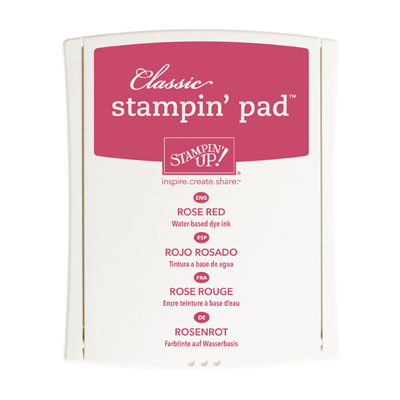
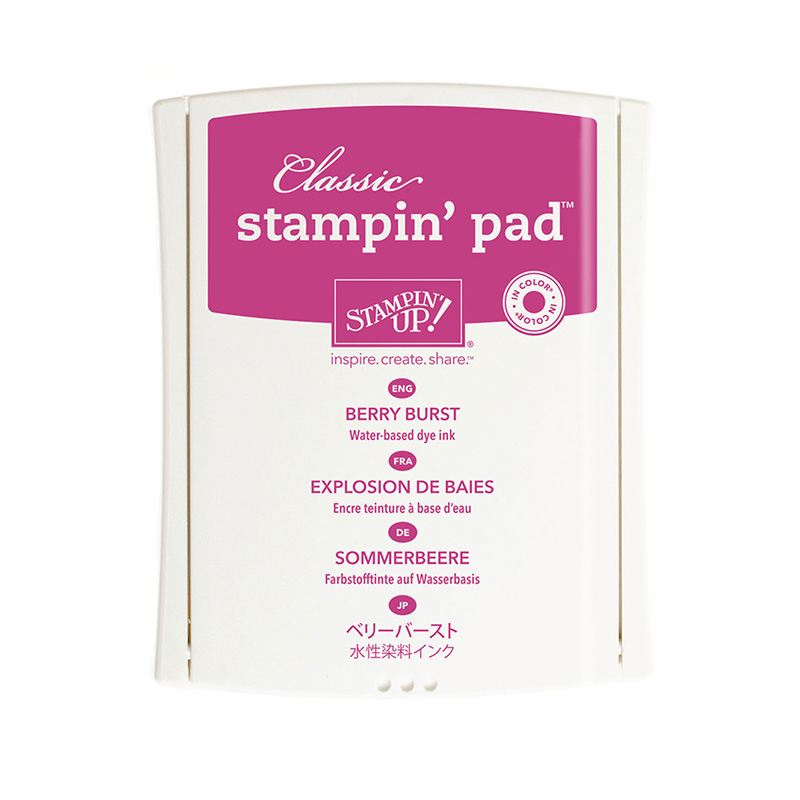
I started by gathering together a selection of my pink ink pads and piece of watercolour paper. I
You need to leave the watercolour sheet to dry completely before adding the embossing paste, you can use a heat tool to speed that up, of course ;-)
TIP 1: The first thing to remember is to wash your stencils immediately after using them as the paste does dry super quickly. Which is great for card making but not so great for your stencils!
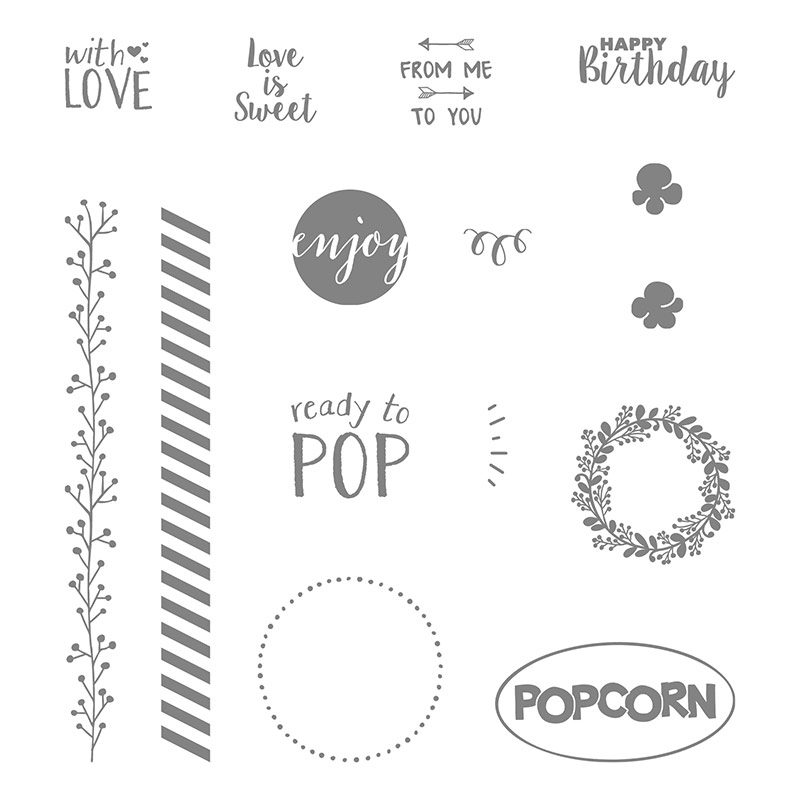
I added a small heart die cut using the Sassy and Sweet Hearts framelits and the sentiment is from the Ready To Pop stamp set, this set is full of cute little sentiments!
TIP 2: You can make more stencils by die cutting your favourite shapes from card (use thick white/vanilla or any coloured card)
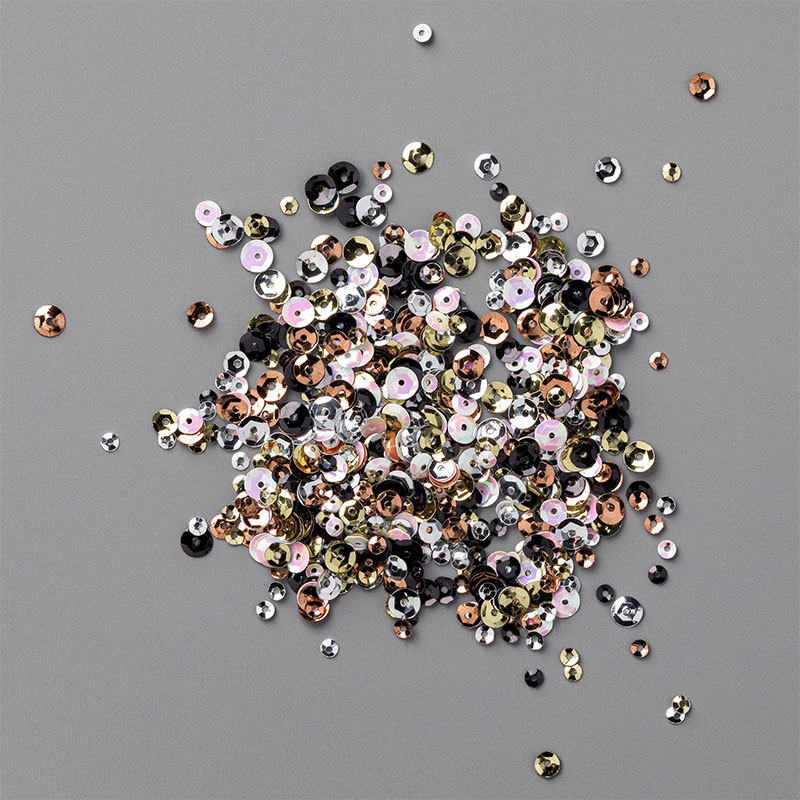
Trim down the watercolour paper layer to fit the front of your card and then drag the edges through the Berry Burst ink pad, wrap with silver thread several times, top with the sentiment and add to a basic grey card base. Finish with a few sequins!
So, I hope you have enjoyed today's make? I loved this ombre effect so much that I've already made another card using it (which I'll have to wait to share with you in a few weeks ;-))
Thanks so much for looking today
Shop Online With Me
Stampin' Hugs,
Today's card was one that came to mind when I first saw the embossing paste in the new catalogue! I'm loving this paste and it's super easy to use too.
Now, the stencils are (obviously) great for this paste but can also be used for sponging ink through too, like on THIS card. And if you fancy a bit of bling (who doesn't) simply sprinkle with Dazzling Diamonds glitter while wet, like I did on THIS card.
OK, so I have a few more tips and tricks for this paste and the stencils so please do scroll down to read those but lets start by looking at today's make, shall we....
made the paper damp using my my Stampin' Spritzer which is filled with plain water and then used a wide, flat paintbrush to watercolour in stripes across; starting from the lightest (Powder Pink) to the darkest which was Berry Burst, overlapping each colour slightly.
You need to leave the watercolour sheet to dry completely before adding the embossing paste, you can use a heat tool to speed that up, of course ;-)
TIP 1: The first thing to remember is to wash your stencils immediately after using them as the paste does dry super quickly. Which is great for card making but not so great for your stencils!
I added a small heart die cut using the Sassy and Sweet Hearts framelits and the sentiment is from the Ready To Pop stamp set, this set is full of cute little sentiments!
TIP 2: You can make more stencils by die cutting your favourite shapes from card (use thick white/vanilla or any coloured card)
Trim down the watercolour paper layer to fit the front of your card and then drag the edges through the Berry Burst ink pad, wrap with silver thread several times, top with the sentiment and add to a basic grey card base. Finish with a few sequins!
So, I hope you have enjoyed today's make? I loved this ombre effect so much that I've already made another card using it (which I'll have to wait to share with you in a few weeks ;-))
Thanks so much for looking today
Shop Online With Me
Stampin' Hugs,
Products Used to create this project:



This is amazing SJ. I need to brave the paste!
ReplyDeleteUtterly gorgeous!!
ReplyDeleteThis is beautiful! Love how you tied the thread too!
ReplyDelete