Showing posts with label Bigz Die. Show all posts

Monday, 6 April 2015

Happy Easter using the Stampin' Up! Berry Basket

Happy Easter Monday!
I hope you had a great Easter Sunday yesterday? We had a very busy, but successful day in the garden :-) There was so much to do out there as we had wasps all last summer (but no nest, so we couldn't get rid of them!) and so there was some serious catching up to be done yesterday!
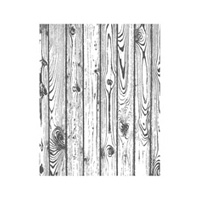
Anyway, todays project is the little berry baskets I made for my kids this Easter. I decorated them using the Hardwood Background stamp and added the cloud from Hello Love teamed with the chick from Nuts About You. These are both hostess stamp sets and if you would fancy some free hostess goodies why not consider joining my new stamp club starting in May? More details can be found HERE. 
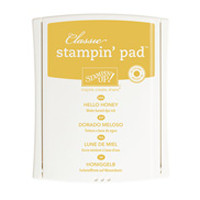
So, I'll share Zacks basket with you, his was made with Hello Honey accents...
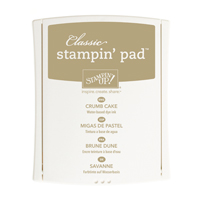
 The basket was cut from Crumb Cake card then Hardwood was stamped using matching ink
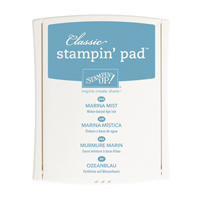
 then I added these birds (let's pretend they were chicks ;-)) in Hello Honey and the cloud was stamped using Marina Mist ink.
I popped a petit pennant with their names stamped using the Alphabet Rotary stamp on a wooden skewer before dropping it in the basket 
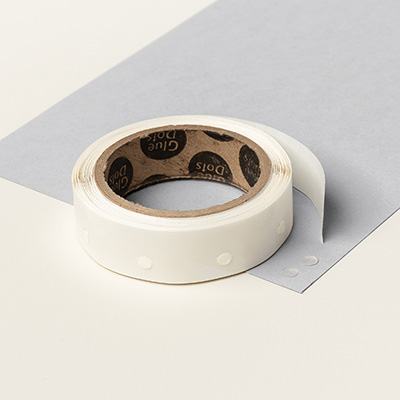
 I added this thick twine (this yellow and the blue are from SaB, pink is the current Strawberry Slush) using rolled up glue dots on the corners of the basket.
 and I added plenty of little treats to the inside too :-)
 and all three together to finish.
Well, I hope you have another lovely day today. The sun is shining here in the south of England but today's jobs are all inside ones for us, bleugh!
Thanks for stopping by today,
Stampin' Hugs,
Products Used to create this project:

Saturday, 20 August 2011

Simply Stampin' challenges and how to make a Half Patchwork using the Top Note Die Tutorial

Hello and welcome to another week of Simply Stampin' Challenges!
Wow, the weeks go by so quickly! I have a class today so have lots to get done this morning, as usual you may say ;-) I did make the cakes already though :-D
So, onto this weeks challenge and it is called "Punch it Up"
Now, at first glance you may only see one punch, can you find the other?? No? well, scroll down to see it in close up! Furher down the page you will also find my mini tutorial on how to get just half of your top note die covered with the patchwork effect.
Those eagle eyed amongst you will see that this card is a "case" from the mini catalogue, I changed it up by swapping out "Itty Bitty Bits" to make the half patchwork quilt,
Don't forget these absolutely gorgeous Springtime Vintage papers are only around for another few weeks too, contact me now to place your order, not forgetting the gorgeous FREE products offer that is running for this month only.
Here I have covered a chipboard "hi" in the papers too 
and the other punch?? Well, the 1-1/4" square punch is obvious but I also used the 1/4" circle punch to thread the seam binding ribbon through the top note die ;-)
And another Top Note die cut inside to finish
O.K. time for a mini tutorial, this just shows you how I made sure the patchwork part was directly down the centre of this top note die cut.
 Start with a piece of Crumb Cake card minimum size; 10cm x 12.5cm and glue down 6 squares of DSP after you have inked all the edges in Crumb Cake Ink (pretend I haven't cut this already ;-))
make a mark using a pencil extending the line of the centre squares edge, top and bottom, make a tiny cut with your snips, as shown here, using the pencil line as a guide
On your top Note Die mark a line at the 2 points either side as shown, a white gel pen would be better but mine has run out! Here I used pencil which works fine, if you click on the pictures they should enlarge.
line up your card, square side down, using the tiny cuts and pencil lines to get the correct position and run it through the Big Shot
and there you have it, a half patchwork Top Note Die Cut
Well that's today's card for you, I hope you like it and that my mini tutorial has been a help to somebody :-)
Back tomorrow with more crafty goodness,
Thanks as ever for stopping by today,
Stampin' Hugs,
Related Posts Plugin for WordPress, Blogger...