Showing posts with label Five days of Note Cards. Show all posts

Friday, 17 July 2015

Notecard Keeper Box Tutorial in Inches!

Hello,
Recently, here on the ole blog, I designed a whole bunch of note cards and this cute Note Card Keeper Box to keep them all in with a video tutorial too.
 I have since been asked a few times now if I could add the measurements in inches and I finally had a spare hour to do this and so that's what I'm here to share with you today :-) 
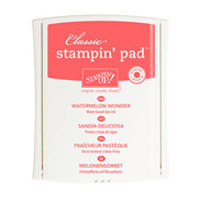
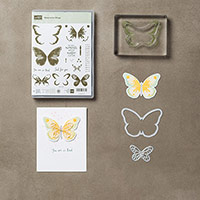
While I was checking the measurements I decided to make the box in a different design using Watercolour Wings {and remember it's 15% cheaper when purchased as  a bundle too!} teamed with the new In Colour Watermelon Wonder. I do love this colour - but it seems I'm a sucker for all the pinks SU! release!
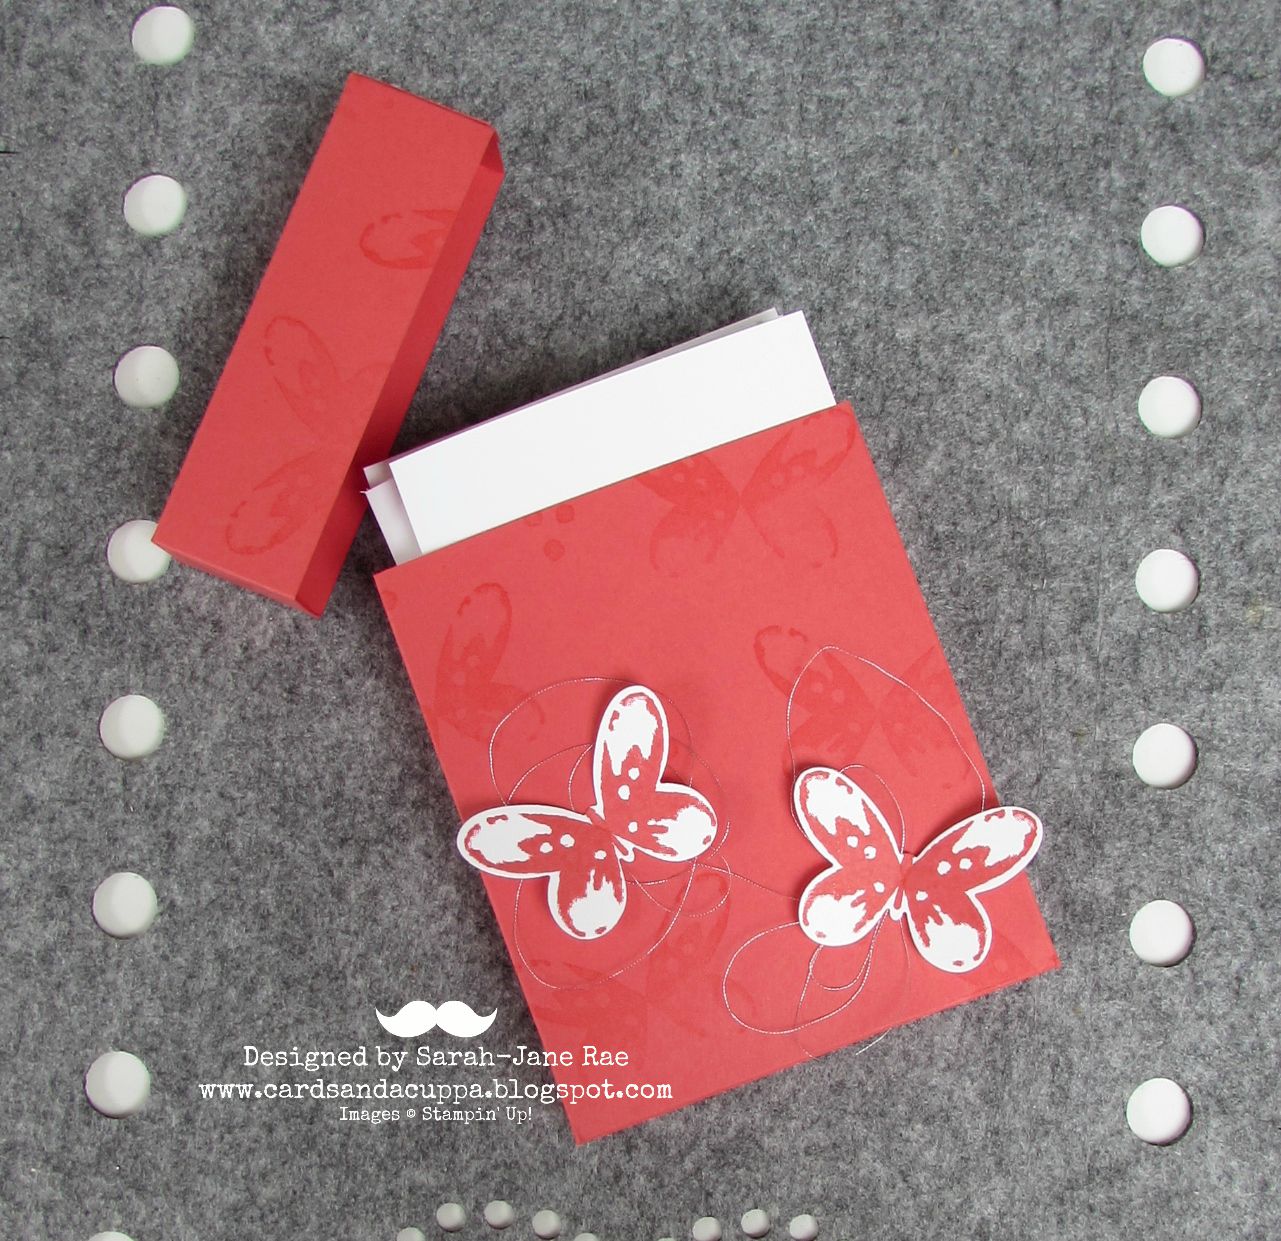
OK, so I do recommend watching the video as you read these measurements as they make a lot more sense with the visual tutorial too.
Start long along the short side and sore at 1", 5" and cut at 6".
{If stamping do this now on both pieces of card}
on the long side of the largest remaining card piece score at 4+3/4", 5+3/4" cut at 10+1/2".
For the lid (use the waste from the box) Score along the long side at 3/8", 4+7/16", 5.5", 9+9/16" and 10+5/8"
Score right along the short edge at 1+1/16" to complete the scoring.
I stamped the box using Versamark and the butterflies with Watermelon ink onto white card.
OK, so I have remade this box a few times in inches to check and it seems OK but if you have a go please let me know if the instructions were OK and worked for you too?
Thanks as ever for visiting today and I hope you have enjoyed todays post?
Stampin' Hugs,
Products Used to create this project:
Wednesday, 6 May 2015

Five Days of Stampin' Up! Note Cards; Day Five. Using Butterfly Basics PLUS Two Bonus Note Card Keeper Box Designs.

Hello and welcome to the last day-  Day Five - of my note card series! 
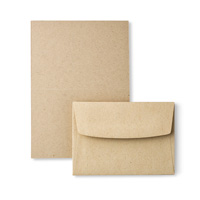
Today's card uses the crumb cake note cards and Butterfly Basics stamps with the masking technique. This technique was also used in my VIDEO for the card keeper box if you want to see me demo it :-)
OK, lets look at this card...
 I stamped the butterfly first before masking and adding the leaves and honeycomb from the set.
BTW: Do you like my new watermark? I was having a play around last night after work and made it ;-) 
 Anyway, I added the Linen thread with a stapler then topped it with this sentiment - from the Treat Bag thinlits die set - using glue dots then coated in crystal effects for maximum shininess :-)
 And here are the other two designs for the Note Keeper Box that I promised photographs of in my VIDEO last week. Obviously the one I made for the video matches today's card ;-)
Here is the one we made in class, this one is Strawberry Slush but the ladies had a choice of retiring in Colours all with Gorgeous Grunge decoration.
And some more photos of these new designs. All the measurements for box and the DSP can be found on THIS POST - under the video :-)
Right, that's all from me today. I've been trying to get this post finished for a couple of hours now so I'm just gonna publish and hope I haven't missed anything!! Lol.
I hope you have enjoyed this mini series and to see all the posts in this 
Thanks for looking today,
Stampin' Hugs, 
Products Used to create this project:
Monday, 4 May 2015

Five Days of Stampin' Up! Note Cards; Day Four; Using Butterfly Basics and a My Crafty Friends Share!

Hello,
Todays card is a Crumb Cake note card and I used the Butterfly Basic stamp set. Just FYI the Butterfly dies are back in stock so why not take advantage of the 15% off and order them together with this stamp set? Links at the end of this post. Anyway, back to this card. Lets take a peek...
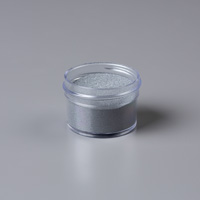
 I stamped this flower using Versamark and heat embossed using Slate powder, this has now sold out, but you could use Silver powder or even gold would look nice.
*Note* Please excuse the inky smudge in the bottom, right corner, I didn't get a chance to photograph this card until after the class ;-)
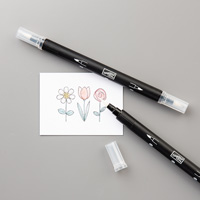
 We then coloured it in using blender pens and our ink pads, 
 As with all the other cards in this series we decorated the envelopes to match
 and one last photo today ;-)
To see all the other cards in this series please CLICK HERE.
And to watch the video tutorial with the box I designed to keep these note cards in, please SEE HERE :-)

So, before you go I want to give myself a little "toot"

I am thrilled and honoured to have one of my cards chosen to be featured on My Crafty Friends Monday! HERE IS THE POST, Thanks Jo for the share and recognition xxx

Sharing this card which uses Guy Greetings in which I share with you how to make a Bow Tie using the Bow Punch.
My FULL POST is HERE
Well, I hope you have enjoyed today's card(s)
And thanks so much for looking today :-)
Stampin' Hugs,
Products Used to create this project:
Related Posts Plugin for WordPress, Blogger...