Showing posts with label Inlaid Die Cutting. Show all posts

Saturday, 9 June 2018

New! Animal Expedition Designer Series Paper

Hello there,
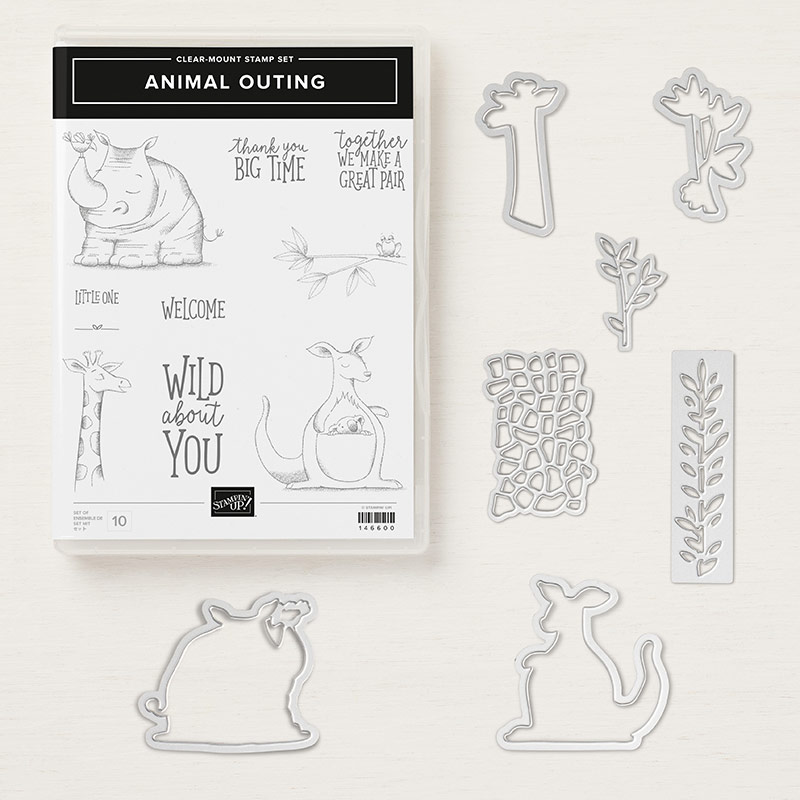
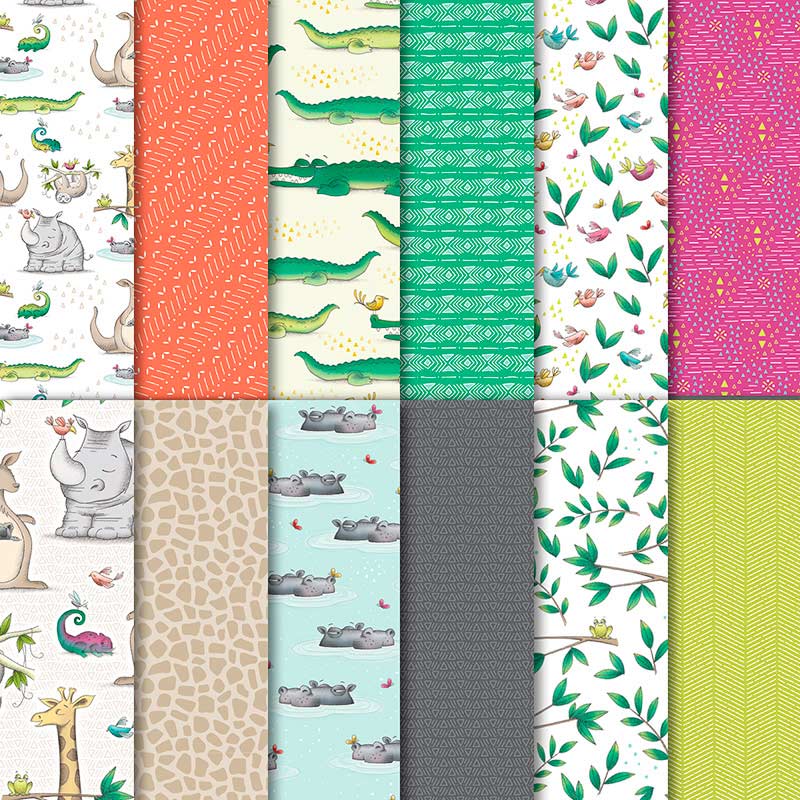
I hope you are well? I have had my first order of new goodies this week and have had a little play the other evening when I discovered the dies that are for Animal Outing stamps also fit the papers from the matching Animal Expedition DSP! I love that! Let's see...
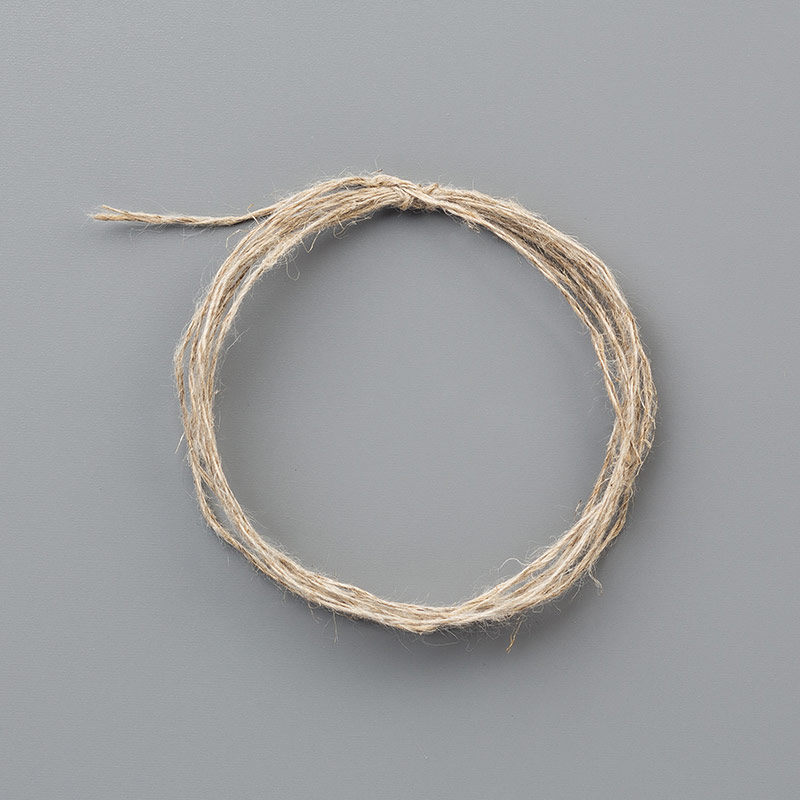
 I used some of the branch paper with a vellum overlay and some linen thread before adding it to completely cover a card base.
 I trimmed a rectangle of the paper out before die cutting the giraffe. Then I added the outer paper to some Tranquil Tide card and finally popping the giraffe back in with dimensionals.
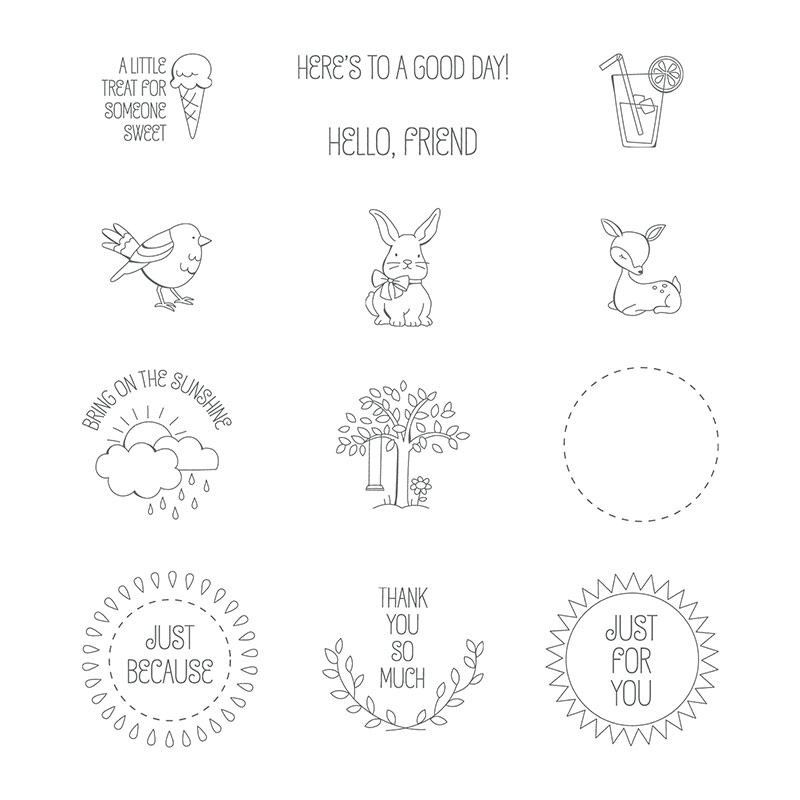
 Finished with a sentiment from "A Good Day" stamp set, heat embossed in white on black card, and that's it!
I love this card and these papers are so adorable! I have already made another couple of cards using it so I'll share those with you soon too.
Right, I hope you like todays card too, back soon with more :-)
   Shop Online With Me
Sampin' hugs,

Tuesday, 28 November 2017

Using 'Oh So Eclectic' in Kraft and Navy

EDIT: I wrote this post last night and forgot to "Publish"! So, it's very late in the day, but at least it's here, right ;-)
Every time I played around with the dies from the 'Oh So Eclectic' bundle and I found myself not wanting to throw away the lovely, tiny cut out portions :-( and so I decided to make an inlaid die cut card with some. It's not a super quick card to make but it's not difficult either, just time consuming, maybe one for in front of the telly?
Let's see, shall we...
To make this card: I used the die to cut the Flowers? Honeycomb? Shape? Well, whatever it's called! from the soft sky card layer before adhering it to a kraft square, 5mm larger. Then I die cut it from some fresh fig card and peeled the die up, trying to keep as many of the small pieces in the actual die as possible. I added tiny dots of tombow in the gaps of the soft sky layer, then placed the die over the holes and pushed the small pieces out, into the holes.
Add to a navy card base and then add a bow in navy seam binding to a sentiment (from the stamp set) and a few sequins to finish :-)
Well, that's all for today, I do hope you liked this card and maybe even give it  go?
Thanks for looking today. Before you go, a quick reminder that tomorrow is a new challenge from Inspire. Create. so I do hope you will come back then and see :-)))
   Shop Online With Me
Stampin' Hugs,

Tuesday, 21 February 2017

Dragonfly Dreams Inlaid Die Cutting Card

Hello,
I have a little monochrome card for you today using the Dragonfly Dreams dies and I teamed them with "A Little Foxy" DSP stack to make this inlaid die cut card...
 I added oodles of Wink Of Stella to the Flirty Flamingo dragonflies.
Notice the cute, grey heart DSP is to the rear of these dragonflies...
 I only added tombow adhesive to the central bodies of the dragonflies for a little dimension.
Well, that's me for today, thanks for stopping by!
     Shop Online With Me

Saturday, 23 July 2016

Inlaid Die Cutting and a Shaker Card Combined - a Video Tutorial using Umbrella Weather Dies

Hello there,
I have a fun couple of cards for you today using the fab Umbrella Weather dies  from the new SU! catalogue. This was another set on my 'must have' list when I first saw the catalogue and I knew it would make a fab shaker card. 
I decided to team that with the inlaid die cutting technique though to make this fun card using the A Little Foxy paper pad and some sequins. This was the first version I made...
I added pink mini beads as well as sequins in the umbrella area.
So, as it's a little different from a standard shaker card I decide to make a little video tutorial. This is not a quick card to make but I always think a shaker card is worth the extra effort...
Take a look...
 and this was the one I made in the video! I used the sentiment from the Weather Together stamp set on this version (save 10% when bought with the dies). I think I like this one with the green sequins slightly more? What do you think?
Well, I do hope you enjoyed todays cards and video? Thanks so much for looking today!
Stampin' Hugs,
 Shop Online With Me

Please don't use this code on orders over £150 as you will be the lucky hostess!

Sunday, 22 November 2015

Three More Inlaid Die Cutting Cards using Stampin' Up's Sleigh Ride Edgelits

Hello there,
and as promised yesterday I'm here with three more cards that use the inlaid die cutting technique and the Sleigh Ride Edgelits dies. The fabby dies are being retired at the end of this catalogue {or sooner if they sell out} so if you want your very own please order them asap! ;-)
So, I made these samples first as one of my 12 weeks of Crafty Christmas Makes and you may have seen sneak peek of these cards if you watched the video already?! Then I made yesterdays card (HERE) for the tutorial, it was much more traditional looking in Cherry Cobbler and Mossy Meadow but just by changing up the card colours you can make really modern looking cards, let me show you...
Here's the Square design with sequin trim and thick twine
You'll notice the resemblance to yesterdays card here with another oval - except this time the oval is popped up on dimensionals instead of being inlaid into the card front. Change to a silver satin ribbon bow and add silver glimmer stars and you're done!
And a circle version with silver glimmer backing...
 ...but, I know that's an awful lot of glimmer paper for just one card!
So here's my Top Tip: Die cut a glimmer paper circle one size larger than your main panel, then die cut a circle one size smaller than the main panel from the centre of the glimmer and use it for another project ;-)
 So, I hope you have enjoyed these cards I have made using this technique?
To see the video you can pop back to Yesterdays Post :-)
Thanks for looking today,
Stampin' hugs,


Related Posts Plugin for WordPress, Blogger...