Showing posts with label Weather Together. Show all posts

Wednesday, 2 May 2018

Heart Happiness for an Inspire. Create. Challenges Sketch #17

Hello!
It's time for challenge #17  already at Inspire. Create Challenges and this fortnight it's a sketch, my favourite!
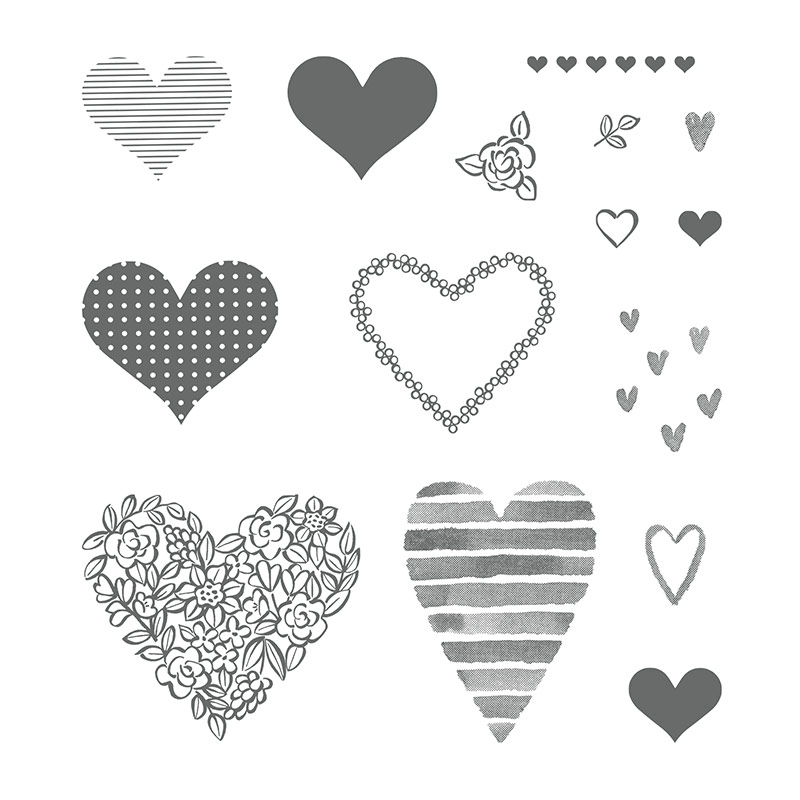
I decided to use the soon to be retiring Heart Happiness stamp set but, I've stamped it in the upcoming In Colour, Blueberry Bushel. A real combo of old and new! Let's see, shall we...
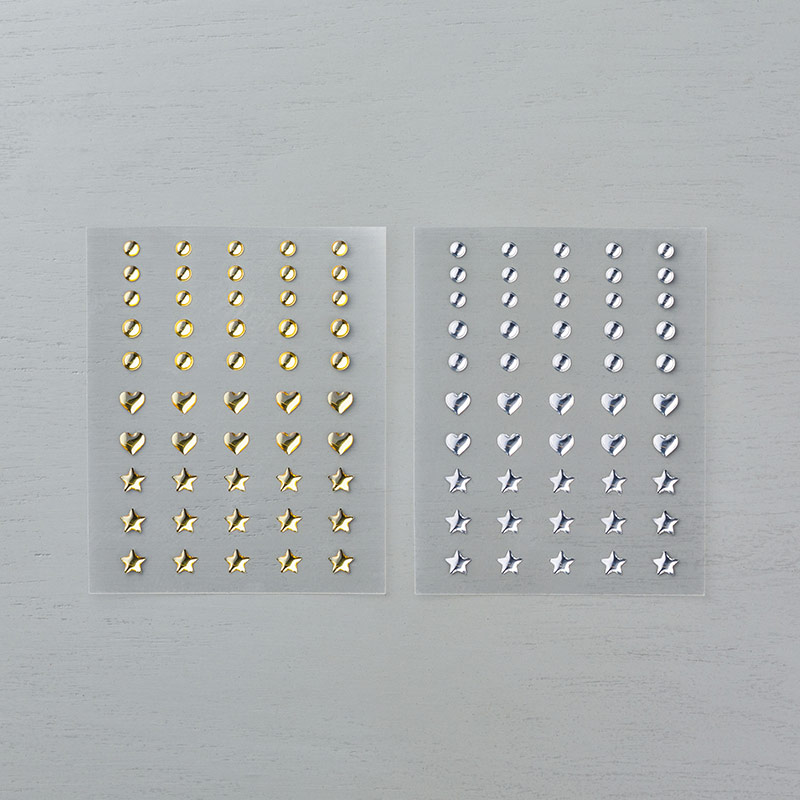
 These silver enamel shapes are also leaving us but don't they look cute on these slightly larger hearts?
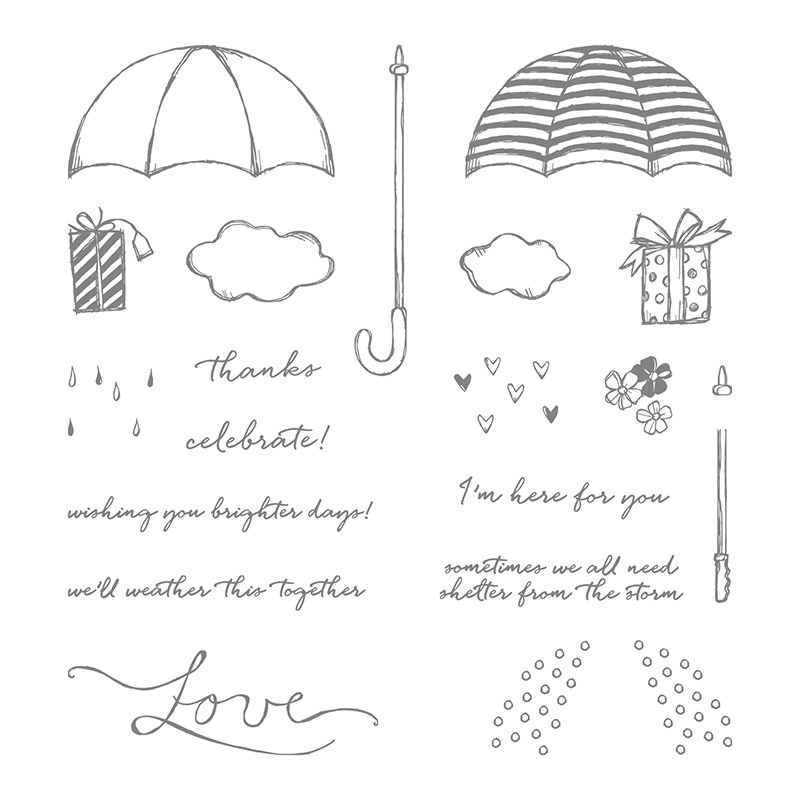
 I thought the sentiment from Weather Together, heat embossed in silver, was just perfect with these hearts.
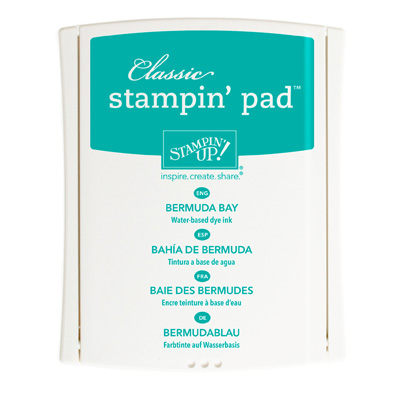
and I love how well the Blueberry Bushel works with Bermuda Bay, don't you?
But don't worry, you'll be able to purchase this Blueberry ink and card on the first of  June or if you can't wait you could always consider joining SU! for the first peek at the new catalogues and also you'll get hold of the new products, first! ;-)
I hope you enjoy your day and if you are making a card this week we'd love if you had a go at this challenge! For some more inspiration do head over to the challenge blog and see what the rest of the DT have made HERE
Right, I'm off out for the day as it's out wedding anniversary so we are having a day out together!
Back soon with more craftyness :-)
     Shop Online With Me

Sunday, 16 April 2017

Watercoloured Weather Togeher by Stampin' Up! and Zig Clean Colour Markers.

Hello!
I have a watercoloured card for you today using the Weather Together stamps, which of course can be purchased with matching dies (saving 10% when purchased together) but I didn't use the dies today :-)
I also recently treated myself to some Zig Clean Colour pens and so I stamped and watercoloured this image with them. They offer a really vibrant colouring result in real life and I do hope you can tell that from the photo?
 I made a simple, pastel rainbow watercoloured background with the SU! subtles inks to go behind this bold image.
 And heat embossed the sentiment from the set in gold over the handle.
 I had a little of the watercoloured paper left over so I finished off the inside with a few thin strips.
 And one final photo for today. So, my conclusion for the pens? I like the Zig pens and the end result provide a very intense colour, don't you think? As a very ameteur watercolourist I did find them a little trickier to work with than SU! ink pads but I think that's because they are so vibrant. So I will practice and practice some more with them and I'll share some more makes with you here soon, I'm sure ;-)
Thanks so much for looking today,
   Shop Online With Me
Stampin' hugs,

Saturday, 1 October 2016

All That Glitters Blog Hop using Umbrella Weather by Stampin' Up!

Hello and welcome to my blog and Octobers Jem's blog hop. First of all - Wow, October? Already?!
So, this month for the hop we had the brief "All That Glitters" You may have hopped here from the lovely Sharon's blog - where I'm sure her project has wowed you! Please do continue to hop around everyone for lots of sparkly inspiration!
*all hop links are at the end of this post*
Anyway I made this fun and sparkly card using the Weather Together bundle. I loved this bundle as soon as I saw it and really haven't used it anywhere near enough yet, but this card is a start, right?
So, let me share my card for today, I added a ton of glimmer hearts to this card and it is really sparkly IRL...
This card started out because I had die cut the umbrella extra when making another card, what a happy accident ;-) Because of this I had to stamp after cutting, which I don't usually do, but as this stamp set is photopolymer it was fine ;-)
 I added some Crystal Effects (retired) to the spots on the brolly for extra shine and sparkle. You can use the fine tip glue pen for a very similar effect.
 So, I do have a few tips for making this card...
TOP TIP #1: To make sure your sentiment is straight use a ruler and your grid paper. Just rest it straight across and look through the block when stamping. And no pencil lines to erase!
 TOP TIP #2: Don't waste glimmer paper behind your image where it won't be seen, die cut a smaller circle from the centre and adhere as usual. I used this panel to die cut all those little hearts that I added to the card.
 TOP TIP #3: To make adhering all those hearts easy (after I had positioned them where I wanted them) I dropped a blob of glue from the fine tip pen onto a clear block (or use a silicone sheet), then swiped the hearts through the glue before wiping the excess off on the side of the block. Remember to clean your block before the glue dries though!
 TOP TIP #4: Finally, for that "designer" look remember to adhere your hearts over the edges, wait 'till they dry then flip the card over and trim the excess away from the rear for maximum accuracy.
And here's one final photo of todays card.
Next up you will be hopping over to the very lovely Sarah! or you can hop back to Sharon's blog :-)
 
Thanks for looking today, I have a ton of things to share with you as today is World Card Making Day, so please visit my OTHER POST HERE to view new specials launched today.
   Shop Online With Me
            

Saturday, 23 July 2016

Inlaid Die Cutting and a Shaker Card Combined - a Video Tutorial using Umbrella Weather Dies

Hello there,
I have a fun couple of cards for you today using the fab Umbrella Weather dies  from the new SU! catalogue. This was another set on my 'must have' list when I first saw the catalogue and I knew it would make a fab shaker card. 
I decided to team that with the inlaid die cutting technique though to make this fun card using the A Little Foxy paper pad and some sequins. This was the first version I made...
I added pink mini beads as well as sequins in the umbrella area.
So, as it's a little different from a standard shaker card I decide to make a little video tutorial. This is not a quick card to make but I always think a shaker card is worth the extra effort...
Take a look...
 and this was the one I made in the video! I used the sentiment from the Weather Together stamp set on this version (save 10% when bought with the dies). I think I like this one with the green sequins slightly more? What do you think?
Well, I do hope you enjoyed todays cards and video? Thanks so much for looking today!
Stampin' Hugs,
 Shop Online With Me

Please don't use this code on orders over £150 as you will be the lucky hostess!

Related Posts Plugin for WordPress, Blogger...