Hello!
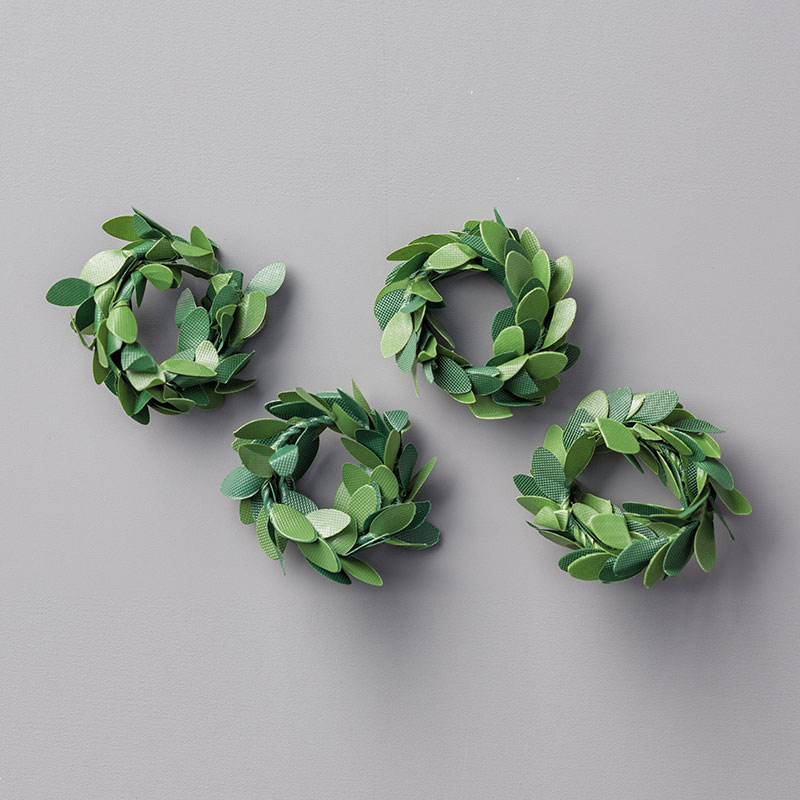
Today I have a card I made a while back (again) using these adorable mini boxwood wreaths (AC. Page 113 and just £5.50 for 12) and they are another, "not just for Christmas" item. I think this would make a great v.day card. Too soon? lol...
Anyway, how about a special wedding card or just an I love you...
How cute are these wreaths?
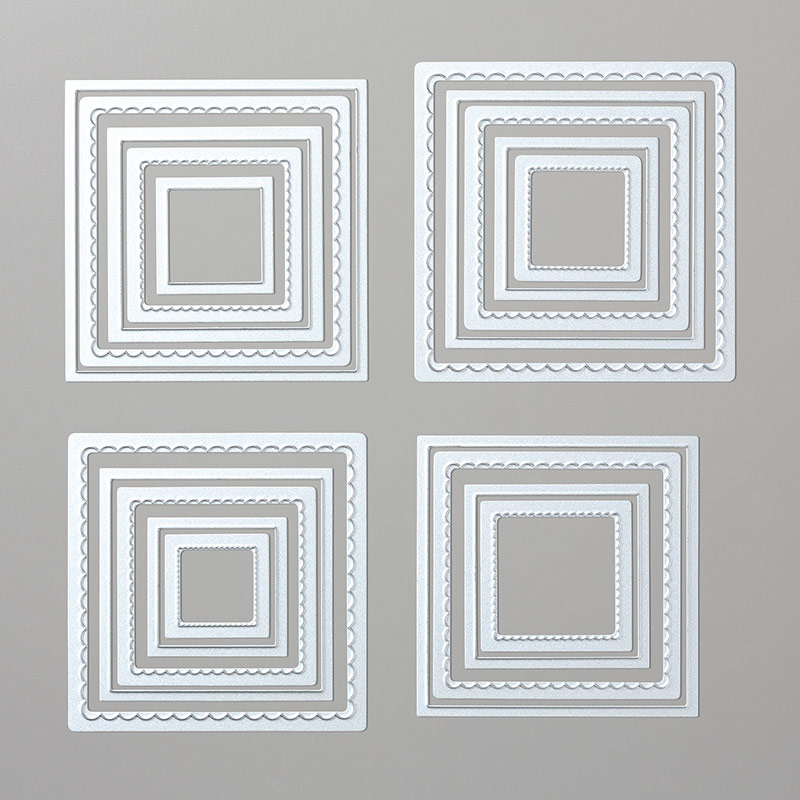
TIP: I secured this wreath and ribbon to a die cut square of white card using a mini staple ;-)
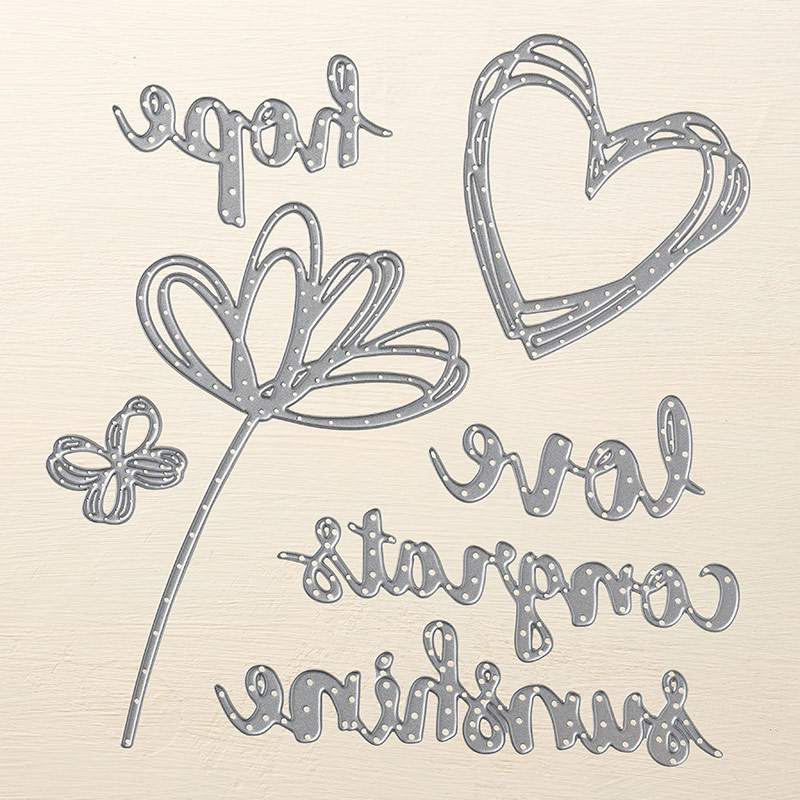
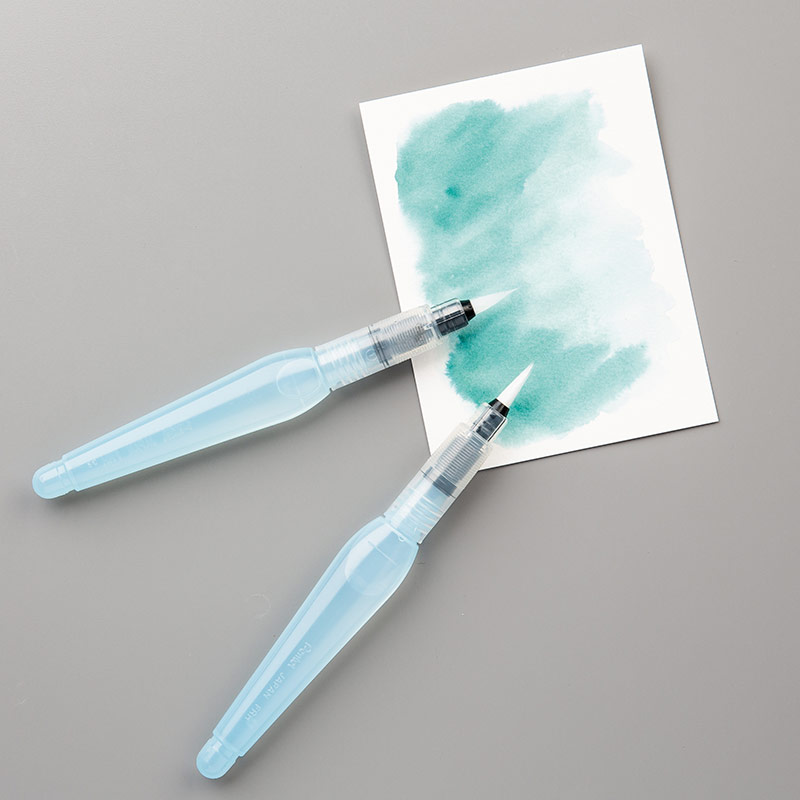
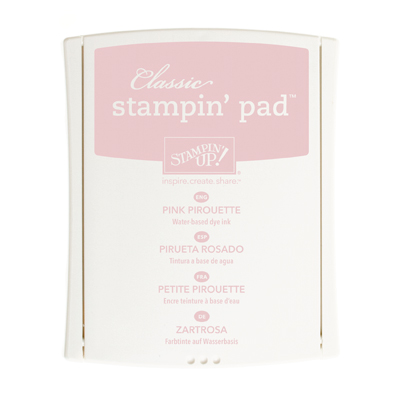
This ombre effect is fun and easy to achieve but watercolouring a small piece of thick white card, adding more colour to the bottom, leaving to dry, then die cutting. I then die cut two more "love" sentiments from white card and stacked them to add a little more oomph to this sentiment.
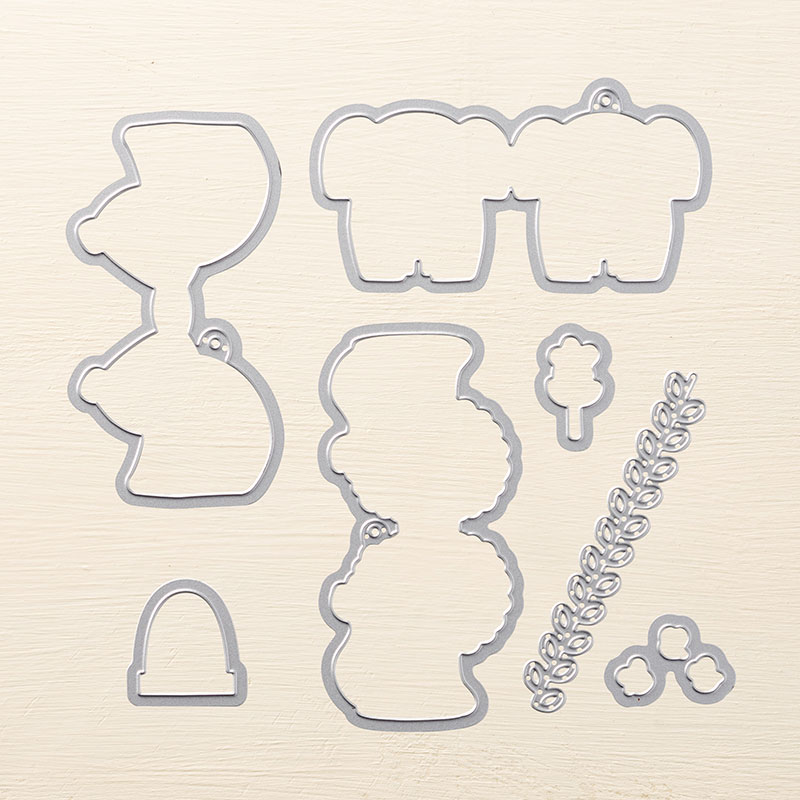
I added little die cut, same colour strips from the "Little Loves" dies (part of the Little Wild bundle) behind the front square.
TIP: If (like here) your topper is as long or longer then these strips simply cut them in half and adhere to the card so they poke out each end.
And one more picture, just because!
Can I say I really love this card? Because I totally do and I love it when that happens :-)
OK, back tomorrow with another card, I hope you get a chance to be creative today!
Shop Online With Me
Stampin' Hugs,
Products Used to create this project:



No comments:
Post a Comment
Thank-You for any comments you may leave, I appreciate the time it takes to do so and I love to read them all :)