Hi there,
I'm back again! That's three days in a row, get me! lol.
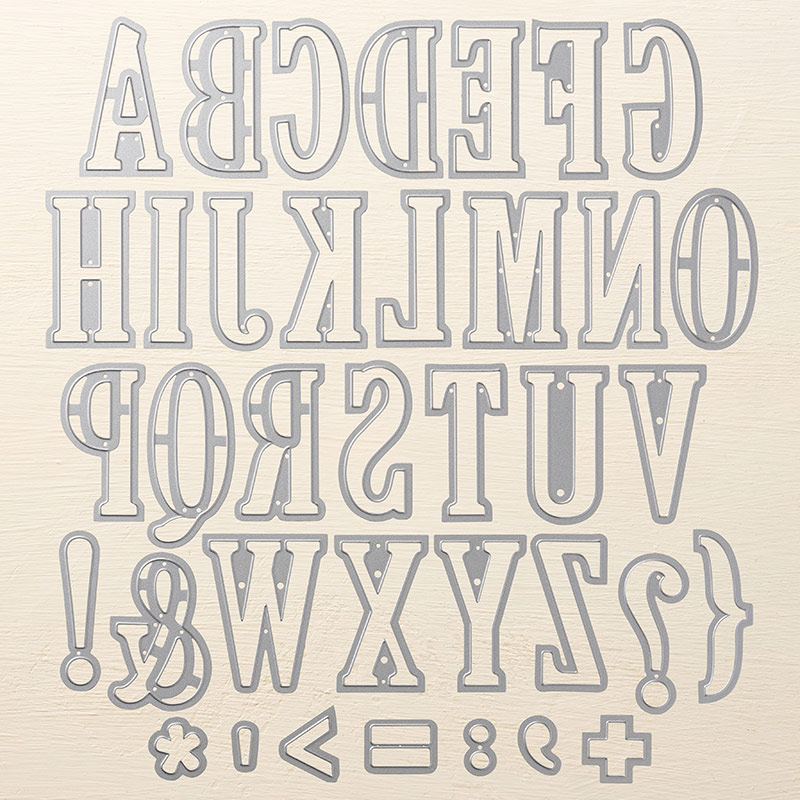
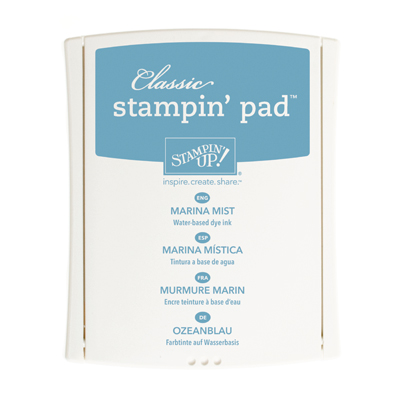
I have another wedding card today and, yet again, I used the Large Letter framelits. The brief was blues, the same as the happy couples invite, and lots of flowers.
So, let's see today's wedding card in all it's finest...
To make this card start with thick white card and ensure its at least as long as your card (here it was 21cm).
TIP: If you stamp on card that is longer than you will need you can avoid any ooops' you may have made stamping, when you die cut the letters.
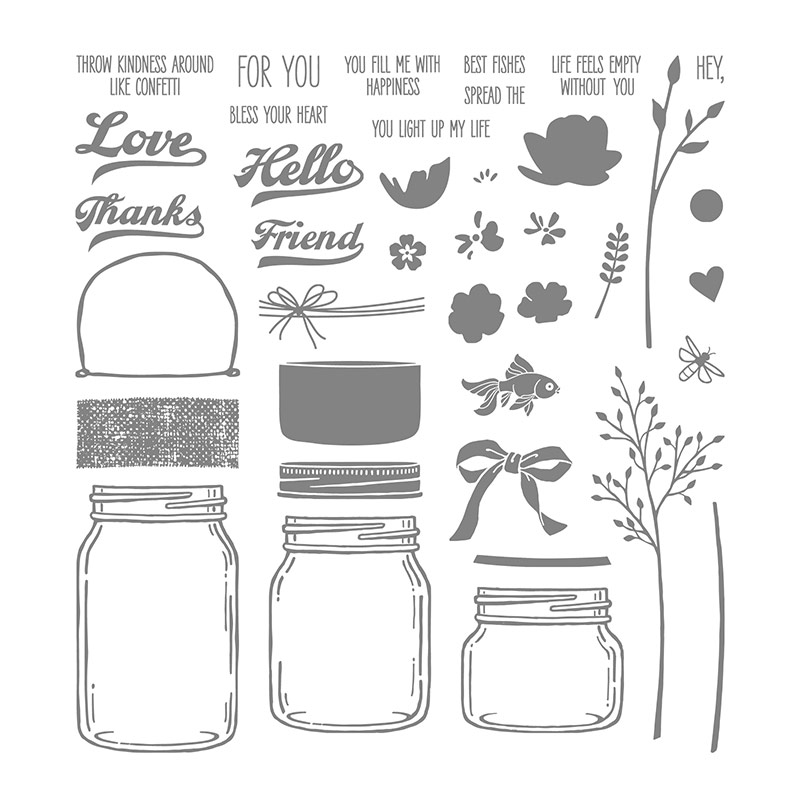
Lay one of the letters on the card piece and measure where you want the stamping to come up to, mark a line, lightly, in pencil. Stamp below the line using the small flowers and stems from Jar of Love...
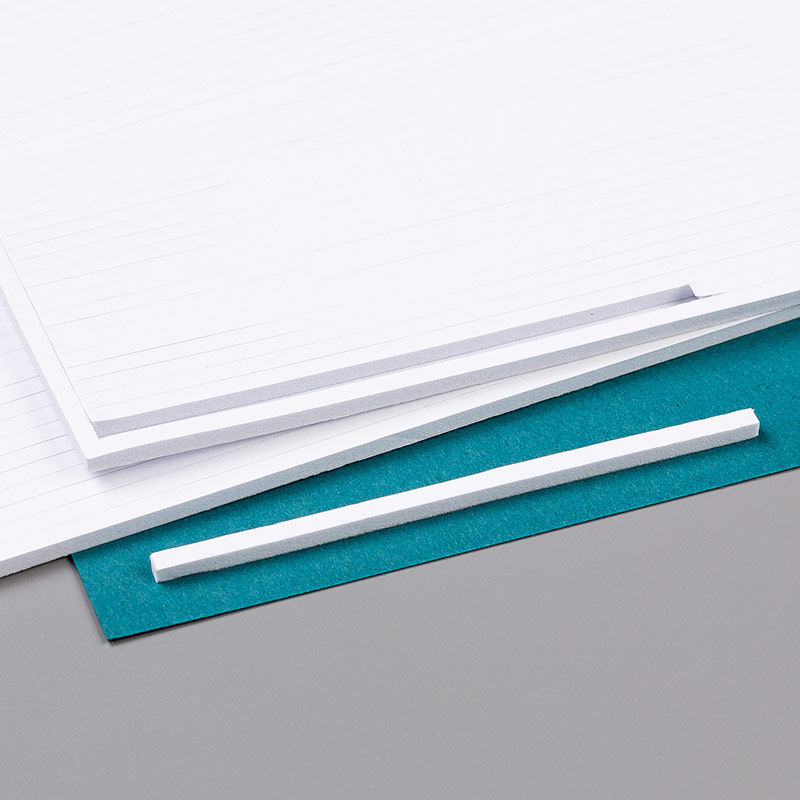
...erase the line and then die cut "Mr & Mrs" using the Large Letter framelits. I love these dies for making any card a truly personal card. Adhere to the card front with foam strips or dimensionals.
TIP: Use a ruler (or straight edge) to butt the letters up to, when adhering, to ensure they are perfectly straight.
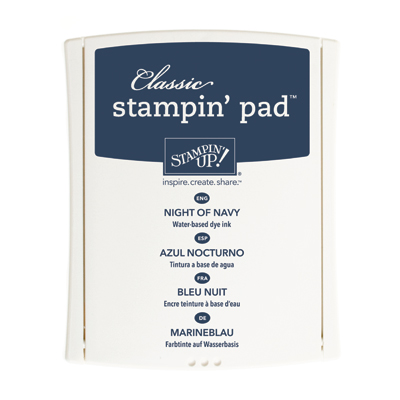
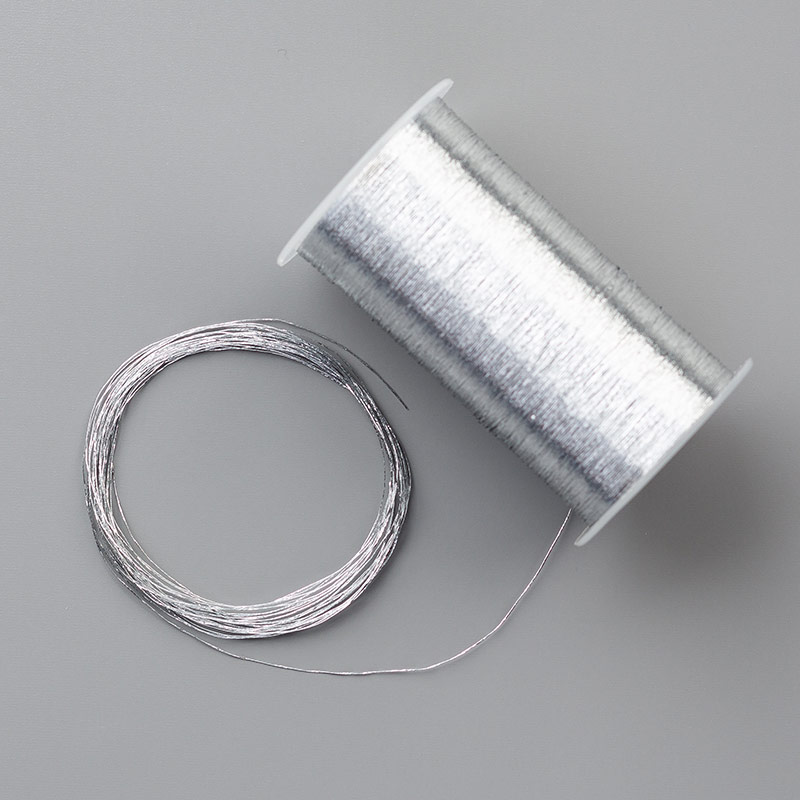
I tied a double strand of navy twine (retired) and silver thread around, under the letters.
I'm not going to lie, I found this super tricky and its not something I will be doing again in a hurry, lol. It does look pretty though.
I also decorated the top of a card box to match and added folded tissue paper. I think a special, personalised card like this can be part of your gift, as I'll share with another card in the next few days ;-)
And one final photo for today!
Well, that's it for today! I hope you are enjoying all these Large Letter Framelits cards I'm sharing because I have at least one (maybe two) more in the next few days???
Anyway, that's all for today, back soon with more..
Shop Online With Me
Stampin' Hugs,
Products Used to create this project:


Beautiful card... beautifully,presented Sarah Jane.... and whilst I am here... Merry Christmas to you!
ReplyDelete