Hello there,
It's time again for another Inspire. Create. Challenge and this week (#007) is a colour challenge :-)
TIP: Don't forget to use your embossing buddy before you stamp and emboss to stop the stray powder sticking where you don't want it to!
So, if you've coloured on crumb cake card before you'll probably already know this but for those who haven't I made a little tips picture. I'll rewrite it below for those using translate on here too :-)
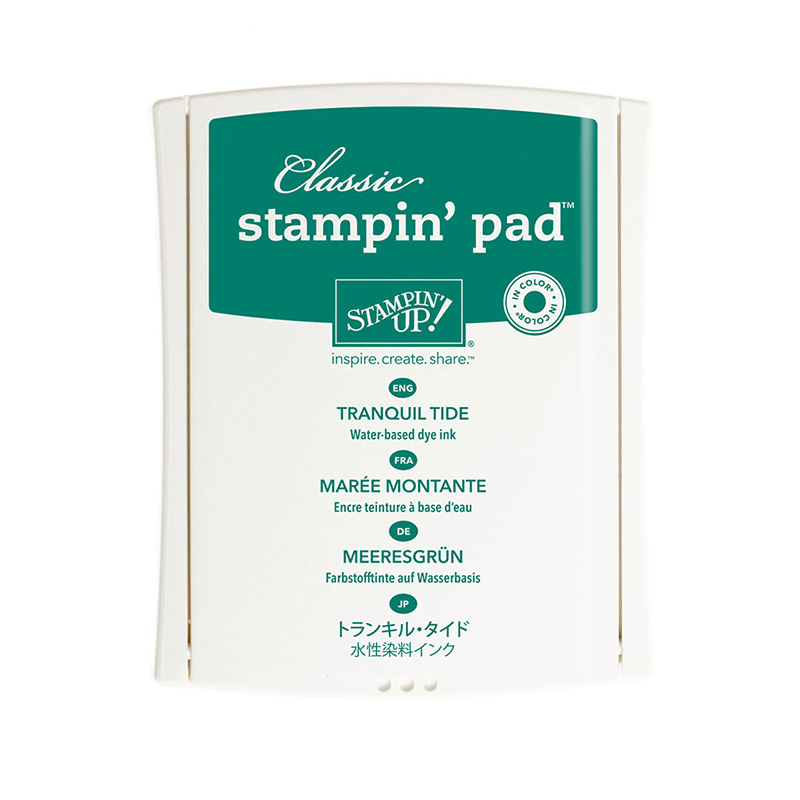
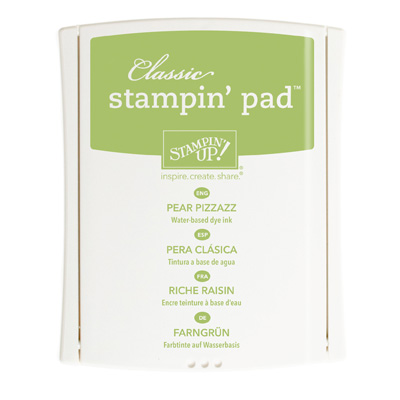
TIP 1: To make your colours pop more on crumb cake card colour the image with white craft ink first, blot then leave to dry (or speed it up with a heat tool) before colouring with ink (pad or refill). For this card, I used Tranquil Tide and Pear Pizzazz.
TIP 2: Keep just one blender pen for using with white craft ink as it clean off the nib easily. I add a little post-it-note tape note wrapped with sellotape to this pen.
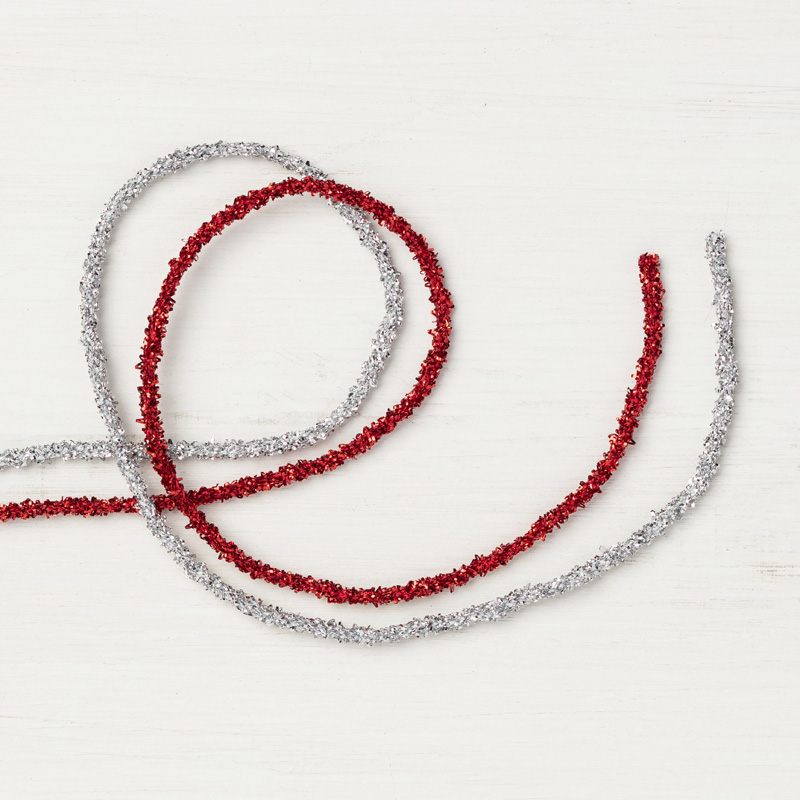
I used another mini boxwood wreath and added some cute tinsel trim (for the Real Red in this colour challenge), I love this trim and it's in the upcoming catalogue in some yummy new colours :-) I was so happy to see this!
**Message me if you'd like a copy of the upcoming Spring/Summer catalogue**
OK, I was asked by a couple of people when I shared THIS card last week, how I attached the wreath so I made another little picture tutorial for you :-D
Start by making a heart shape with the wreath by unravelling it and creasing it in half, this will be the bottom of the heart. Fold the sides into the top to make a heart and using a mini stapler (mine's a Bambi by Rexel), staple the top two pieces to your card front. Add any ribbon by stapling at approx 15cm or 6" over the first staple but leave the other end attached to the reel (on the right), tie in a bow around the staple and trim. This will make this wreath and bow very secure with no chance of it falling off in the post. You can use this method to attach any ribbon, to any card ;-)
TIP: Make sure the second staple is slightly offset from the first.
And so that's today's card!
Don't forget to hop over to the Inspire. Create. Challenge blog and see what the other DT have made with these colours :-)
We'd all love if you joined in with us for this challenge and share your makes with us!
Thanks for looking today,
Shop Online With Me
Stampin' Hugs,
It's time again for another Inspire. Create. Challenge and this week (#007) is a colour challenge :-)
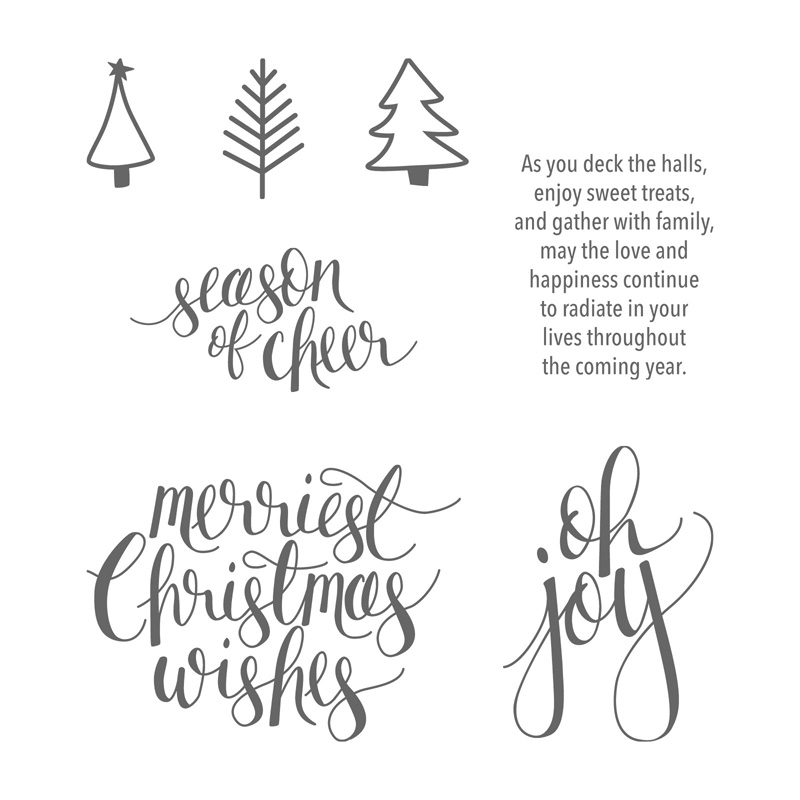
I couldn't resist using the Watercolour Christmas* stamp set (again) for this weeks card...
*Just £13.60 right now!
I cheated slightly as I added copper embossing powder to this card, but metallics are a neutral, right? ;-)TIP: Don't forget to use your embossing buddy before you stamp and emboss to stop the stray powder sticking where you don't want it to!
So, if you've coloured on crumb cake card before you'll probably already know this but for those who haven't I made a little tips picture. I'll rewrite it below for those using translate on here too :-)
TIP 1: To make your colours pop more on crumb cake card colour the image with white craft ink first, blot then leave to dry (or speed it up with a heat tool) before colouring with ink (pad or refill). For this card, I used Tranquil Tide and Pear Pizzazz.
TIP 2: Keep just one blender pen for using with white craft ink as it clean off the nib easily. I add a little post-it-note tape note wrapped with sellotape to this pen.
I used another mini boxwood wreath and added some cute tinsel trim (for the Real Red in this colour challenge), I love this trim and it's in the upcoming catalogue in some yummy new colours :-) I was so happy to see this!
**Message me if you'd like a copy of the upcoming Spring/Summer catalogue**
OK, I was asked by a couple of people when I shared THIS card last week, how I attached the wreath so I made another little picture tutorial for you :-D
Start by making a heart shape with the wreath by unravelling it and creasing it in half, this will be the bottom of the heart. Fold the sides into the top to make a heart and using a mini stapler (mine's a Bambi by Rexel), staple the top two pieces to your card front. Add any ribbon by stapling at approx 15cm or 6" over the first staple but leave the other end attached to the reel (on the right), tie in a bow around the staple and trim. This will make this wreath and bow very secure with no chance of it falling off in the post. You can use this method to attach any ribbon, to any card ;-)
TIP: Make sure the second staple is slightly offset from the first.
And so that's today's card!
Don't forget to hop over to the Inspire. Create. Challenge blog and see what the other DT have made with these colours :-)
We'd all love if you joined in with us for this challenge and share your makes with us!
Thanks for looking today,
Shop Online With Me
Stampin' Hugs,
Products Used to create this project:


No comments:
Post a Comment
Thank-You for any comments you may leave, I appreciate the time it takes to do so and I love to read them all :)