Showing posts with label Christmas Cards 2017. Show all posts

Sunday, 24 December 2017

Smitten Mittens in Gold and Navy

Hello there and thanks for visiting me here on Christmas Eve!
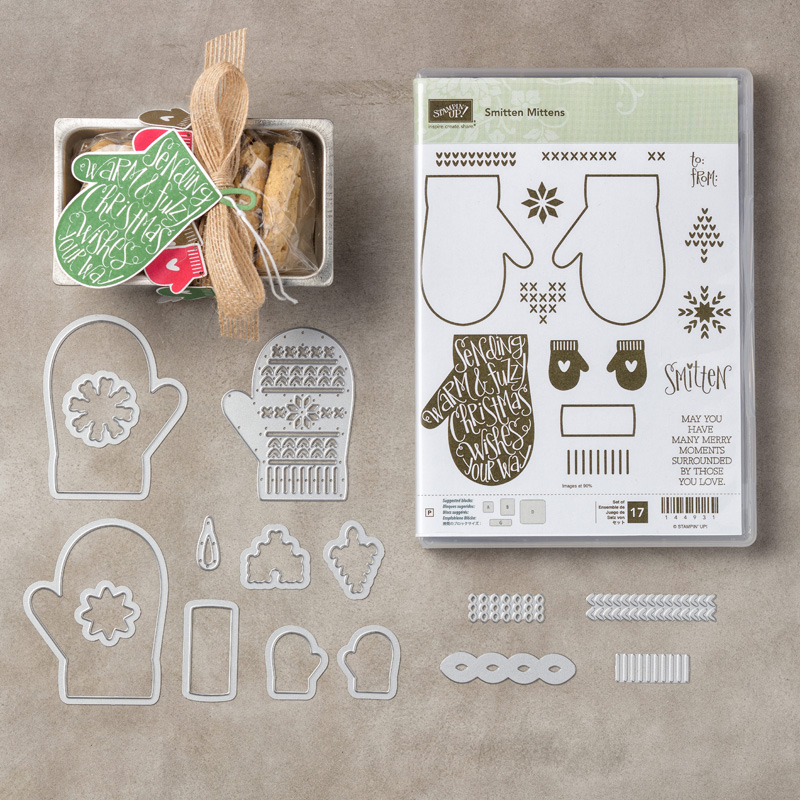
I have one last hurrah of Christmas cards today but I don't just have one card, oh no! I have three (albeit similar) cards to share with you today :-) So let's have a little look, shall we?
 I actually made five of these cards, all inspired by some lovely navy felt I had ordered this week :-)
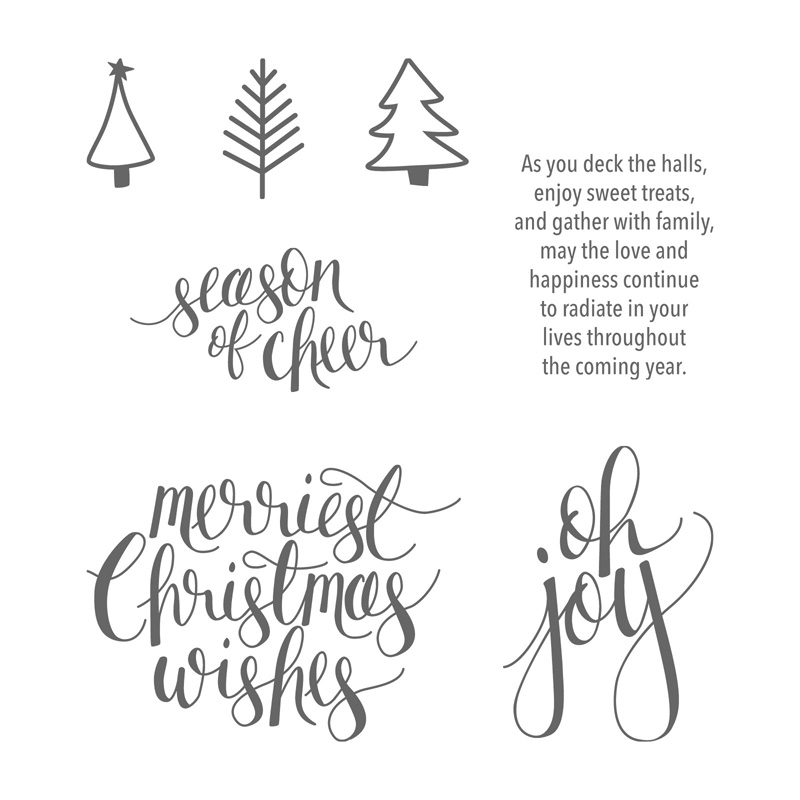
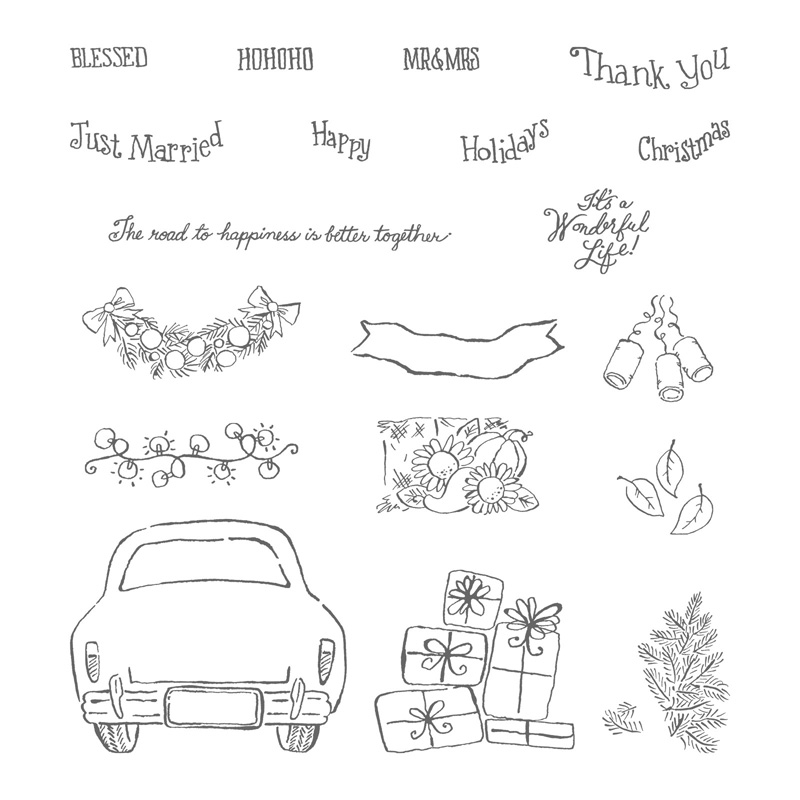
Both the sentiments are from the Hearts Come Home stamp set.
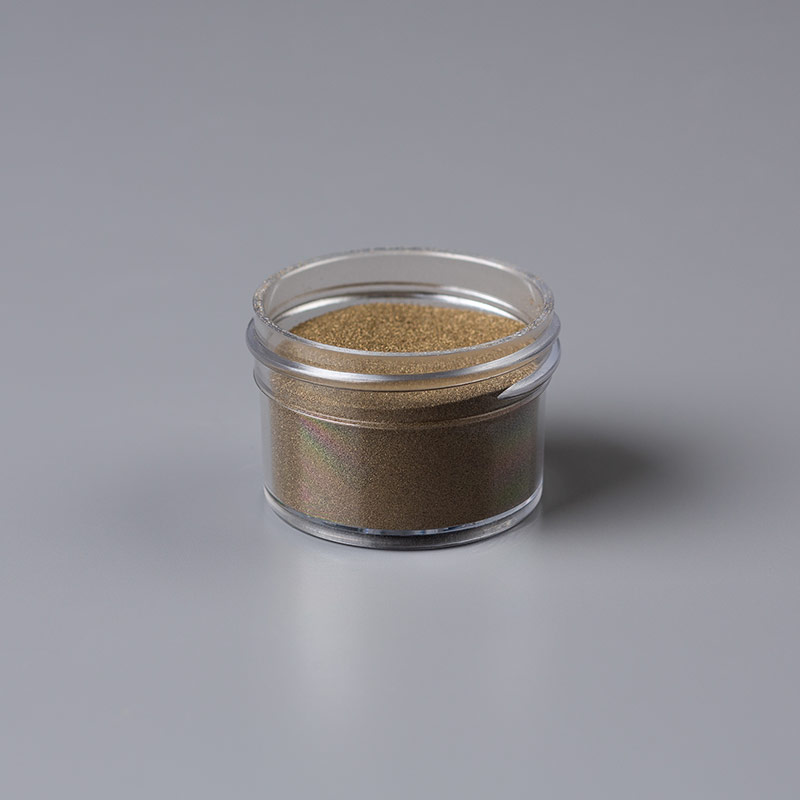
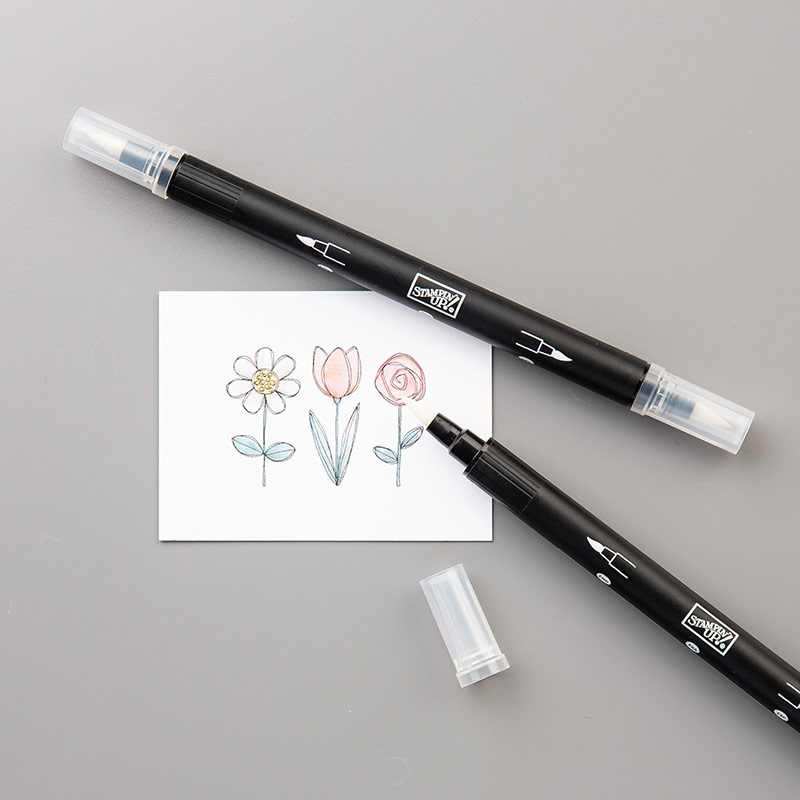
TIP 1: I used a gold sharpie to colour the pearl (or an enamel spot would work too) to hang the mittens.
And I also used the pen to edge the sentiment...
TIP 2: Hold both the pen and the sentiment facing upwards, that way if you slip with the pen it will be on the reverse.
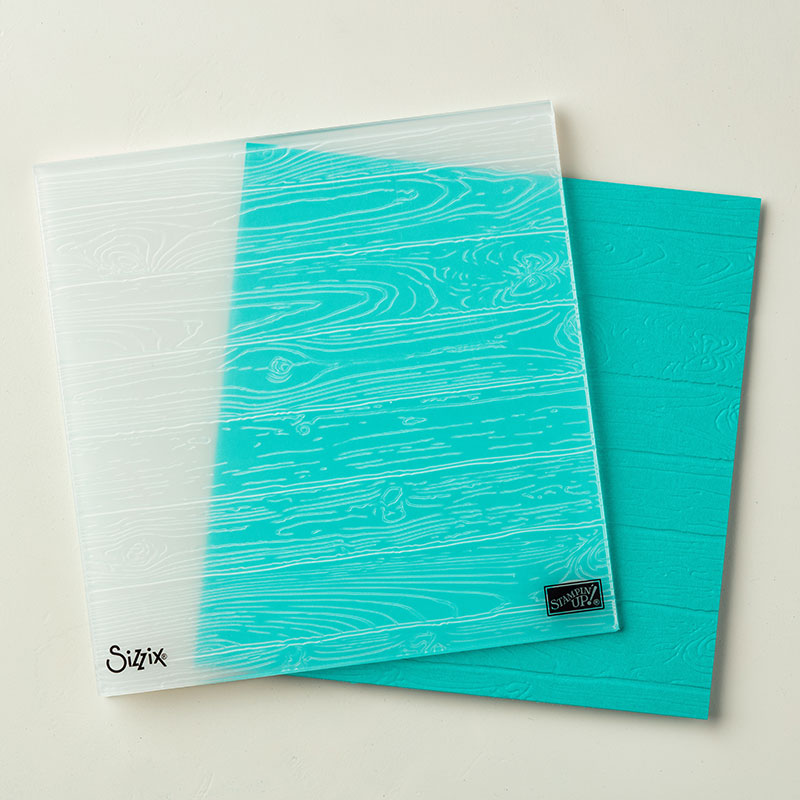
 I love the Pinewood Planks embossing folder and it's so versatile. My New Years resolution is to use this folder much more often!
 And all three of them together to finish today.
Well, that's all my Christmas cards this year! And I managed to blog them all before Christmas! Things are looking up :-)
I'd just like to take this moment to wish you all a very Merry Christmas and I hope you have a wonderful time with those you hold near and dear.
Thank you for your continued support and I'm look forward to sharing lots more with you in the upcoming weeks and months xxx
     Shop Online With Me
A Holly Jolly Christmas Hug,

Saturday, 16 December 2017

Painted Harvest for a Christmas Wreath

Hello!
Here at cards and a cuppa HQ I have been furiously trying to get the last of my Christmas makes finished these last couple of days, I think I have just 5 more cards to make! How is your Christmas crafting going?
Anyway, for my last class of this year, a few weeks go, we used the Painted Harvest stamp set and one of the projects we made was a set of mini (3"x3") cards (that could also be tags). I've loved seeing so many wonderful ideas around using with Painted Harvest (which is carrying over, yay!), including this idea of a Christmas wreath. As this was a late class (after autumn)  I knew I just had to show my customers this too! I teamed the cards with a matching pizza box to either store or gift them in, let's see...
I used Garden Green and Cherry Cobbler with a gold heat embossed sentiment from Labels Of Love.
I used one of the mini card fronts to make a topper for the pizza box.
And they were a big hit at class too!
Right, I'm off for today and I'll try my very best to get another post for you tomorrow too :-)
Thanks so much for looking today,
     Shop Online With Me
Stampin' Hugs,
Products Used to create this project:
Coming soon...

Wednesday, 13 December 2017

Watercolour Christmas for Inspire. Create. Colour Challenge #007

Hello there,
It's time again for another Inspire. Create. Challenge and this week (#007) is a colour challenge :-)
I couldn't resist using the Watercolour Christmas* stamp set (again) for this weeks card...
*Just £13.60 right now!
 I cheated slightly as I added copper embossing powder to this card, but metallics are a neutral, right? ;-)
TIP: Don't forget to use your embossing buddy before you stamp and emboss to stop the stray powder sticking where you don't want it to!
 So, if you've coloured on crumb cake card before you'll probably already know this but for those who haven't I made a little tips picture. I'll rewrite it below for those using translate on here too :-)
TIP 1: To make your colours pop more on crumb cake card colour the image with white craft ink first, blot then leave to dry (or speed it up with a heat tool) before colouring with ink (pad or refill). For this card, I used Tranquil Tide and Pear Pizzazz.
TIP 2: Keep just one blender pen for using with white craft ink as it clean off the nib easily. I add a little post-it-note tape note wrapped with sellotape to this pen.
 I used another mini boxwood wreath and added some cute tinsel trim (for the Real Red in this colour challenge), I love this trim and it's in the upcoming catalogue in some yummy new colours :-) I was so happy to see this!
**Message me if you'd like a copy of the upcoming Spring/Summer catalogue**
 OK, I was asked by a couple of people when I shared THIS card last week, how I attached the wreath so I made another little picture tutorial for you :-D
Start by making a heart shape with the wreath by unravelling it and creasing it in half, this will be the bottom of the heart. Fold the sides into the top to make a heart and using a mini stapler (mine's a Bambi by Rexel), staple the top two pieces to your card front. Add any ribbon by stapling at approx 15cm or 6" over the first staple but leave the other end attached to the reel (on the right), tie in a bow around the staple and trim. This will make this wreath and bow very secure with no chance of it falling off in the post. You can use this method to attach any ribbon, to any card ;-)
  TIP: Make sure the second staple is slightly offset from the first.
 And so that's today's card!
Don't forget to hop over to the Inspire. Create. Challenge blog and see what the other DT have made with these colours :-)
We'd all love if you joined in with us for this challenge and share your makes with us!
Thanks for looking today,
     Shop Online With Me
Stampin' Hugs,

Friday, 8 December 2017

Wonderful Life stamp set! It's not just for Christmas :-)

Hello there,
  I'm still alive, just! So this week I have been mostly working, finishing some magazine commissions, trying to get the house ready (ie: clean, tidy and finishing any last minute jobs that have to be done) for the Christmas decorations to come down from the loft and trying to kick this latest round of cold/flu. I have been powering through ok but today I am wiped out, hence sitting down and listening to Christmas songs while I'm catching up with my blogging ;-)!
Anyway, I do have a card for you today :-) If you follow me on social media then you will have seen my epic fail when I made this card. My original vision was not exactly like this but, can I say, what a save...
 I totally blanked when I upended the ink pad on this card, a lot of that was because I left it till just an hour before I needed it to make this card but, thanks to Rachel who suggested I cut the top off the stamped part and this is what I  ended up with :-)
So, to make this card I stamped the present stack at the bottom of this piece of shimmer white card, stamped it again onto a post-it-note, masked and restamped. Repeat 'till you are happy with your present mountain.
TIP: You may need two or three masks.
After colouring I added some dimensionals along the top of the gift stack edge and glued the bottom down flat.
Sentiment is from the "Happiest of Days" stamp set which I stamped and then added clear embossing powder to and heated it to to set.
There's a sneak peek on this card, did you notice that sequin embossing in the background #comingsoon
 So, I'm pleased with this card in the end, despite it's disastrous beginnings, what do you think?
OK, back tomorrow with another make,
'till then
   Shop Online With Me
Happy Stampin'

Related Posts Plugin for WordPress, Blogger...