Showing posts with label Hand Stamped. Show all posts

Thursday, 12 April 2018

Fruit Basket Narrow Notecard.

Hello there,
I hope your day is going well? I have a million jobs today so am super late with this post but, better late than never, right? I wanted to share this cute Narrow Notecard with you which uses the Fruit Basket stamps and punches (retiring soon) to make a cute little card you could send to just about anybody! Let's see...
 I added some mini epoxy shapes (also retiring soon) to the punched pineapples for a little faux shine.
The mat was made with the starburst punch which I rolled through the Lemon-Lime ink pad for a pop. Layered onto some SaB paper and onto a Narrow Notecard to finish.
So that's today's card for you! I'm just waiting on the upgrade for my product links for direct access for you but you can purchase any of the items I've used here (while stocks last) in MY SHOP.
Thanks so much for looking today,
     Shop Online With Me
Stampin' Hugs,

Sunday, 25 February 2018

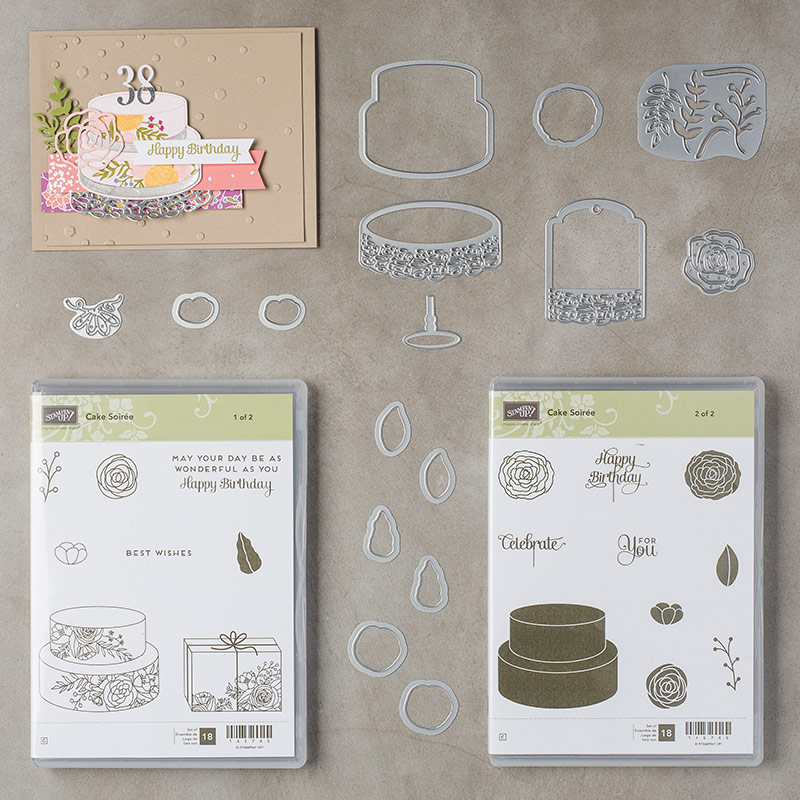
A Watercoloured Cake Soiree Wreath

Hello there,
I have an easy watercoloured card for you today using the very lovely Cake Soiree stamp set. I wanted to have a go at this technique as I haven't used it in a while - watercolouring with stamped images (you can see a previous video tutorial HERE using Tuscan Vineyard). I like this effect and it's fairly easy to achieve as most of the hard work is done by the stamps :-D
Let's see...
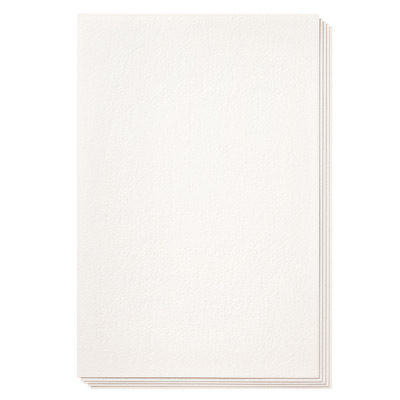
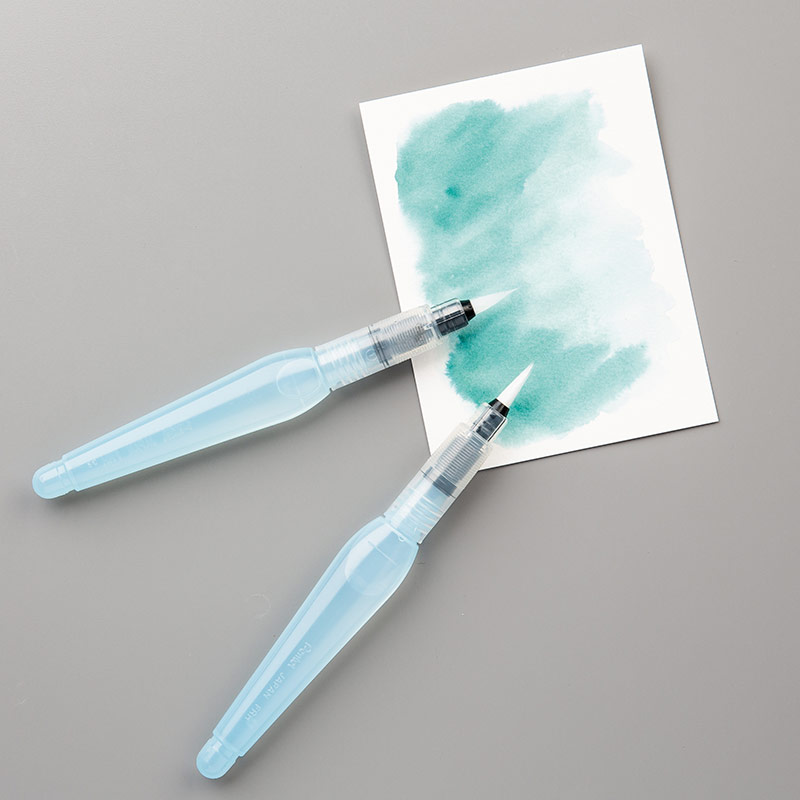
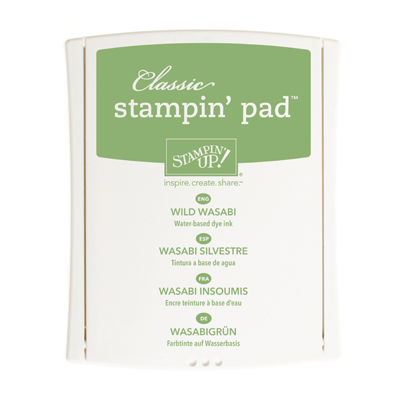
 I started by stamping the leaves around a lightly penciled circle on watercolour paper. Then I watercoloured the stamped images using an aqua painter, spreading the ink that was stamped on the paper and adding a bit more if needed from the ink pad, before adding some darker green to accent the leaves.
 I then added some extra leaves that I had coloured the same way and some stamped flowers, both cut out using the matching dies.
All finished with a white embossed sentiment and a few sequins. 
I must admit to being really pleased with how this card turned out, what do you think?
Today we will be mostly painting the bathroom and hopefully putting up some shelves :-)
Wishing you have a crafty Sunday!
   Shop Online With Me
Stampin' Hugs,

Friday, 28 July 2017

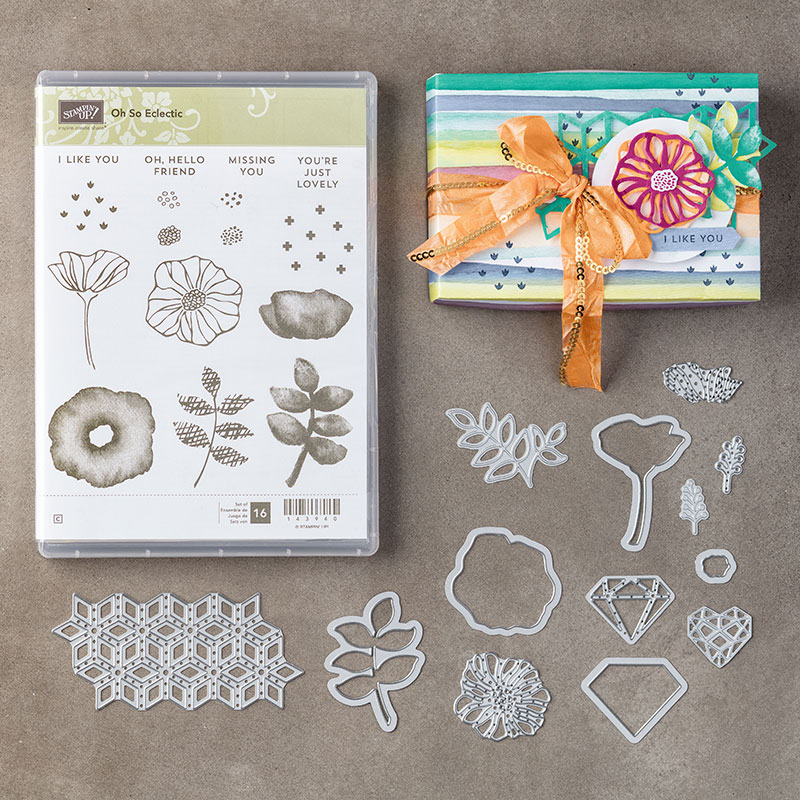
Using the Oh So Eclectic bundle by Stampin' Up!

Hello there,
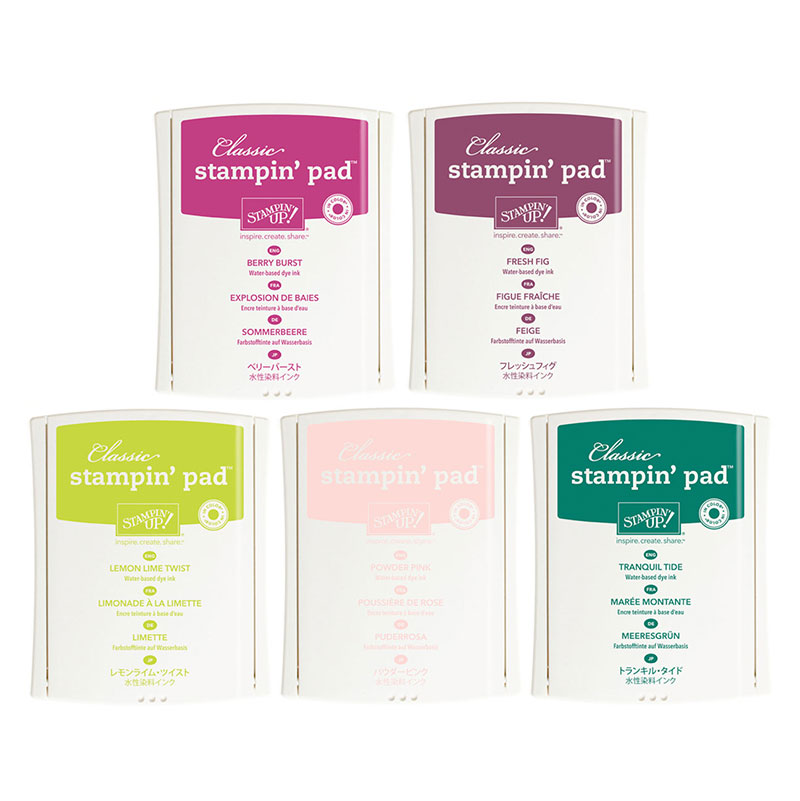
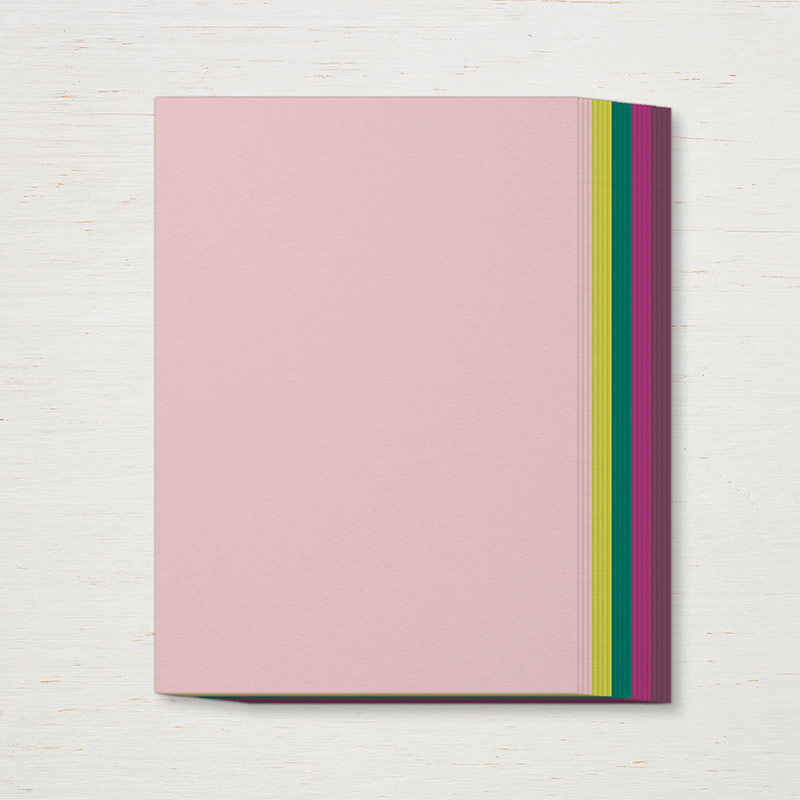
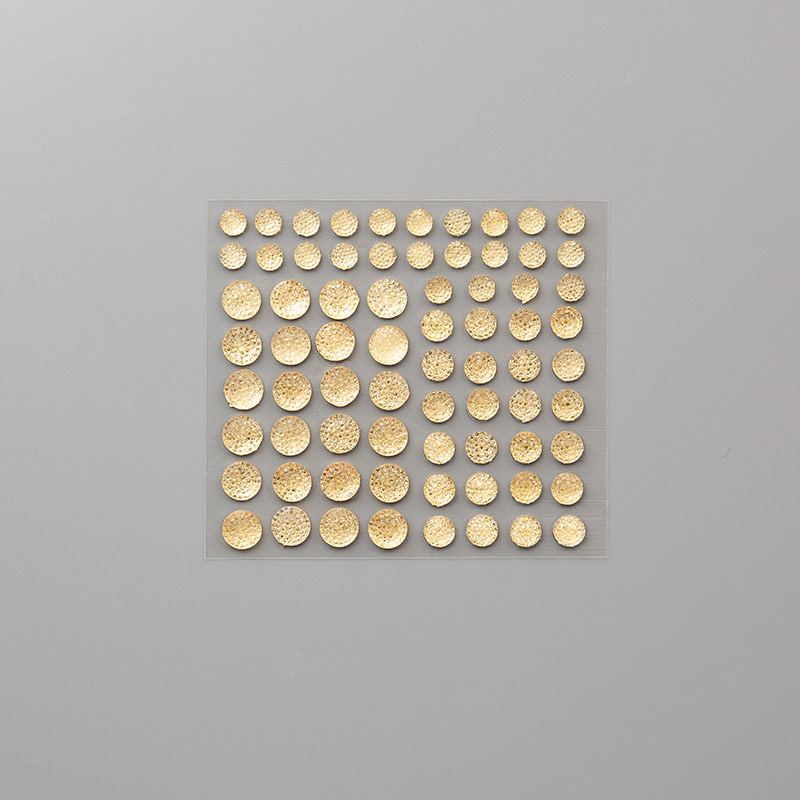
I have a card today that I used the little pieces out of the trellis die from THIS CARD. I went with a Tranquil Tide base with Lemon-Lime twist overlay pieces and Berry Burst flowers. The flowers were  then topped with a vanilla card fine flower overlay and some of the new, pretty gold faceted gems, see...
I used a TIP from the papercrafting queen, Jennifer McGuire, for attaching all these tiny little pieces. First, leave as many pieces in the die as possible, add a dot of glue to the back each piece, position the die then pop out the pieces when in place. Then with any missing pieces place the original die cut card over the already adhered pieces, dot glue in the gaps and fill in with remaining bits. Ta dah!
Notice those embossed leaves? These are new embossing only dies that are included in the Oh So Eclectic set - as well as a faceted heart and a tiny leaf frond too. How fun!
Well, that's all from me for today, I hope you liked todays make? 
I'll be back tomorrow with more! 
Before I go a quick reminder that we are in the last few days to use this months hostess code for a freebie from me next month to say thanks...
 Shop Online With Me
Thanks so much for looking today :-)

Saturday, 8 August 2015

Four Days of Cards using Boys Will Be Boys by Stampin' Up! Day Four.
Hello!
and welcome to day four and the last day in this mini series! I hope you have enjoyed the cards I have shared so far?
So, lets see the last card I made with the Boys Will Be Boys stamp set.
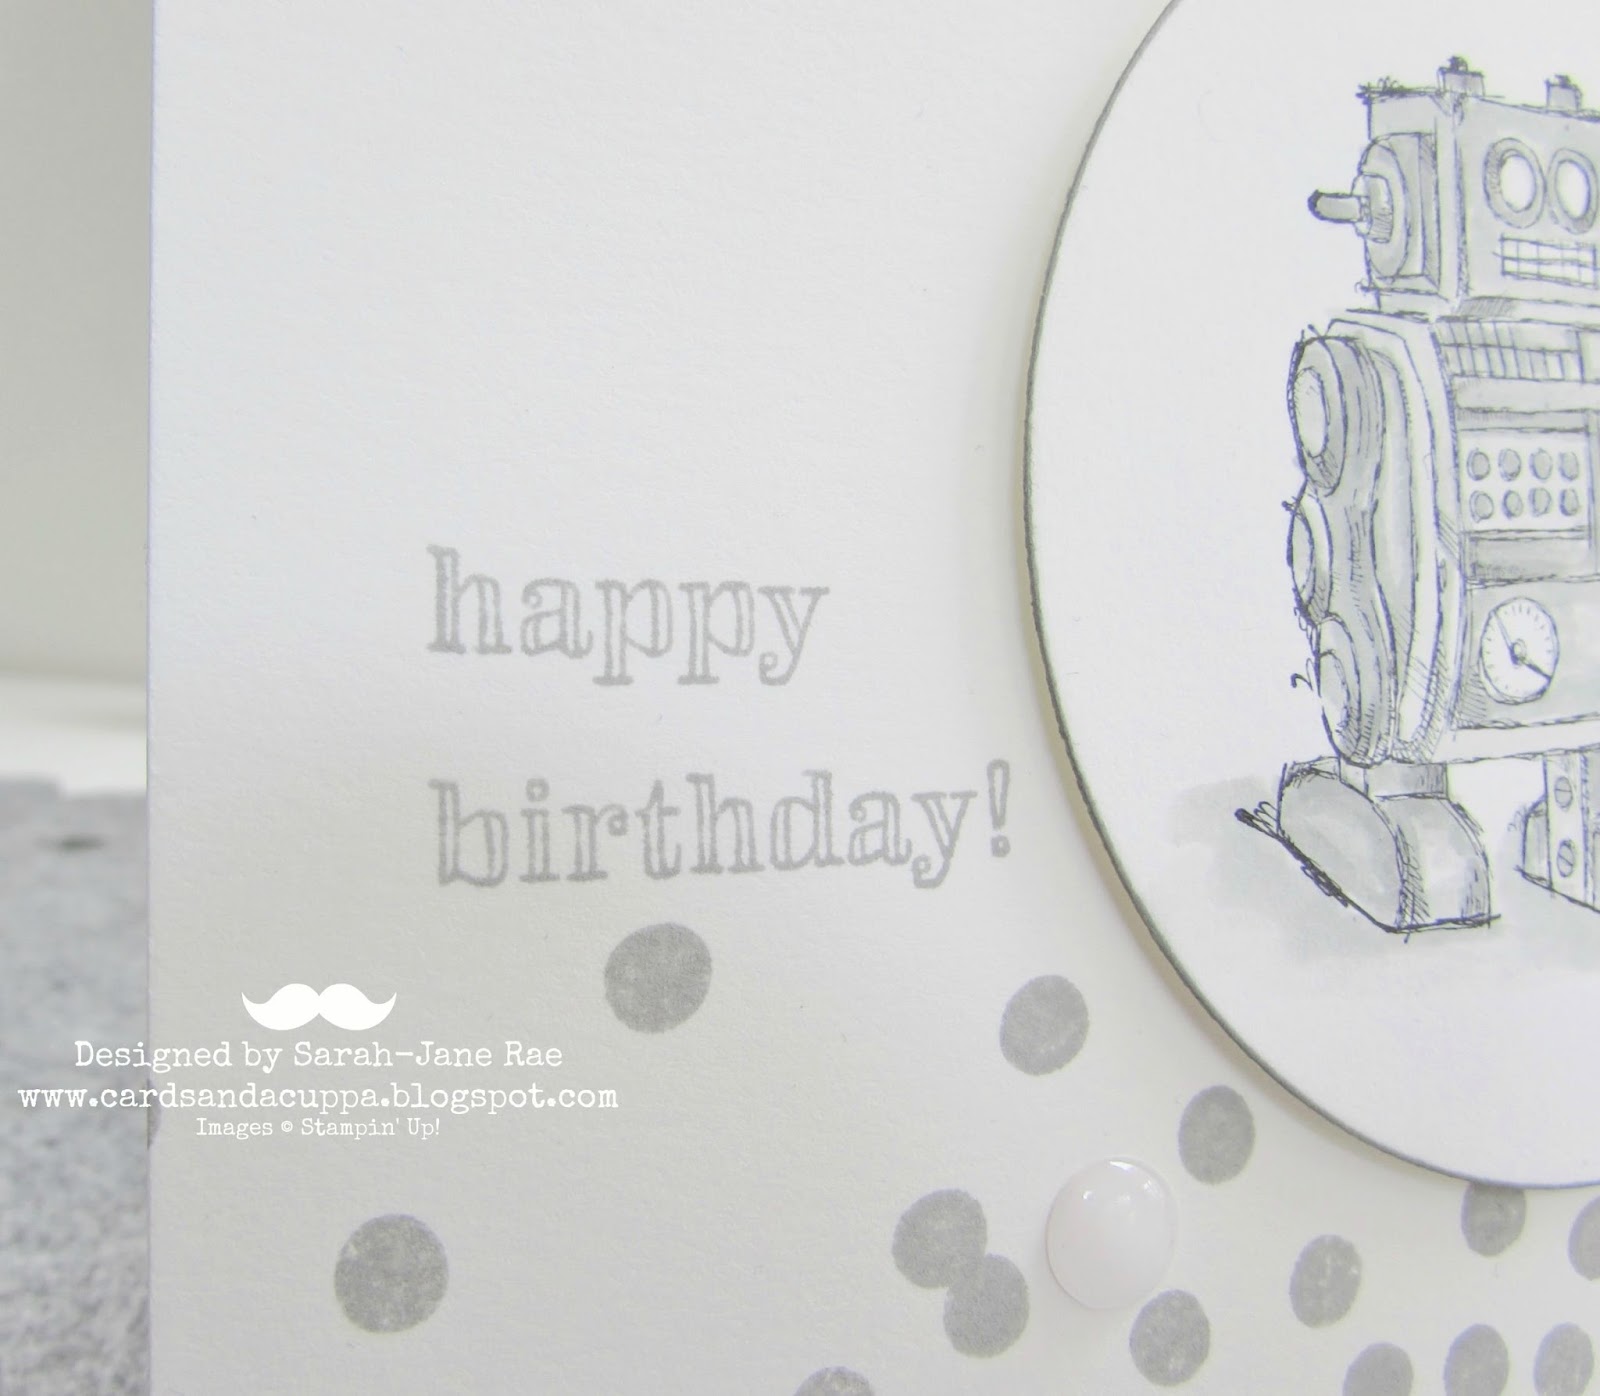
I did intend to colour this fella in with more colours but I started with this cool, smoky slate grey and just loved it so much I ended up sticking with the monochrome look....
As with the previous couple of cards I made using this set I stamped with staz on onto thick white card and coloured the image in using an aqua painter.
I have had a request today for a video on how I do this so watch this space ;-)
 
The bottom of the card is stamped using the Dotty Angles stamps, again in Smoky Slate.
This sentiment is from the set too.
And a top view, more Perfect Accents finish this card off perfectly.
So, I hope you have enjoyed this mini series? I have loved making these cute cards using the Boys Will Be Boys stamps this week! I'm so glad I purchased them ;-)
Thanks so much for stopping by today, have a fab Saturday, we are off out the cinema to see Jurassic World :-)
Stampin' Hugs,
Related Posts Plugin for WordPress, Blogger...