Showing posts with label Watercolour Technique Class. Show all posts

Saturday, 4 April 2015

Saturday Sharing Video: Watercolour Wash Card Tutorial; Day 3 of my Watercolour class

Hello, 
I'm here with my last card from my Watercolour Technique class last week.
This class was really popular (you can see the other two cards we made HERE) with my ladies  but this one was my favourite!
I used a Strawberry Slush, Crisp Cantaloupe (I'm really going to miss these In Colours when they go in a few weeks!!) and Calypso Coral all tied together with a hit of Gold...
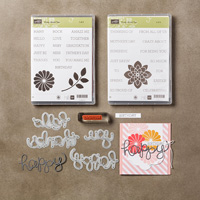
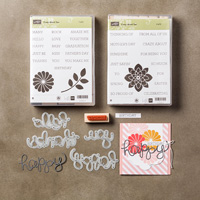
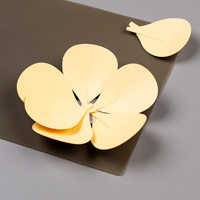
This Hello from the die set "Hello You" and it's part of the Crazy For You bundle (saving 15% when purchased together) which I cut from Brushed Gold card.
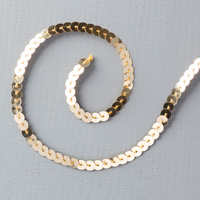
I tied on some yummy Pom Pom Trim and sparkly Gold Sequin using the Thick Cantaloupe Twine. 
I have explained how long these are and and share an easy way to attach them in the video ;-) 
The hello was only adhered at the edges, again more tips on this in the video.
And a close up of the inky wash to finish the photos.
So, here is the Video...
Thanks so much for looking today and I hope you enjoyed the matching Video too!
Stampin' Hugs,
Products Used to create this project:

Friday, 3 April 2015

Day 2 of Watercolour Class using Stampin' Up's Work of Art with Rainbow Top Tips!

Hello,
My boy is still poorly so the start of the much anticipated school holidays is going to be a slow one here! That does give me a chance to catch up in the house and my craft room though so once he's better we can be off out without thinking about the I have jobs to do ;-)
OK, so today I'm sharing what was actually the last card we made at this weeks class after we played around a lot with waterbrushes and ink {I am saving the other inky one for tomorrow as I'm hoping to shoot a quick video for you later today ;-)}.
 I wanted to share that there is a cheats way to "paint" your card without painting at all so I turned to my much underused Work of Art stamp set to make this rainbow card...
A few rhinestones on the rainbow. All ink pad colours are in the supplies list at the end of this post.
The heart is from Work of Art and we fussy cut it out. The sentiment is from Sheltering Tree.
OK, So here are my Top Tips to make a Perfectly Spaced Rainbow:
1. Stamp the first line
2. Clean the stamp thoroughly between each ink colour!!
3. Be careful to keep the stamp facing the same way so the rainbow lays together well. Line up the edge of the rubber with the previous inked line - also see #6 for a closer look.
4. Clean again ;-)
5. Ink in your next colour (Pistachio Pudding)
6. See here, closer, how I line up the rubber with the previous inked line
7. And here they are, all spaced exactly the same!
 And a side view to finish today :-)
This was the only easy, quick card for this class which perfectly balanced out the other two much more labour intensive cards ;-)
 I'll be back tomorrow with the other card from this class.  I hope you have enjoyed this card and don't forget to share if you have a go!
Stampin' Hugs,
Products Used to create this project:
Related Posts Plugin for WordPress, Blogger...