Showing posts with label Birthday Card. Show all posts

Wednesday, 24 July 2019

Ride with Me for Inspire. Create. Challenge #48

Hello!
And welcome to another Inspire. Create. Challenge.
This fortnight is the best and easiest challenge in the universe (IMO) as it's probably the most made card by anyone - Birthdays! Any birthday card or project will be eligible to entered (see all the guidelines HERE) and we'd love to see your creations!
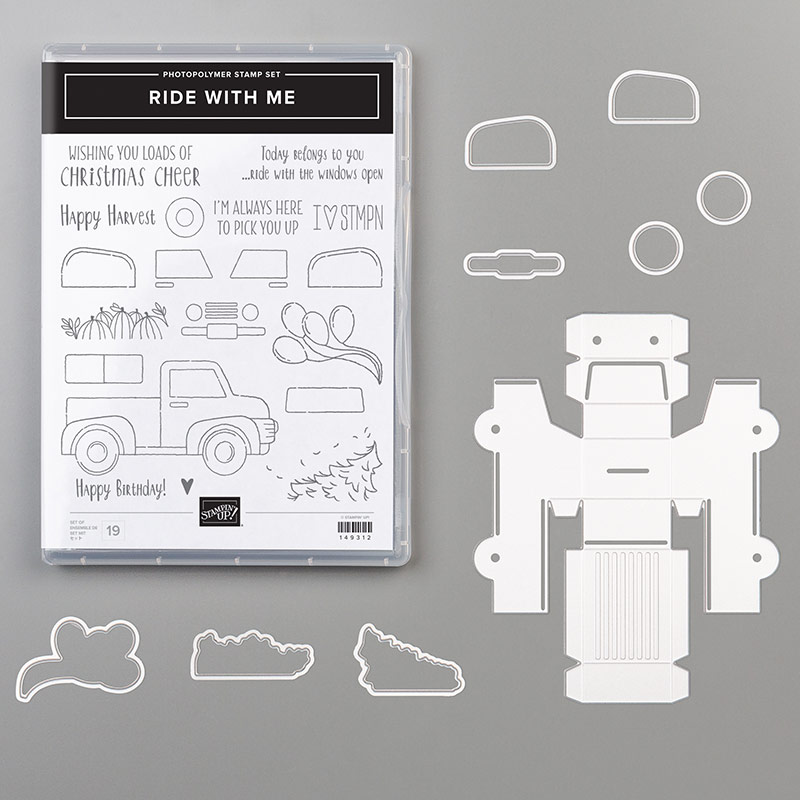
I made this card using the new Ride with Me bundle for our grandsons birthday recently and well, it's just perfect for this challenge, see...
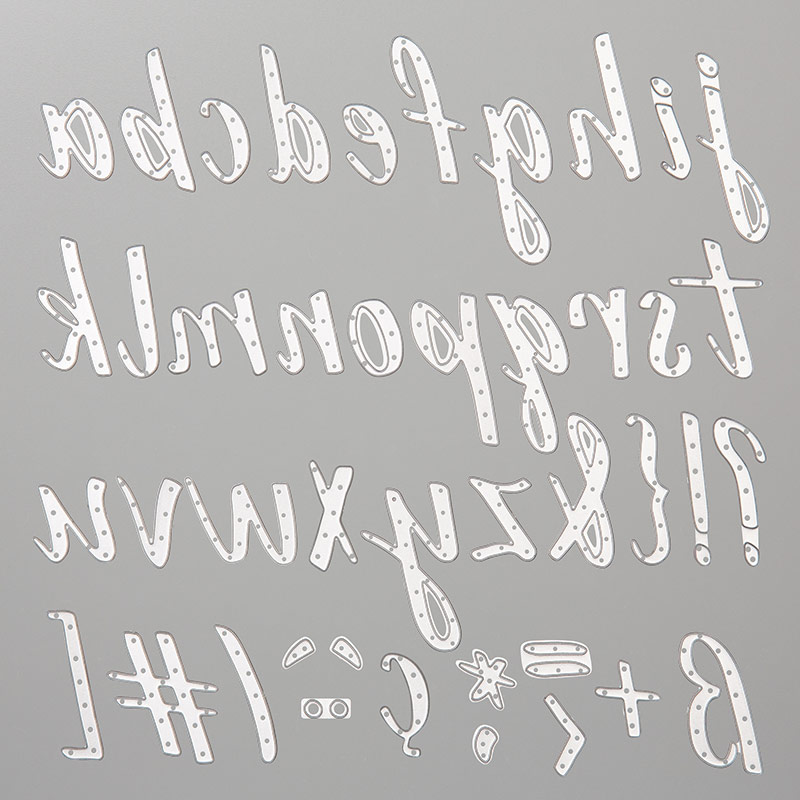
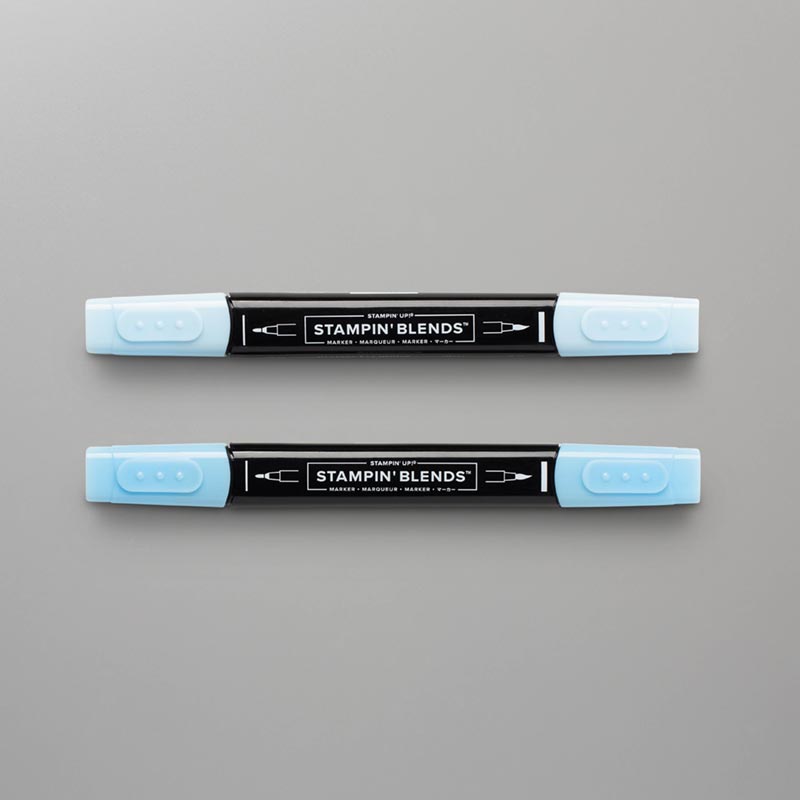
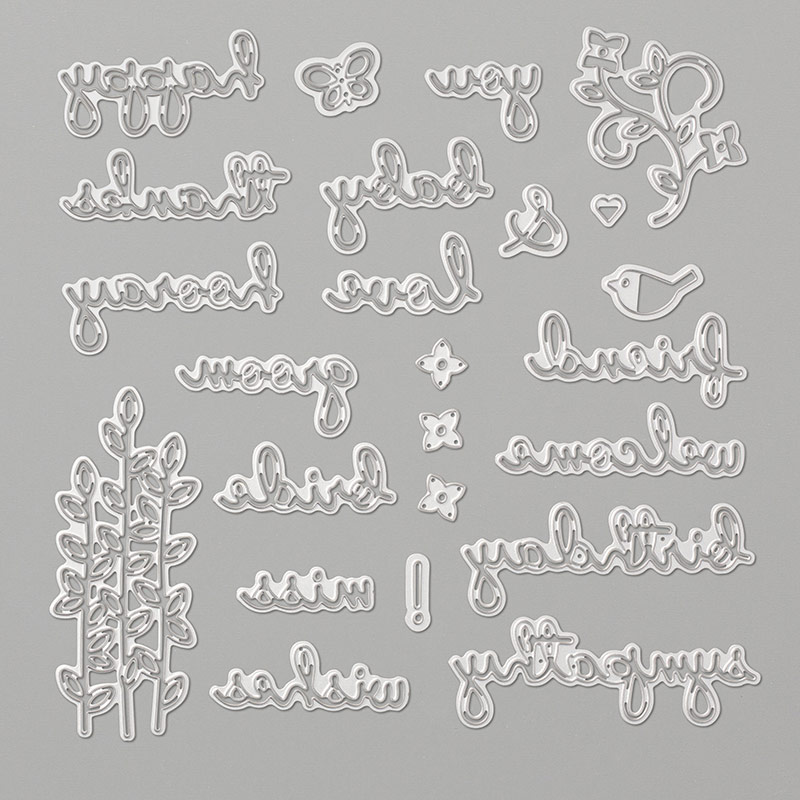
I die cut Jacksons name (three times) with the new Hand Written Prose dies and coloured the top layer with my Blends for an ombre look before layering the letters together for more impact.
 I coloured the truck and balloons with Blends too and added a little stamped star from the Little Twinkle stamp set, topping them with sequins, of course!
And that's that, all done. I hope you share your Birthday makes with us on the challenge blog and if you're looking for some inspiration please do head over to the ICC blog for tons of inspiration from the very clever DT :-)
Thanks so much for looking today,
Shop Online With ME! 
Host code for July spends over £25 and under £150 is WYYEQYWQ 


Stampin' Hugs,

Monday, 27 May 2019

Two Cards Today! A Birthday Card and a Birth-Day Card!

Hello!
I hope you are enjoying the bank holiday weekend? We have been to B&Q already this weekend to get the supplies to start painting the new extension this week :-/ but we are yet to start. Today, we will start today...
But before that, cards! As you probably know the exciting new catalogue is going to be with us soon (4th June) but the downside of that is we will be losing lots of the lovely current stamps and dies. So I figured as I have so much to share still I would do a double card post today ;-)
The first card today is one I made this card for my eldest boys birthday a while ago...
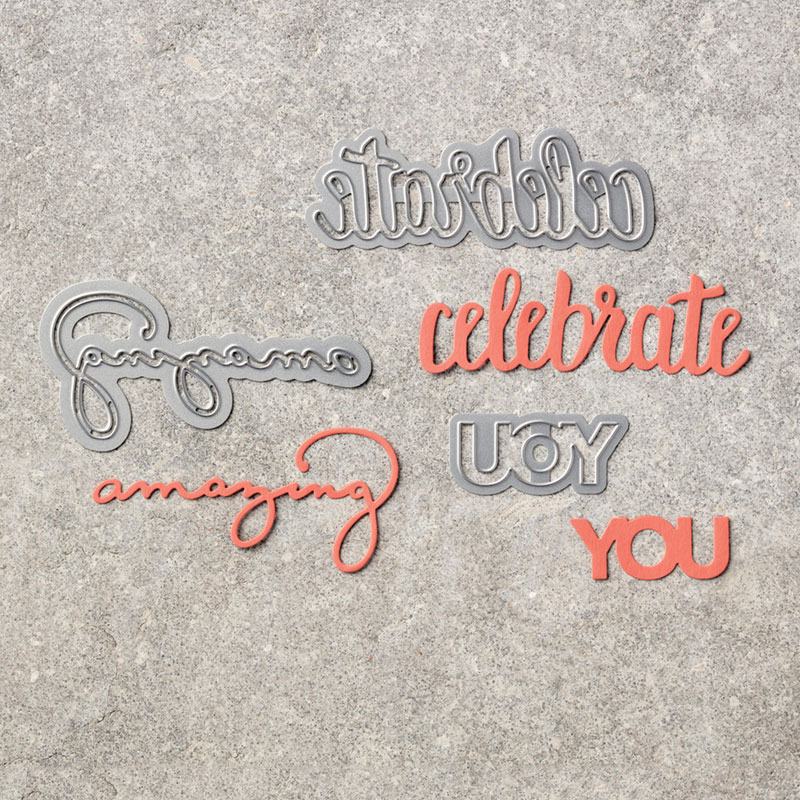
 I started by randomly watercolouring a piece of watercolour card before drying. Die cut with the Celebrate You thinlints and then stack it onto three more die cuts made from thick white card.
TIP: Use a coordinating colour card to layer up your sentiment (see next card) for a different effect.
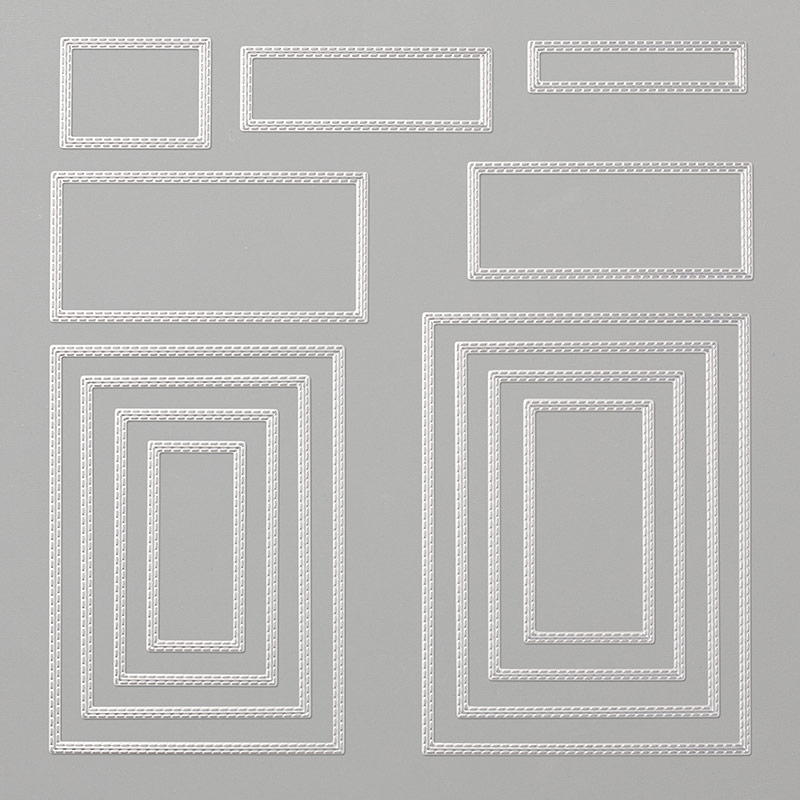
 Pop up the centre section using the rectangle framelits (a similar technique to THIS card) and finish with stars, a heat embossed sentiment, some enamel shapes and a little twine :-)
 And for the second card today I have a new baby card or a different kind of  Birth-Day card ;-)
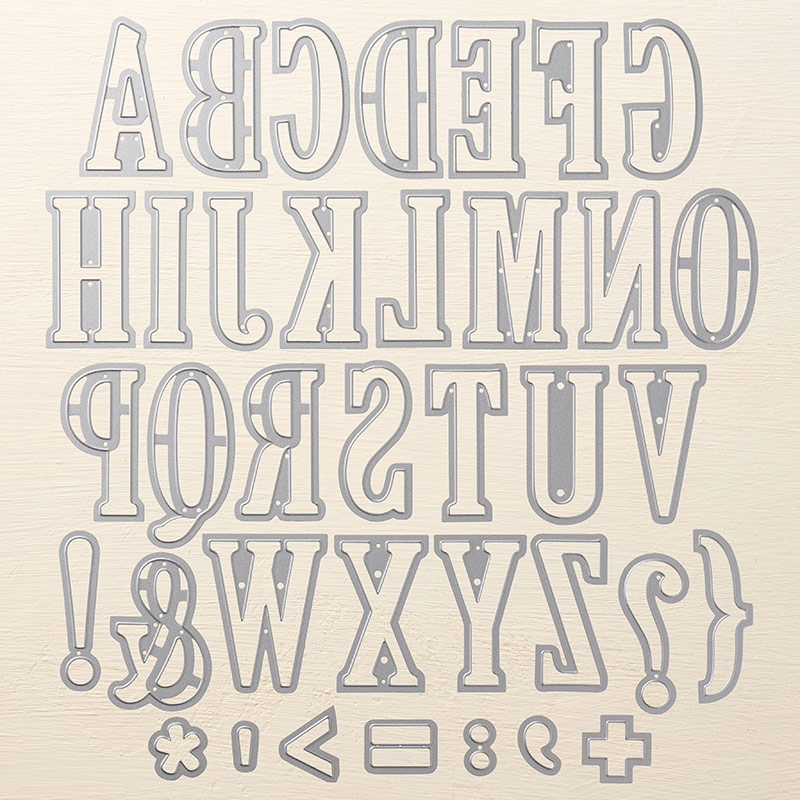
I made this for my lovely friend who had a beautiful baby boy recently and I just couldn't resist making an Eclipse card using the Large Letters framelits and the First Steps stamp set to make this...
 The "Welcome Baby" sentiment is layered as before but this time using the Well Written dies - which are not retiring, Yay!
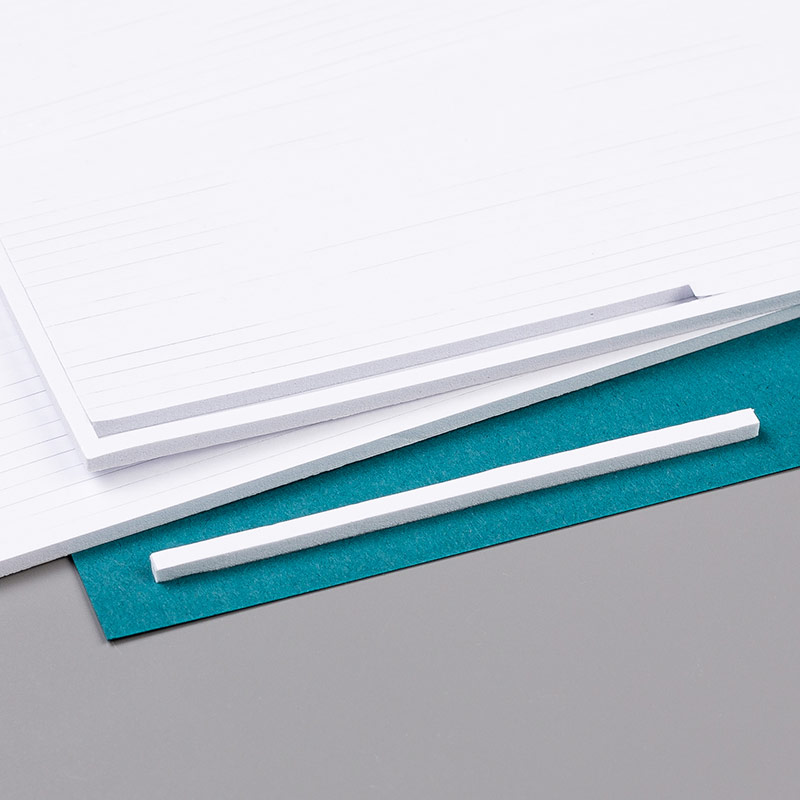
TIP: Use foam strips to pop up the letter die cuts and make this card super speedily!
 I do love an eclipse card, it just makes any card special. Sadly this stamp set and letter dies will be leaving us though, this catalogue change :-( I'm seriously going to miss these both of these items, although I'm definitely keeping both of mine.
If you love these or other items too, then please be sure to order your favourites before the 3rd June...
OK, so that's my two for one deal for today!
I hope you've enjoyed today's makes and I'll be back soon with even more :-D
Thanks so much for stopping by today, I hope you enjoy your bank holiday weekend, whatever you're up to :-)
      Shop Online With ME!
  Host code for March spends over £25 and under £150 is A4DMFVB2 

Stampin' Hugs,

Sunday, 5 May 2019

Beach Happy "Raised Centre" Birthday Card

Hello there,
Today's make is a card I made recently for my hubby and I wanted to remind him that summer was coming... One day.... lol!
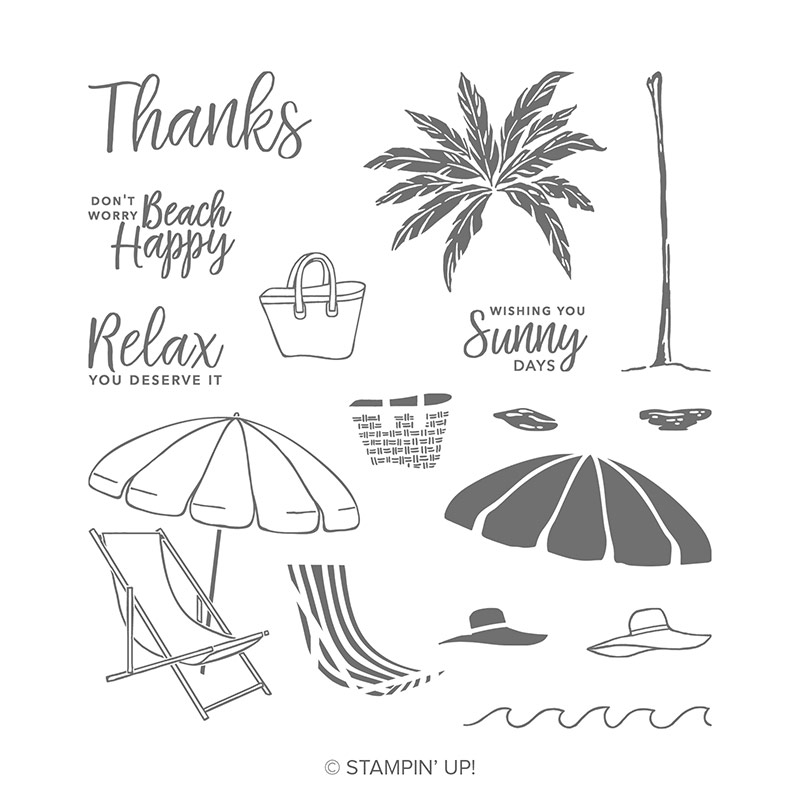
I used the Beach Happy stamp set and created this scene but I wanted to do something to give it a little "lift." So out came the old faithful, stitched rectangles again to create this raised centre card...
I started with stamping the images and
TIP1: I found the Stamparatus the easiest way to line up the deckchair and the umbrella images. Start with the stripes on the deckchair ;-)
and TIP 2: I used the rock and roll technique to add a little extra colour to the leaves of the palm tree.
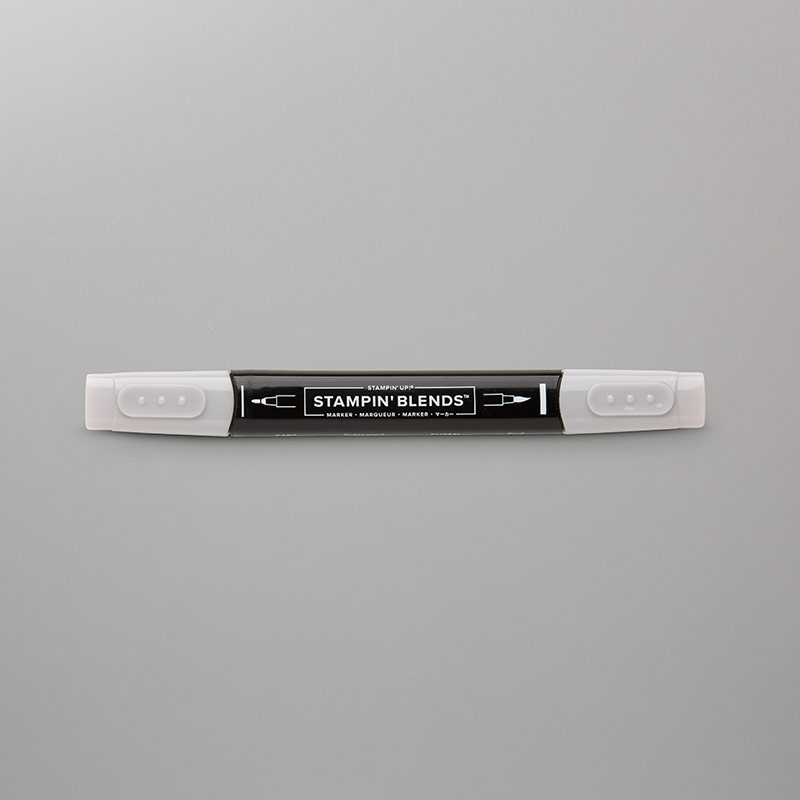
I added some sand to ground the image with my light Crumb Cake blends pen before cutting with a rectangle die. Stick the outer frame down flat to the navy card layer before and adding the raised centre back in with dimensionals.
I love the difference this easy, extra step makes! Great for adding "something" extra without ribbon or frills, and a perfect technique for a masculine card.
A little sentiment with another rectangle die and a couple of enamel shapes finish this card for today :-)
So, I hope you enjoyed this little make? I really enjoyed making the most of my layers for this card ;-)
Just a reminder that this stamp set is another one that is leaving us in less than a month :-( #sadtimes So if you love it please don't miss out.
Also, I know I promised another baby card this week and I will be here to share that with you in the next few days, I promise :-) I have a super busy rest of the bank holiday but I'm determined to squeeze some more blogging in. Somewhere...
'Till then, happy stamping and thanks for stopping by today xx
      Shop Online With ME! 
Host code for March spends over £25 and under £150 is RZFNWVK9  

Stampin' Hugs,

Related Posts Plugin for WordPress, Blogger...