Monday, 27 February 2017

Sale-a-Bration 2017, Second Release

Hello there,
I wanted to pop on and share with you the new Sale-a-Bration products that were launched last week while I was away! You may not have noticed as I did try and schedule some blog posts ahead before I left ;-)
So, there are three very lovely new products and you can see them all HERE...
I'm popping an order in this week so if you'd like to add your order to it, let me know :-)
Or hop over to my shop to browse and order, remembering to use the hostess code below for more FREE gifts!
     Shop Online With Me
Happy shopping!

Saturday, 25 February 2017

Using Stampin' Up's Thankful Life to make a New Home Card.

Hi there,
Today I have a  card I made for my dear friends to celebrate their moving home. I finally used my lovely, hostess only, stamp set "Thankful Life" teamed with FREE SaB Carried Away DSP to make this card....
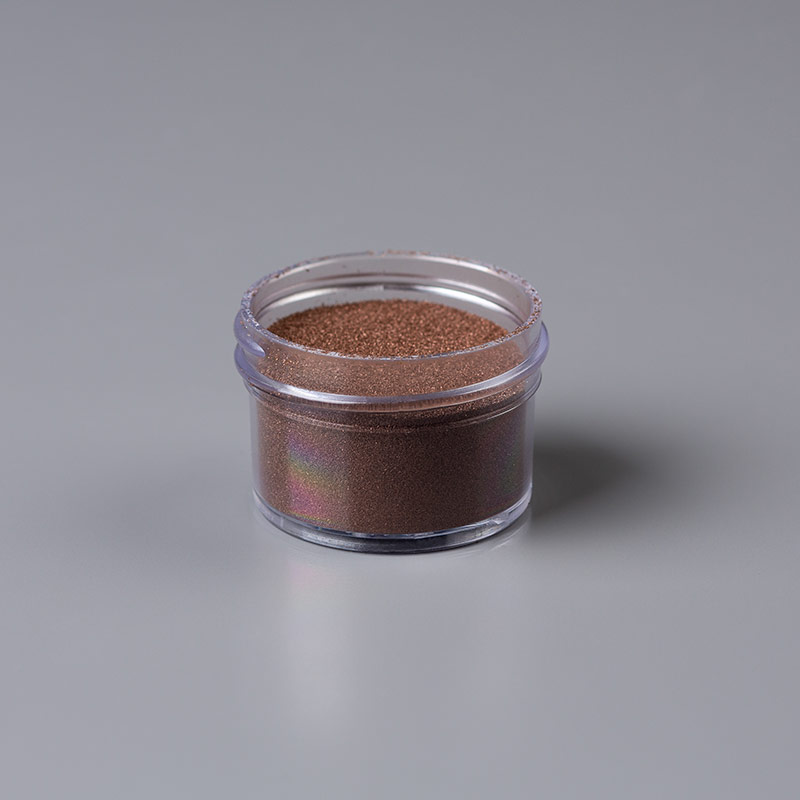
    I was inspired by the stamping style of the catalogue and decided to heat emboss in copper (although, I think the catty sample is gold) the third layer of flowers. Other colours used here were Mint Macaron and Flirty Flamingo.
Sale-a-Bration 2017 is fast coming to an end so please get your favourite products before the end of March! You can visit my SHOP here.
That's all from me today, thanks for stopping by!
  Shop Online With Me


Thursday, 23 February 2017

Party Animal Balloon Pop Up Card

Hi there,
     Today's card uses the Party Animal Suite teamed with a sentiment from Better Together....
 ...and the super fun Balloon Pop Up Thinlits inside. How cool are these?!
and you know how much I love all the little embellishments, these are called Party Animal and have mini balloons and hats!
 
I hope you like this super fun card? Thanks for looking today :-)
   Shop Online With Me

Tuesday, 21 February 2017

Dragonfly Dreams Inlaid Die Cutting Card

Hello,
I have a little monochrome card for you today using the Dragonfly Dreams dies and I teamed them with "A Little Foxy" DSP stack to make this inlaid die cut card...
 I added oodles of Wink Of Stella to the Flirty Flamingo dragonflies.
Notice the cute, grey heart DSP is to the rear of these dragonflies...
 I only added tombow adhesive to the central bodies of the dragonflies for a little dimension.
Well, that's me for today, thanks for stopping by!
     Shop Online With Me

Sunday, 19 February 2017

One Wild Ride Concertina Card

Hello there,
I have a card today that I made quite a while ago. I have held off sharing it with you as I was going to make a video to go with it but it keeps getting put off. Sooo, I'm biting the bullet and sharing the card for you today and if you'd like the video, let me know and I'll do it next week, I promise ;-)
 I used the Large Letter Framelits and gold glimmer card.
 With "One Wild Ride" stamp set, heat embossed in white.
And when folded to send it looks like this fitting into a simple, small box.
I stamped the lid of the box to match
One final picture of the card out. Remember, if you'd like a video then please do let me know :-)
Thanks for looking today!
     Shop Online With Me


Saturday, 18 February 2017

Tasty Trucks Shaker Card without dies!

Hello!
I've a new take on a previous card for you today. Last year I made a fun shaker card (I still love a good shaker!) without the use of dies. Granted, it's slightly quicker if you have dies but if you have a great stamp set that doesn't come with them you can still make a shaker, see....
You can get this fun truck stamp set FREE during Sale-a-Bration 2017, spend £45 and choose an item from the SaB catalogue and there are no limits to how many you can earn!

 Love the Cupcakes and Carousels suite.
 And this sentiment is also in the FREE stamp set - Tasty Trucks.
And to see how to make the Shaker Card without dies please see THIS TUTORIAL.
Right, that's all from me for today, thansk for stopping by!
     Shop Online With Me

Thursday, 9 February 2017

PopStand Card Video Tutorial

Hello!
I'm super excited to share this video tutorial with you today! I have called it a PopStand card 'cause it pops up and it stands by itself too. You can see my first version HERE using the "Lift Me Up" bundle.
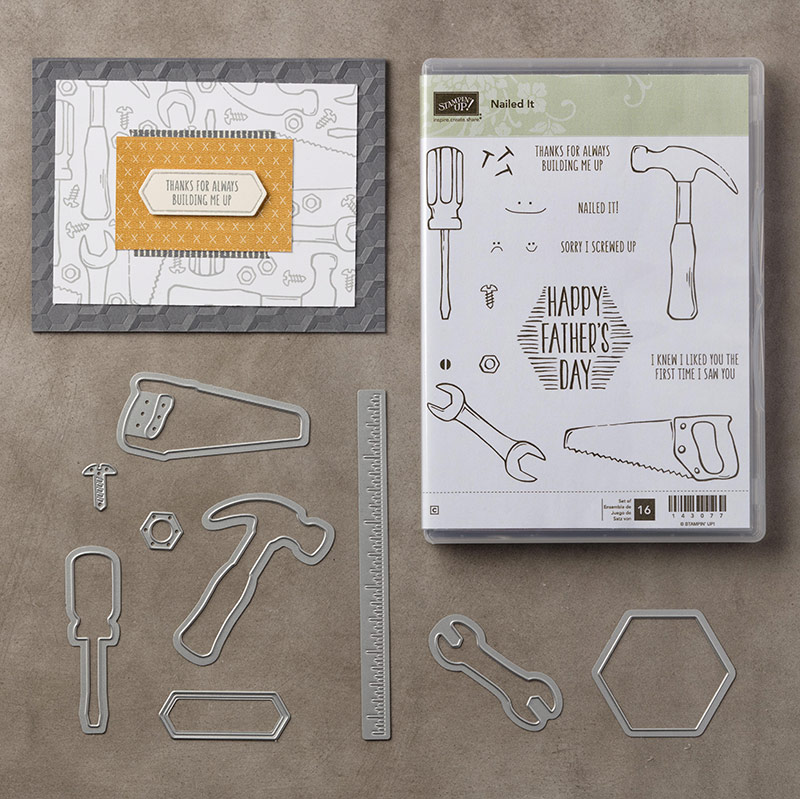
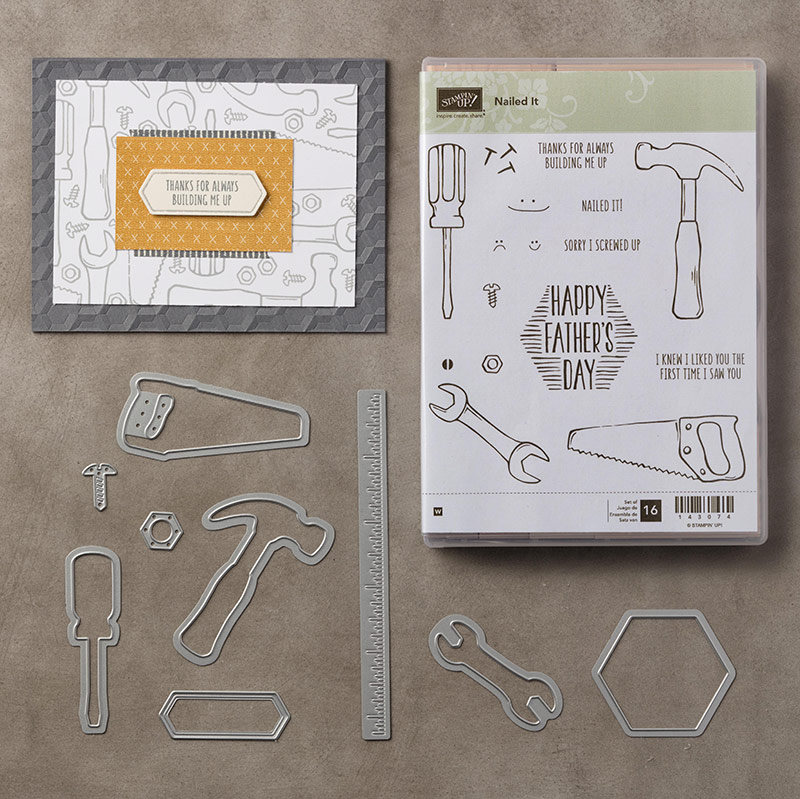
For this video tutorial (please scroll down) I decided to use "Nailed It" to make a more masculine card....
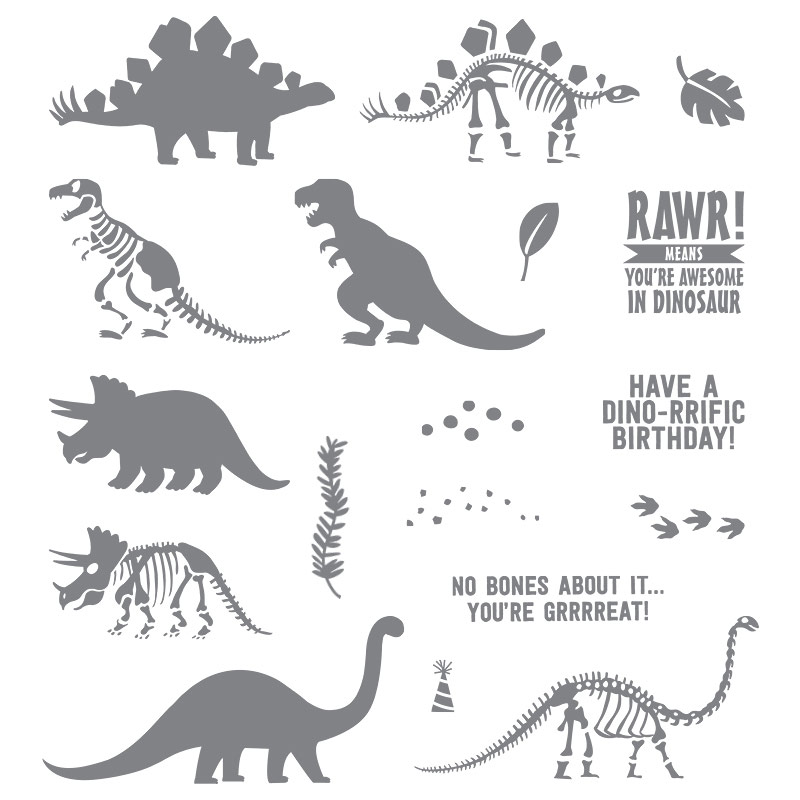
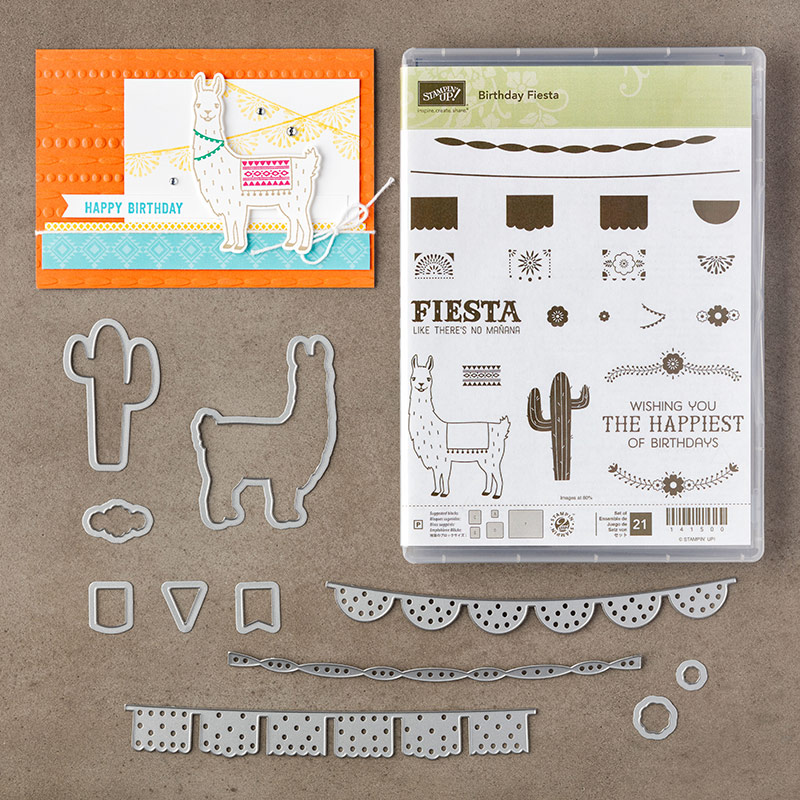
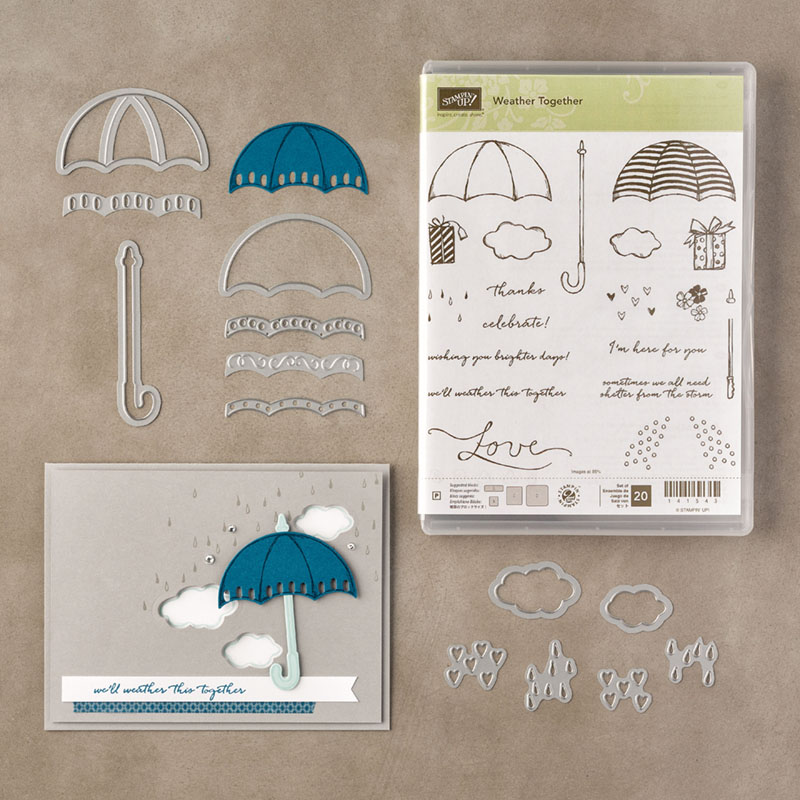
 ...but I think you could use sooooo many different stamps with this card design. You'll hear me mention these stamps/dies in the video including Birthday Fiesta, Umbrella Weather and No Bones About It, to name just a few!
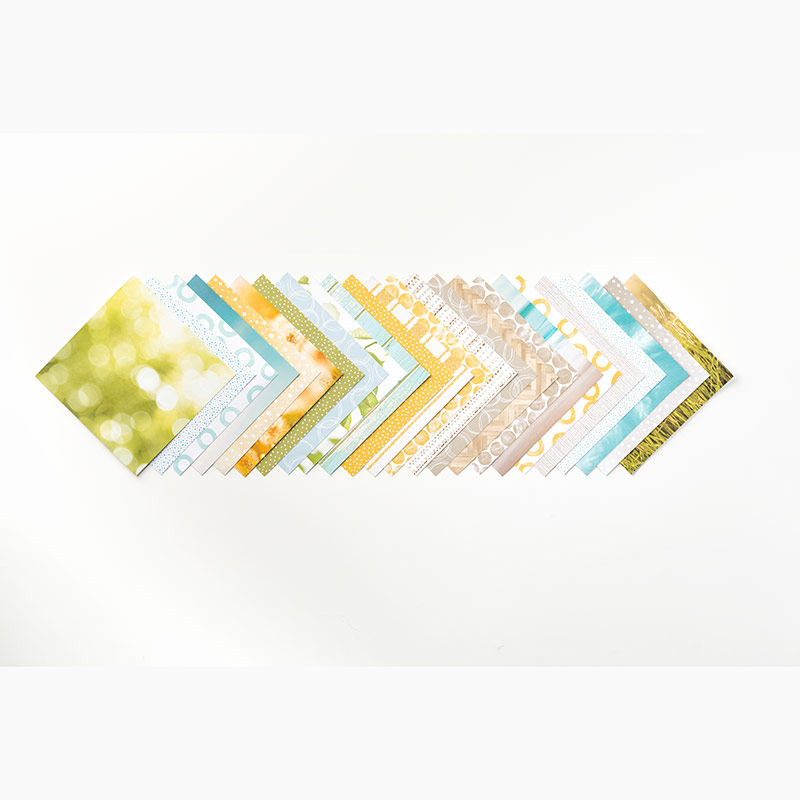
OK, back to this card ;-) I used the Serene Scenery DSP pad as I like the parquet flooring effect but it would look great made using the matching Urban Underground DSP pack too.
 I like adding the tools on acetate (window sheets) so they have a little wobble to them. Check out my Insta feed for a boomerang ;-)
 And of course, it's easy to post!
#tips...
So, here's the video for you!
Please do watch the video for instructions on construction and tips but here are the measurements for you as promised 
Metric:
1st sheet: Cut to 14.8cm x 17.8, score at 14.8cm.
2nd sheet: 14.8cm x 21.8cm. Score at 18.5cm, 15.8cm, 14.8cm, 13.8cm.
Measure  across and mark on 13.8cm score line at 1.5cm, 3cm, 4.5cm, 10.3cm, 11.8cm, 13.3cm. Repeat along 15.8cm score line.
Imperial (this will be a slightly larger card)
1st sheet: Cut to 6" x 7"
2nd sheet: 6" x 8. Score at 7.5", 6.5", 6", 5.5".
Measure  across and mark on 6.5" score line at 5/8", 1+1/4", 1+7/8", 4+1/8", 4+3/4", 5+3/8". Repeat on 5.5"
And please, feel free to "Pin" this picture so you can find this tutorial again easily :-)
Thanks for stopping by today,
     Shop Online With Me

Related Posts Plugin for WordPress, Blogger...