Showing posts with label Spring/Summer Catalogue '14. Show all posts

Monday, 16 June 2014

Rev Up The Fun stamp set and Gorgeous Grunge by Stampin' Up!

Hello there,
Today's and all of this weeks cards are going to be a last hoorah with some retiring stamps, I will be sad to see all the ones I'm sharing with you so took the opportunity to have a play with them in my last stamp-a- stack class before they go for good. remember to place your order asap if you want your own sets :-)
So, today's card uses the Rev Up the Fun! Stamp set, I love this one, well I must say I always love a versatile set that can be used for a man tbh as they are generally soooo hard to make cards for! So when I find a useful set I do cling to it ;-) Anyway I made this card by first stamping on the Watercolour Wonder DSP using Gorgeous Grunge, (this paper is also going in 2 weeks too btw) and adding a car from Rev Up the Fun onto a banner cut from a framelit
 We also added a know of stitched grosgrain ribbon with a cute little vintage trinket safety pin through it 
 just glueing the left hand side down for a bit of movement with the banner
 Now, this week I joined in the class and made the card to send some to my friend for her son who is raising money for a charity to visit Kenya, you can read about it HERE, so I made this card in a landscape version too ;-)
 and finally some stamped off decoration inside to finish today
OK, that's me for today,
I hope you like today's card and please do let me know if you would like any help with ordering or using SU! products :-)))
Stampin' Hugs, 
Products Used to create this project:

Thursday, 12 June 2014

Clockworks for a Man!

Hello there,
I have had another really busy week this week. Kids things (loads), work (plenty), classes (fun!), magazine work to complete (nearly done) and hospital check up on broken finger (all good now), so the blog has been a bit neglected I'm afraid. But, I shall now make it up to you by sharing a pair of projects for a (the) man in your life which is somewhat appropriate as it's Father's Day here in the UK this weekend ;-)
So, I used the handy, but sadly retiring, Clockworks stamp set (so only available while stocks last or 'till the end of the month- blah-de-blah- you get it right? If you "need" it, you better get it quick smarts ;-)) with some gold (always a winner), linen thread and burlap ribbon on a gift bag made from a flat bag! 
Take a look...
 I used a sentiment from Itty Bitty Banners and added a simple pattern around it as I found this the easiest way to make sure the sentiment fit and was straight ;-)
(all codes are at bottom of each post and are for clear mount stamp sets but wood is also usually available, take a look in my SHOP)
we sprinkled the card with gold embossing powder but did it as the ink was drying so it only caught in places, I like this not so rigid effect with heat embossing for a man 
(click pictures to take a closer look)
 And to go with the card a matching(ish) gift bag,{see how to make this with THIS TUTORIAL} .We added the embellishments to the fold over section at the top so they can be removed easily to fill and then be received without spoiling the bag ;-)
 close up of the tag made with Starburst dies, sentiment is Teeny Tiny Wishes
A final pic together again, ahhhh ;-)
OK, that's me done for today but I have finally found the "before" pictures and edited (with labels) the "after" photos of my craft room so tomorrow will be the BIG REVEAL!!
Be sure to come back and see!!
Stampin' Hugs from me for today,

Wednesday, 4 June 2014

Washi Tape Storage with Tutorial

Hi there,
Now, those of you who follow me on Facebook will have seen my pictures last week of these items and I asked you what you thought I might be doing with them. (You do have the slight advantage of a blog post title here btw ;-)) And thanks again if you had a guess x
Thin wooden coasters with white painted bottoms (M&S)
Wooden Spool Thingies ;-) (Antiques hall)
Unfortunately my mini DIY project with these was put on hold this week what with me breaking finger and all, but (due to plenty of Arnica being taken initially, I'm sure) I am much better now, the bruising has gone down and it's quite OK as long as I don't hit it! So this is what happened when I popped them together...
 I made Washi Tape Holders!!
Just by screwing them together
  Ta dah!
 So, I did previously use this restaurant spike as I have shown before but as the centres of the tape are large and the pin is (obviously) thin they tended to get a bit messy as in the first picture. Now, if I push them about the worst they can look is like the second picture {which is already much neater than the thin spike} but hopefully they will look like the third picture most of the time ;-) 
 While I was in M&S I also purchased a matching small tray which I am currently storing my extra markers in. 
*ahem* I may have a slight "pretty storage" obsession?? Lol!
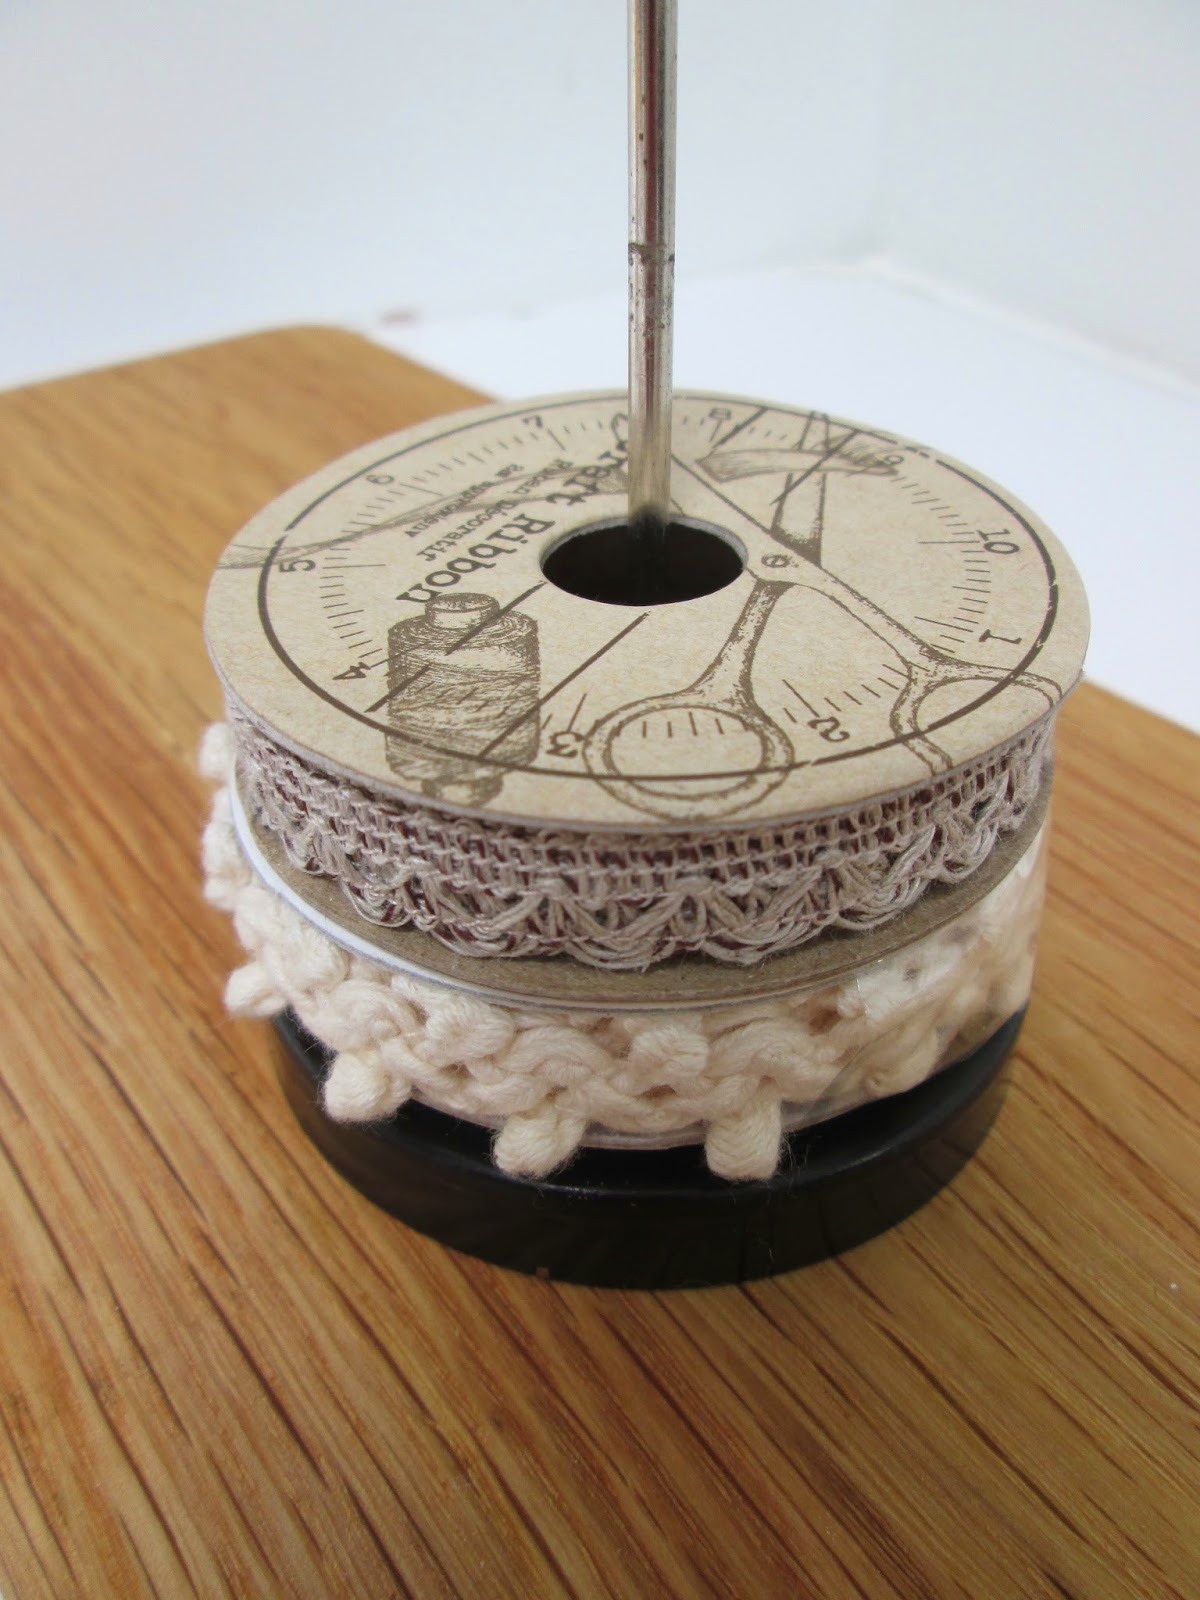
 And not to worry I will still use my spike but it is much better at storing ribbon reels with small holes...
 OK, a quick tutorial on how to make these beauties
Start by drawing round your coaster onto printer paper
 cut it out
 and fold it into quarters
 then trim the tiny point away
 unfold and you can see the little hole in the very centre
 centralise the circle on the bottom of the coaster, it is a tad smaller than the coaster as these are curved but just make sure the borders are even all the way round, I found this to be the easiest and quickest way to find the middle point
 drill a tiny hole in the coaster and also the centre of the spindle
 
and add a wood screw to secure together
Job Done!!
OK, that's me done for today, I have cards to make for next weeks class as well as house business to be sorting.
Thanks for stopping by today and I hope you enjoyed today's project.
Stampin' Hugs,
Related Posts Plugin for WordPress, Blogger...