Showing posts with label Photopolymer Stamps. Show all posts

Wednesday, 4 May 2016

Lil' Inkers Pineapple Panache Birthday Card for my Daughter!

Hello, 
Today's card is something a little bit different from me! I rarely use non-SU! products but I just love these pineapples from Lil' Inkers and their stitched edged dies too ;-) This was the card I made for my daughters 15th birthday a few weeks ago...
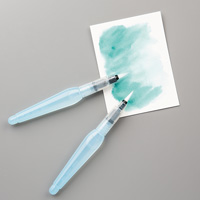
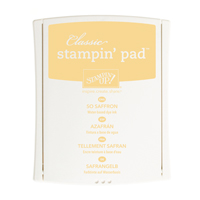
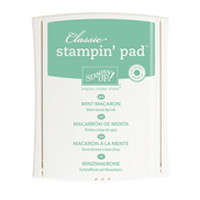
 I inked the pineapple in So Saffron ink then sponged the edges in Mint Macaron. The wash behind them is Blushing Bride made with my aqua painter.
 Love this gold die cut sentiment
 This gold thread is by SU! but sadly retired now :-(
 Sequin love :-)))
 She was really happy with her card, I hope you like it too?
Thanks so much for looking today,
Stampin' Hugs,
 Shop SU! Online With Me
Products Used to create this project:


Thursday, 19 March 2015

Lotus Blossom by Stampin' Up! Another White on Crumb Cake Card!

Hello,
As you probably know we are now headed for the last stretch of this years Sale-a-Bration (the finish date is the 31st March :-( ) and as usual I have mostly all the products offered this year, with just a few bits coming tomorrow from the extra selection ;-). 
With so many ideas floating around my head still I know haven't used lots of the products any where near enough to say goodbye and as I always end up wanting more time to play I decided to make it my mission at class this week to use SaB products as much as possible ;-) 
With that in mind, and after THIS CARD being so popular, I decided to see if this look would work well with the Lotus Blossom stamp set (free with a £45 order). I think it did and the ladies at class loved it too, what do you think?
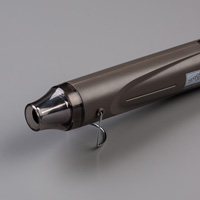
 So we worked backwards to the numerical order shown on the stamps and stamped the largest, solid stamp first in White Craft Ink and the solid stems before blasting them with the heat gun to dry the white ink...
 ...then adding the number two layer (after stamping off once) in Blackberry Bliss then stamping the full strength inked smallest stamp at the end. 
 This sentiment is one of two included in the FREE Lotus Blossom stamp set
 I had some purple sequins in my stash that worked perfectly
 and a final shot of the flower :-)
Well, I hope you liked today's card?
I'll be back tomorrow with another class card for you but 'till then,
Stampin' Hugs,


Products Used to create this project:

Tuesday, 3 March 2015

TMT Video Tutorial sharing my Stampin' Up! Ink Pads Top Tips

Hello 
and welcome to this weeks Two Minute Tuesdays Video.

This week I'm sharing with you my three top tips I think everyone needs to know about Stampin' Up! Ink Pads.

Including; How to label your ink pads, how to fix your over inked or new, too juicy pads and also how to put your ink pads back together if they come apart; this is something I'm asked a lot by my class ladies.

Please, take a look at this weeks video :-)
If you have missed any of my other TMT Videos please VISIT MY TMT PAGE to catch up or go to my You Tube channel to see them all plus more! 
Thanks for visiting today
Stampin' hugs,

Tuesday, 7 October 2014

Dotty Angles with Age Awareness by Stampin' Up! to make a card for the men

Good morning,
I'm off out in a bit to run a couple of errands before coming back and hitting the craft desk again, it's so tough sometimes ;-)
Before I pop out I have a great card to share with you today for a guy! I love this card and I had a play with my new Tag Punch to make this one along with the Dotty Angles and Age Awareness stamp sets, these two sets are both photopolymer, let me explain why that's so handy for this card....


 First of all the Dotty Angles stamp is not long enough to go right down the side of your card but this is not a problem as they are photopolymer you can see through and stamp right along to get a continuous image. 
TOP TIP 1:  Place your piercing mat under your card and then stamp. This is useful with some of the photopolymer stamps especially Dotty Angles, so you get a good, solid image.


To make this tag I used the Angled Tag Topper Punch, I must admit I wasn't going to purchase this but after seeing it used a lot on the WWW I succumbed and I have to say I LOVE it! It's so quick and easy and the hole's always just in the right place {great for ocd types like moi}, I have already made lots of tags with it from my off-cuts of card and DSPaper, I'll share those with you soon too.

So, to get this look on the tag I started by stamping the lines across the bottom in Lost Lagoon.
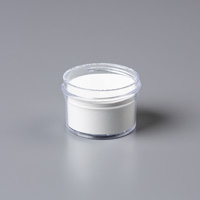
 TOP TIP 2: Use you embossing buddy before stamping with versamark to heat emboss, it helps stop stray pieces of powder sticking where you don't want it.
Then added the sentiment with Versamark and heat embossed using white embossing powder and then finally added the balloon just in Versamark for this watermark look. Again, all made a lot easier with photopolymer stamps ;-)
OK, I'm off out now but I hope you liked today's card and I'll be back soon with another.
Thanks for looking today :-)
Stampin' Hugs,
Related Posts Plugin for WordPress, Blogger...