Showing posts with label 18th Birthday. Show all posts

Saturday, 23 February 2019

Tropical Chic Card for an 18th Birthday!

Hello there,
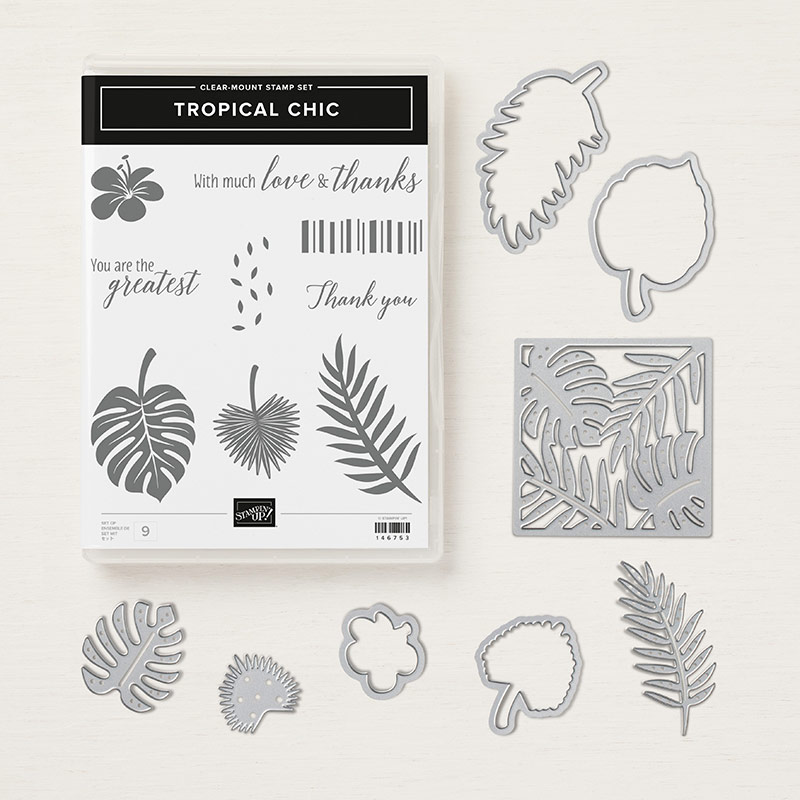
Today is my hubbys birthday but, true to form, I was up 'till late last night making his card so I don't have that photographed yet to show you ;-) Instead I have a card I made for my friends daughters birthday recently using the Tropical Chic stamp set and some glittery numbers, of course...
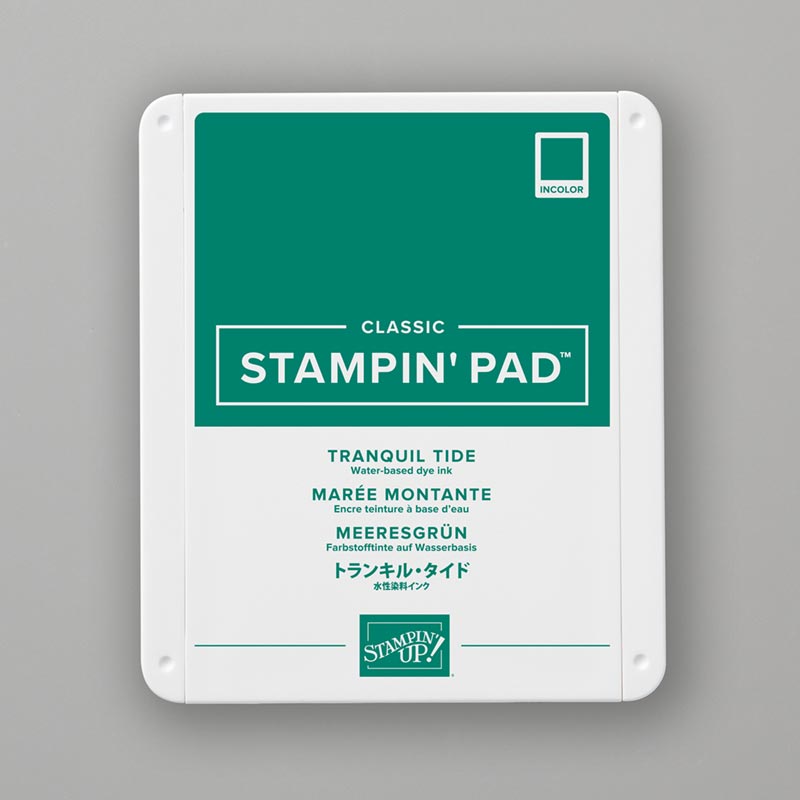
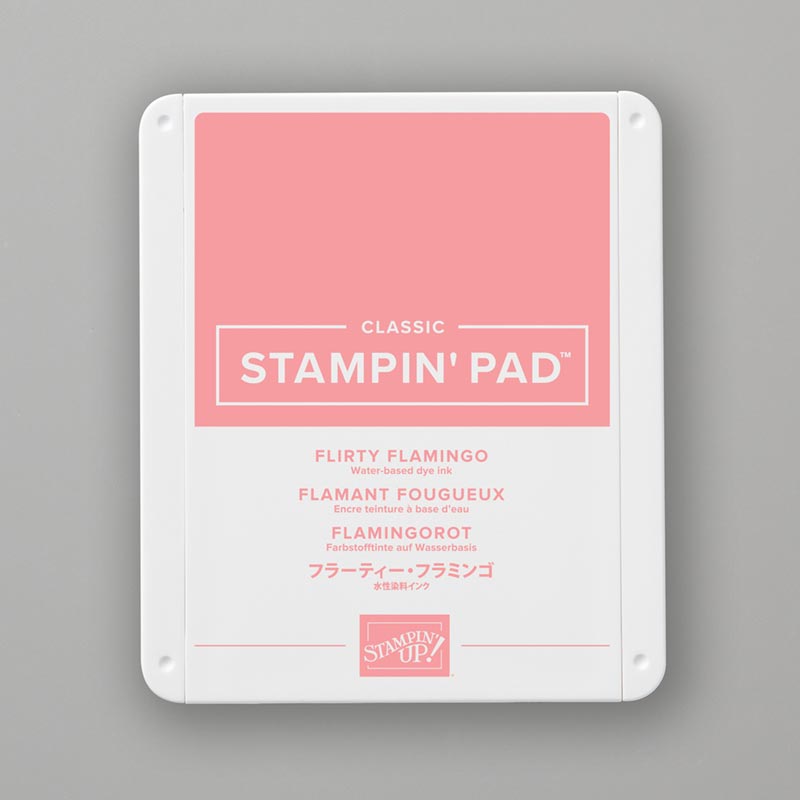
I decided on a wreath pattern using the leaves from the stamp set in Tranquil Tide, then I added some die cut flowers which I inked first with Flirty Flamingo then I added some Lovely Lipstick ink using a sponge dauber to get this two tone effect.
I layered up the 18 using matching Lovely Lipstick card before topping it with some glittered numbers.
Add a touch of tinsel trim and a few sequins to finish today's card :-)
So, that's all from me for today. I'm going to try really hard to write another post this evening, ready for Sunday but it's going to be a busy old day here :-)
I'll definitely be back really soon though as I have tons f cards to share,
Happy Stampin!
      Shop Online With ME! 
Host code for January spends over £25 and under £150 is CAVYBE77
Stampin' Hugs,

Tuesday, 13 March 2018

A Bird Banter Birthday!

Hello there,
Today's card uses the Bird Banter stamps again, but today I've used the  cute budgies from the set to make this card...
 I stamped the budgies onto shimmer white card before colouring with ink pads and aqua painters, then adding highlights using a blender pen.
 Love this wood planks embossing folder.
TIP: Die cut your shape first, then emboss the rest of the card so you don't squash your embossing.
 All finished with a couple of the Gold Faceted Gems for a bit of bling!
So that's today's card! I hope you've enjoyed it and I'll be back soon with another one :-)
Thanks so much for looking today,
     Shop Online With Me
Stampin' Hugs,

Wednesday, 16 November 2016

18th Birthday Card for a Girl using Large Letter Framelits and Mixed Drinks (of course!)

Hello there,
I'm taking a little break on here from the Christmas cards- just for today - with a card I made for my dear friends daughter who turned 18 a few weeks ago. I used my large letter framelits to die cut "Kiera" from copper foil sheets and teamed it with the Mixed Drinks stamps to make this card....
 Of course I added a touch of Wink of Stella to the cocktail ;-)
 And I used the matching Number of Years framelits inside
('cause you've gotta have "18" somewhere, right?)
Love how the copper foil works so well with Flirty Flamingo.
Thanks so much for looking today, back soon with more!
   Shop Online With Me

Friday, 6 March 2015

Using Stampin' Up's Treat Bag Thinlits to match a Card in a Box

Hi there,
Today I have the little table favours I made for my eldest sons 18th birthday dinner last week. They match yesterdays card in a box which you can find HERE :-)
I am still loving the mini treat bag thinlits die and for this project I kept the bags flat -as they were intended- as I filled them with a lottery scratch card and a mini Green and Blacks chocolate. You can of course see my video HERE for three ways with this die including how to make it 3d.
**EDIT TO SAY: I have a new Two Minute Tuesday Video sharing my tips on how to make sure the sequins don't unravel HERE**
OK, so onto today's treat bags,
  I used retired paper to match yesterdays card but wouldn't they look fab in Birthday Bash paper??
On a punched Note Tag I stamped and then masked off the "celebrate" word from  the Celebrate Today stamp set then stamped these waves of triangles (they are intended to be balloon tails, I think) in different colours to coordinate with the paper
 Some of the bags together. 
I love the Bermuda Bay sequins teamed with the Tangerine Two Tone trim
 On the table I added coordinating serviettes too ;-)
 I also needed an extra bag to use to wrap a gift. I simply changed up the tag using the "surprise" sentiment from the Birthday Surprise stamp set to match the card...
 ...and added the stars and bursts from Perpetual birthday Calendar around the edges
and a few stacked together to finish. They went down well at the birthday meal but unfortunately we only had one £1 winner on the whole table ;-)
And here was the table on the night- there were a lot of those little star sprinkles found for days afterwards...
and a pic of the birthday boy with his card too!
OK, that's all from me for today.
I hope you have enjoyed today's post and I'll see you tomorrow, same time(ish), same place!
Thanks for looking
Stampin' hugs,
Products Used to create this project:
Related Posts Plugin for WordPress, Blogger...