
Hello!
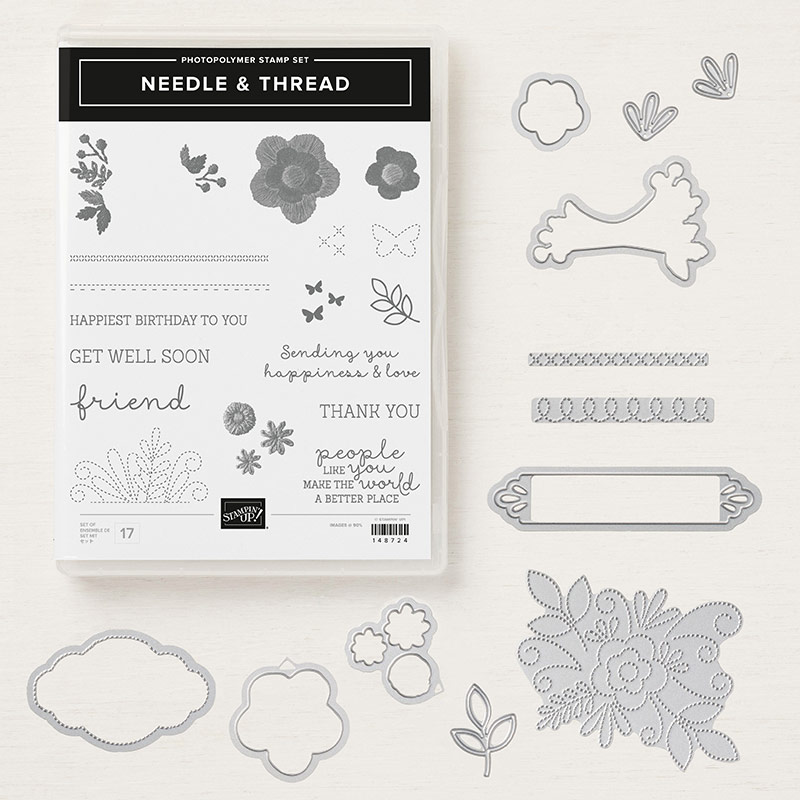
If you follow me on social media {FB/Insta/Twitter links at the end of post} you will have seen my punch art this week. Originally inspired by the little loop dies and stitched scallop shape die in the Needlepoint Elements dies (part of the needle and thread bundle). Each time I used them all I could see was little chick feet!
Just for fun I had a little Q&A and asked what my lovely followers thought I might have made and I was overwhelmed with great ideas and, not wanting to disappoint, I made the suggested Frog and Sheep as well as my original Chick idea. And I promised to do a little tutorial for each so that's what today's post is all about :-)

 This Frog punch art tutorial is super simple and great fun too!
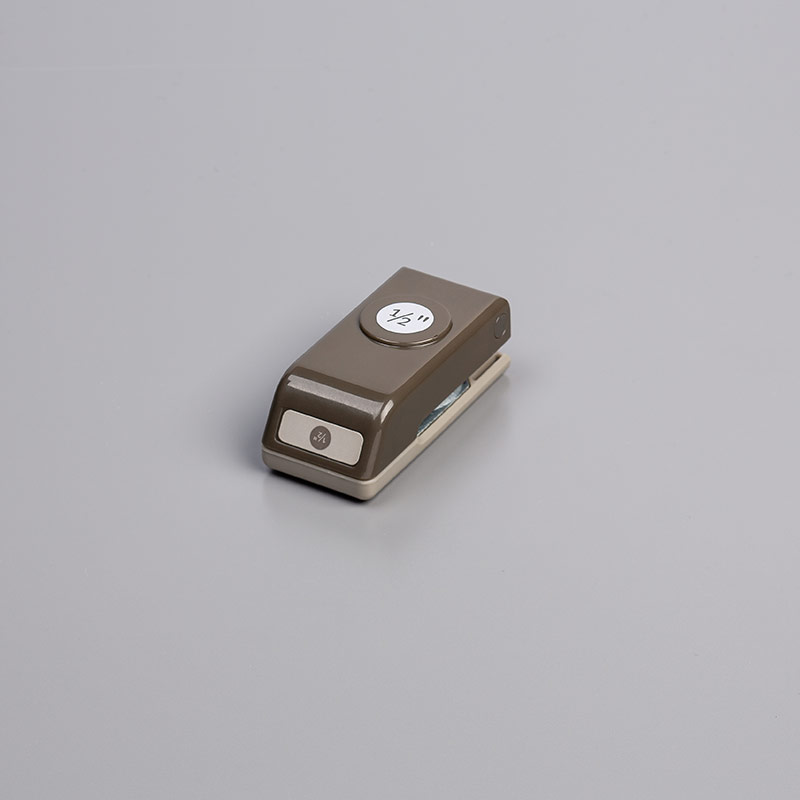
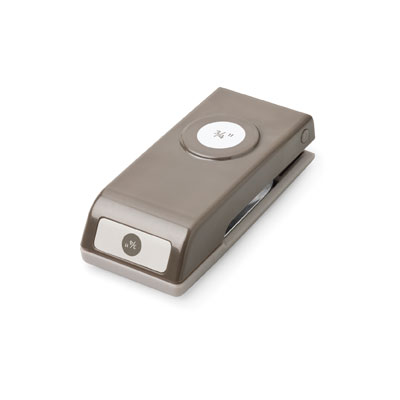
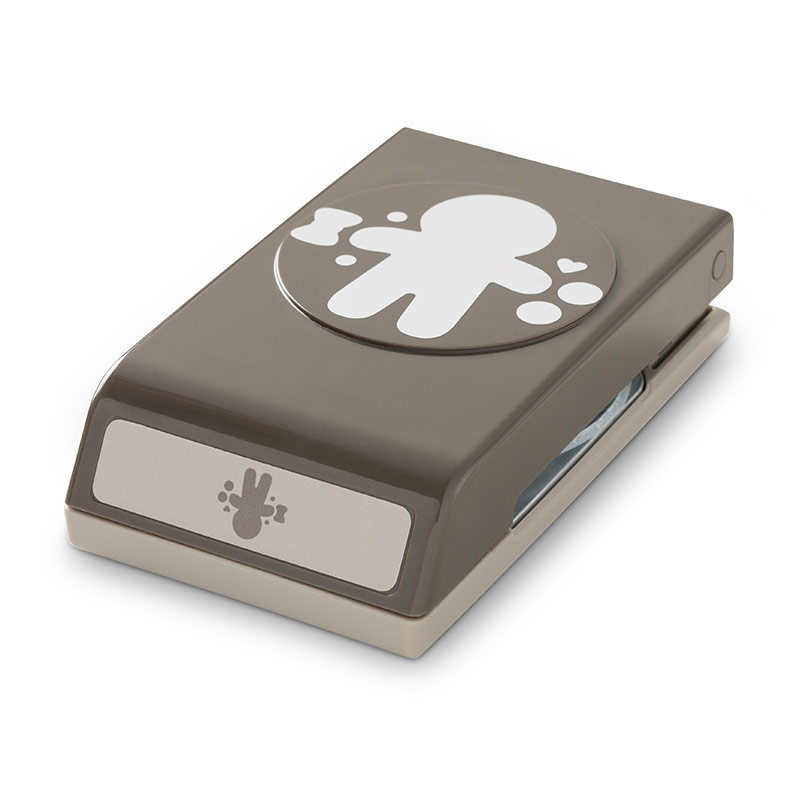
I used Garden Green, Black and White card for this little frog. I also have just realised the 3/8" circle is retired but you can use the cookie cutter builder punch instead .
 And last for today this cute Sheep punch art tutorial.
Just add fun googly eyes (mine are retired by SU! at halloween from a few years back)
 So, the smallest (big) boys football has been cancelled today due to the rubbish weather ruining the pitch :-( so we are staying in for the day doing some more of those "exciting" jobs in the house ;-)
Fingers crossed that maybe I might even squeeze a little crafting in later today too...
I hope you get a chance to make something today too and if you have a go at one of these punch art animals I'd love to see!! Feel free to share any and all of your papercraft creations on my crafting group on FB, HERE.
That's all from me for today, thanks so much for stopping by :-)
Shop Online With ME!
Host code for January spends over £25 and under £150 is UFQDSB72
 Stampin' Hugs,
If you follow me on social media {FB/Insta/Twitter links at the end of post} you will have seen my punch art this week. Originally inspired by the little loop dies and stitched scallop shape die in the Needlepoint Elements dies (part of the needle and thread bundle). Each time I used them all I could see was little chick feet!
Just for fun I had a little Q&A and asked what my lovely followers thought I might have made and I was overwhelmed with great ideas and, not wanting to disappoint, I made the suggested Frog and Sheep as well as my original Chick idea. And I promised to do a little tutorial for each so that's what today's post is all about :-)

Here is the Chick punch art tutorial. I used Daffodil Delight and Pumpkin Pie card for this chick.
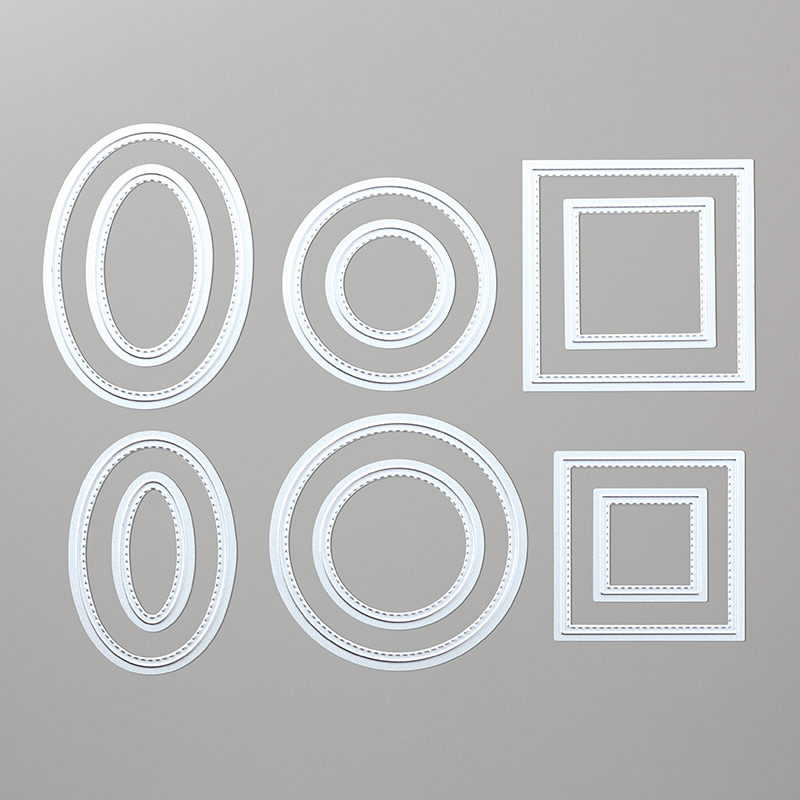
TIP: If you don't have the stitched circle dies plain circle dies or even a circle punch would work equally well.

I used Garden Green, Black and White card for this little frog. I also have just realised the 3/8" circle is retired but you can use the cookie cutter builder punch instead .

Just add fun googly eyes (mine are retired by SU! at halloween from a few years back)

And all together again to finish today.
Fingers crossed that maybe I might even squeeze a little crafting in later today too...
I hope you get a chance to make something today too and if you have a go at one of these punch art animals I'd love to see!! Feel free to share any and all of your papercraft creations on my crafting group on FB, HERE.
That's all from me for today, thanks so much for stopping by :-)
Shop Online With ME!
Host code for January spends over £25 and under £150 is UFQDSB72

 |
 |
 |
 |
 |
 |
 |
 |
 |
 |


