Showing posts with label Photo Tutorial. Show all posts

Sunday, 27 January 2019

Frog, Chick and Sheep Punch Art using the Needle and Thread dies.

Hello!
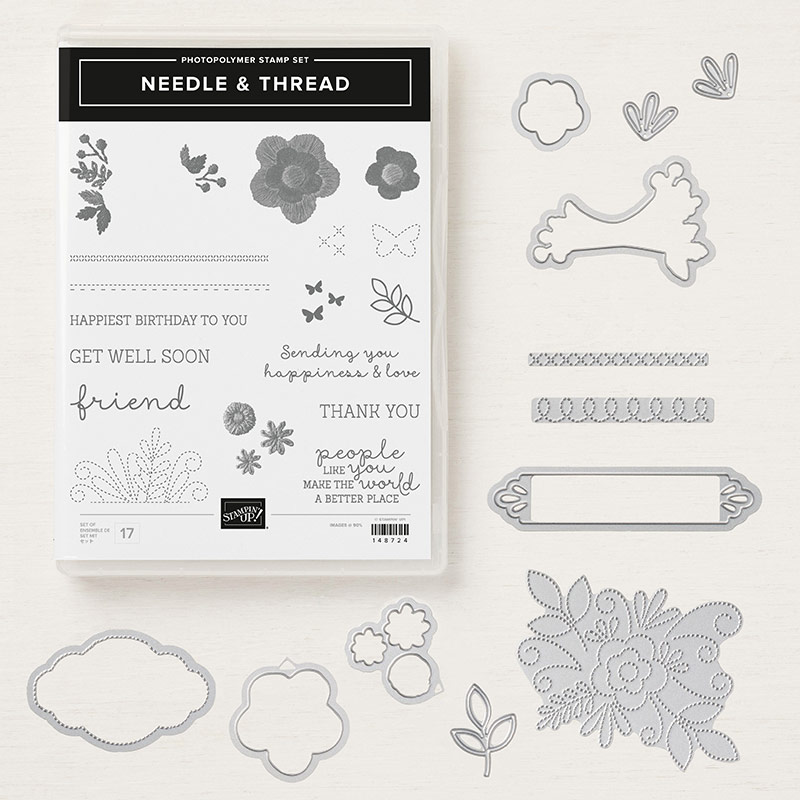
If you follow me on social media {FB/Insta/Twitter links at the end of post} you will have seen my punch art this week. Originally inspired by the little loop dies and stitched scallop shape die in the Needlepoint Elements dies (part of the needle and thread bundle). Each time I used them all I could see was little chick feet!
Just for fun I had a little Q&A and asked what my lovely followers thought I might have made and I was overwhelmed with great ideas and, not wanting to disappoint, I made the suggested Frog and Sheep as well as my original Chick idea. And I promised to do a little tutorial for each so that's what today's post is all about :-)
Here is the Chick punch art tutorial. I used Daffodil Delight and Pumpkin Pie card for this chick.
TIP: If you don't have the stitched circle dies plain circle dies or even a circle punch would work equally well. 
 This Frog punch art tutorial is super simple and great fun too!
I used Garden Green, Black and White card for this little frog. I also have just realised the 3/8" circle is retired but you can use the cookie cutter builder punch instead .
 And last for today this cute Sheep punch art tutorial.
 Just add fun googly eyes (mine are retired by SU! at halloween from a few years back)
And all together again to finish today.
So, the smallest (big) boys football has been cancelled today due to the rubbish weather ruining the pitch :-( so we are staying in for the day doing some more of those "exciting" jobs in the house ;-)
Fingers crossed that maybe I might even squeeze a little crafting in later today too...
I hope you get a chance to make something today too and if you have a go at one of these punch art animals I'd love to see!! Feel free to share any and all of your papercraft creations on my crafting group on FB, HERE.
That's all from me for today, thanks so much for stopping by :-)
Shop Online With ME!
  Host code for January spends over £25 and under £150 is UFQDSB72
Stampin' Hugs,

Wednesday, 27 June 2018

Animal Outing with a FREE Ombre Frames Tutorial

Hello and welcome to another challenge week with Inspire. Create. Challenges.
This week it's a theme challenge (challenge #21) and it should be one most of us can follow fairly easily as it's simply "Kids."
As this can be interpreted in so many ways, I'm sure you will make something in the next fortnight that you could use to join us and we'd love if you shared it with us at the challenge :-)
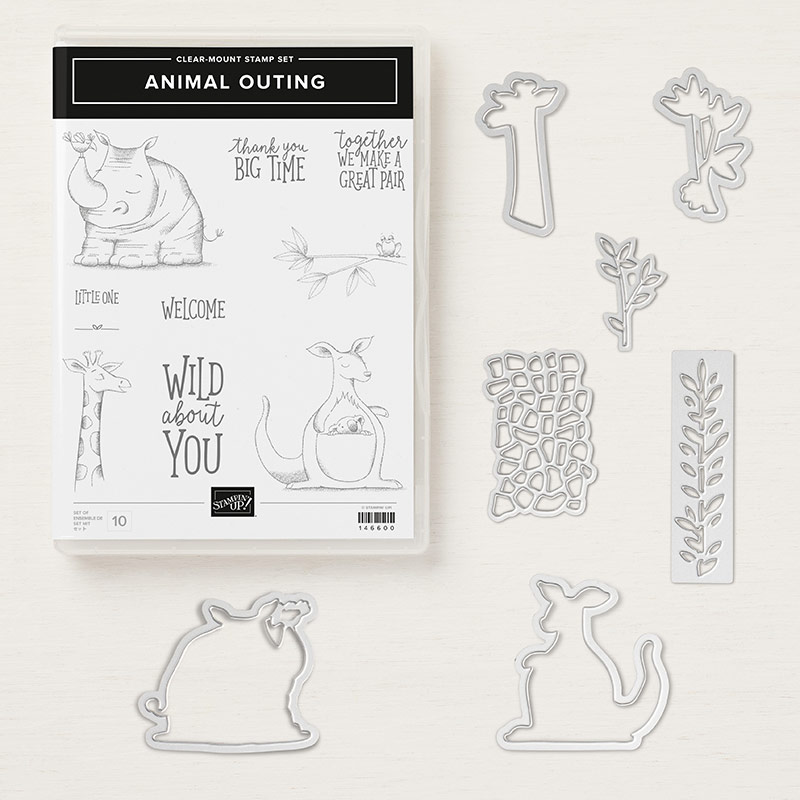
So, this challenge was perfect for me this week as it was our grandson's birthday a couple of week's ago so I saved this card to share, ready for this challenge and I even did a super quick photo tutorial too! I used the Animal Outing stamp set (again) with the number dies (so sad they retired) and my blends to make this DL sized card...
 This Rhino is sooo cute! I wanted to make the two panels pop some more so I added a little frame. I then used my blends to make the ombre effect and as I made the second frame I made a little photo tutorial for you too...
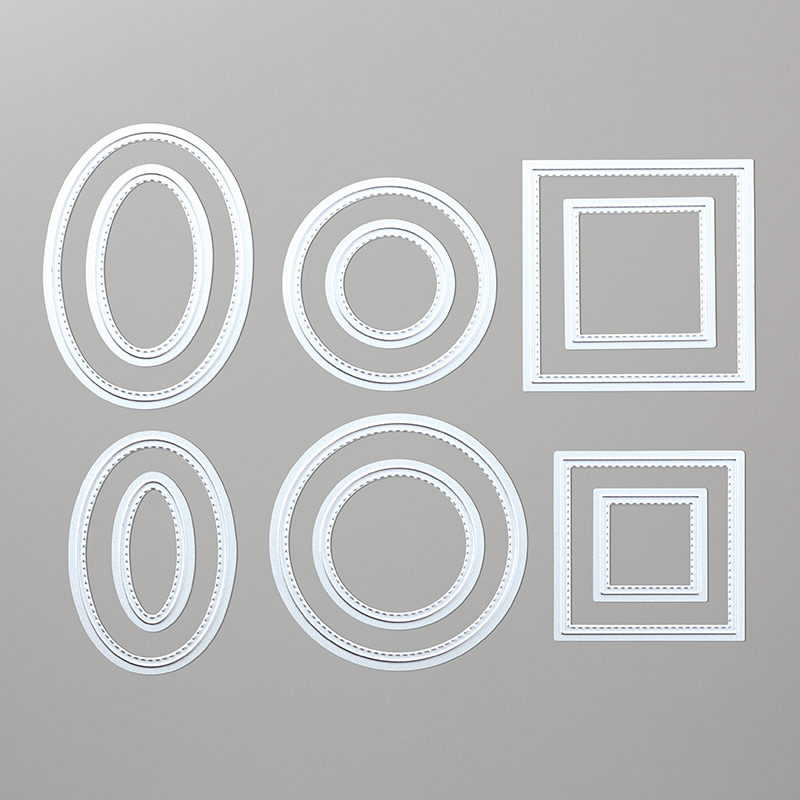
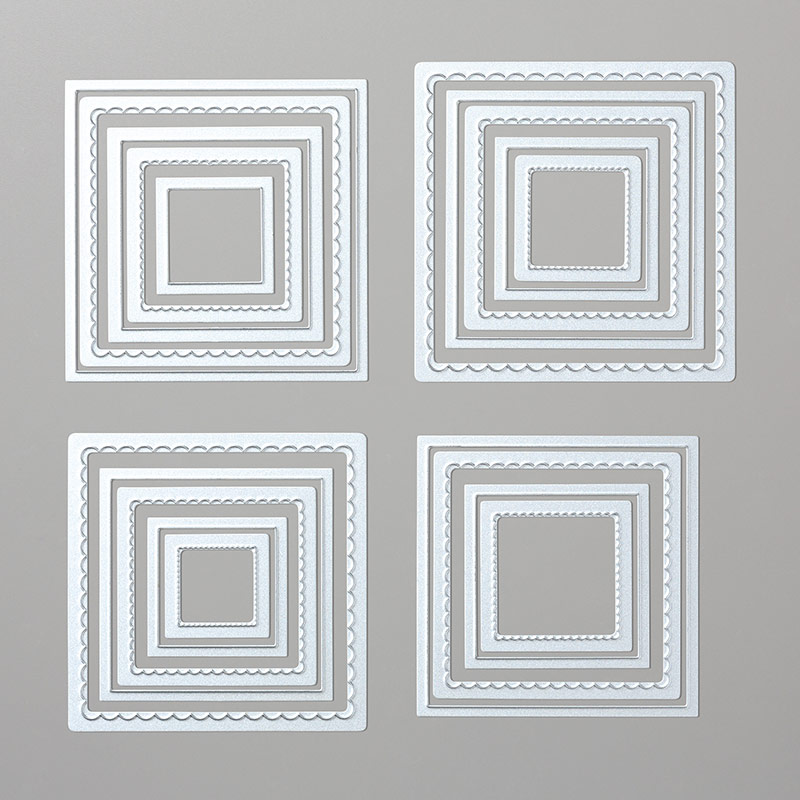
 I used the stitched and regular square framelits and light and dark pool party pens, although I'm sure it would work in just about any colour you wanted :-)
Any questions please do ask.
 I added a strip of embossed card across the centre using the Petal Burst folder, wrapped in (retired) pool party twine.
And a few sequins always make any card just a little more special!
So, that's my "Kids" card for you today! I was super happy with the end result and so was our grandson, well for a few minutes anyway, until he went back to his Duplo ;-) Love him x
To see what the rest of the super clever DT have come up with do visit the Inspire. Create blog HERE! I'm sure you'll be amazed at their brilliant ideas! And we'd LOVE it if you shared your creations there too :-)
Thanks for stopping by today, I'll be back soon with another make.
   Shop Online With Me
Stampin' Hugs,

Wednesday, 29 November 2017

Inspire. Creat. Stamping Challenge #006 - Fancy Folds!

Hi there!
Today it's time for another challenge at Inspire. Create. Stamping challenges.
I can hardly believe it's already week #006! And the theme this week is "Fancy Folds".
Now, I don't generally too make many fancy folded cards, I've been tending to stick to CaS cards of late, so I decided to dig through the archives on here and revive a fold that once I had re-made it I do wonder why I haven't made more of them! And it's always good to be pushed from your comfort zone, amiright?
So, to see the original design with a FREE tutorial too, go HERE. And this is my updated version using the Christmas Around The World DSP...
 I love the images and also the grey snowflake background on this paper. This is the same piece, just different sides. I'm always torn which side to use when they are both this nice ;-)
So, you can gently ease the top out from behind the tab at the bottom...
And then you can write on the back of the piece with the circle or the centre panel. I chose the circle panel and decorated it with some offcuts of DSP.
 So, the original tutorial used punches (including the retired 2.5" circle) and if you have them already, great! However here are the correct sizes to make this card with the Layering Circle Framelits :-)
The hole in the card base can be made with the second largest circle die, the small tab can be made with the smallest circle die and the popped up circle can be cut with the third largest die...
...but, I used the stitched edge die (for the popped up circle) which is the same size as that third largest die I mentioned before.
 So, I do hope you have a go at this card, it really is much easier than it looks and make a fun change to the regular shaped card which is always fun!
Don't forget to hop over to the Inspire. Create blog and see what the rest of the DT have made :-) And you can share your creations there too!
Thanks for looking today!
   Shop Online With Me
Stampin' Hugs,

Saturday, 18 November 2017

Tri-Fold Snowman Poop Tic Tac Holder. FREE Tutorial!

Hello!
This time last week I was in Birmingham at Stampin' Up's OnStage event, swapping and learning and generally having a ball! Sadly, this week it's back to work ;-)
But, I have finally got around to editing the photos of the swaps I made and I also have a little photo tutorial on how to make them too! Let's see....
 Inside a sentiment and Snowman Poop, of course ;-)
 You *may* recognise this adorable Snowmen from Seasonal Chums and the background was stamped using Smitten Mittens.
 Stamp, cut, score , fold and stick ;-)
TIP: If you are making multiples of these change that order to: Stamp, score, cut, fold and stick!
TIP: It's not very often I suggest punch the card first, then stamp. But for this it maximised the amount of labels you can get from a sheet of card and photopolymer stamps make this super easy to stamp.
Secure closed with twine.
TIP: I tied a knot before tying the bow as it was much easier to hold it secure this way!
I made about 36 of these holders but somehow managed to stamp and colour more snowmen that I needed! And after spending several hours colouring I wasn't going to waste those bad boys, so I added them to some Treat Tubes I still had!
And here they are all together!
 If we swapped in Birmingham, I'd like to say a big, huge thank you! I had lots of really lovely swaps in return and I love them all! *mwah* 
 And now for my oops moment. Apparently this snowman was stuck to the holder a little crooked and of course that's the one I choose to photograph! Doh! f you got this in a swap, I apologise, I honestly didn't notice and obviously I didn't spot it when I took the pictures either! Lol!!
Well, that's it for me for today, I really do hope you have enjoyed today's tutorial? Let me know in the comments...
     Shop Online With Me
Stampin' Hugs,
Products Used to create this project:
Coming soon...

Related Posts Plugin for WordPress, Blogger...