Hi!
So it's time for another blog hop with the Jems and you may even have arrived here from the lovely Amanda's blog? It's easy to see everyone's marvellous creations, just follow the link at the end of each post...
The theme for this hop is colouring! With the launch of the new
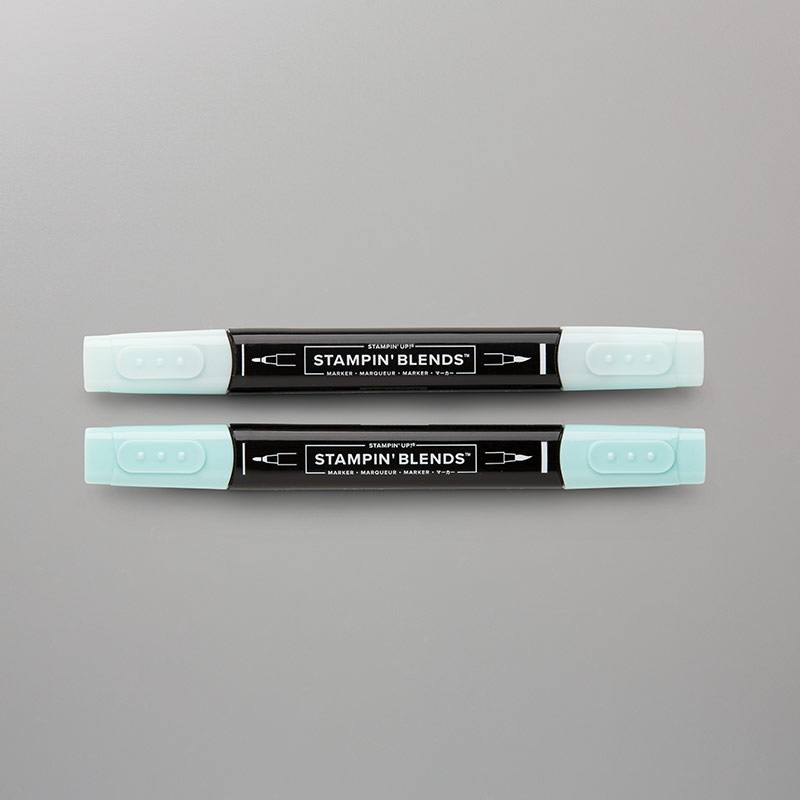
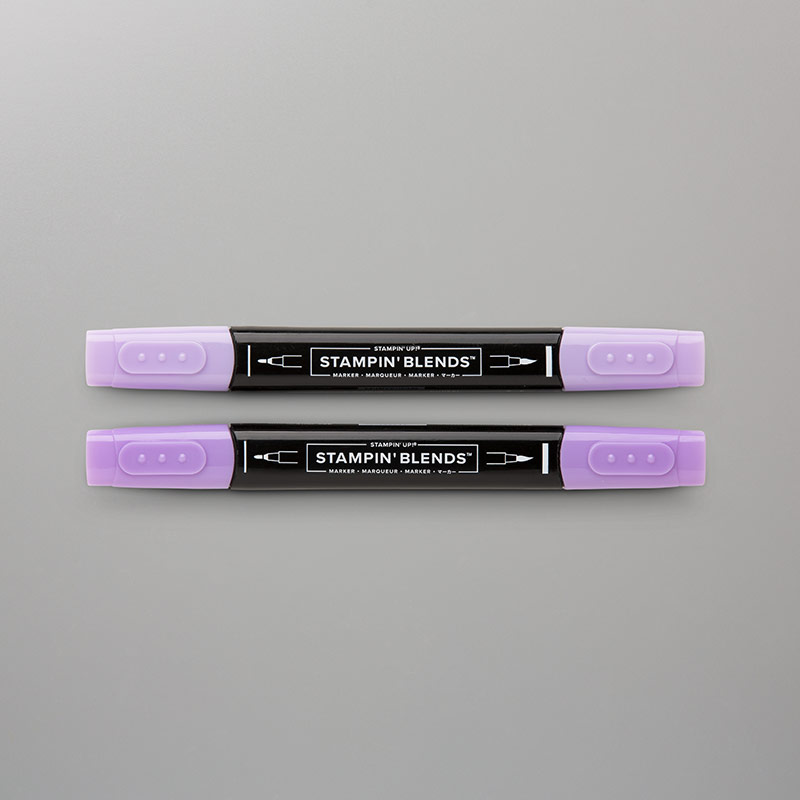
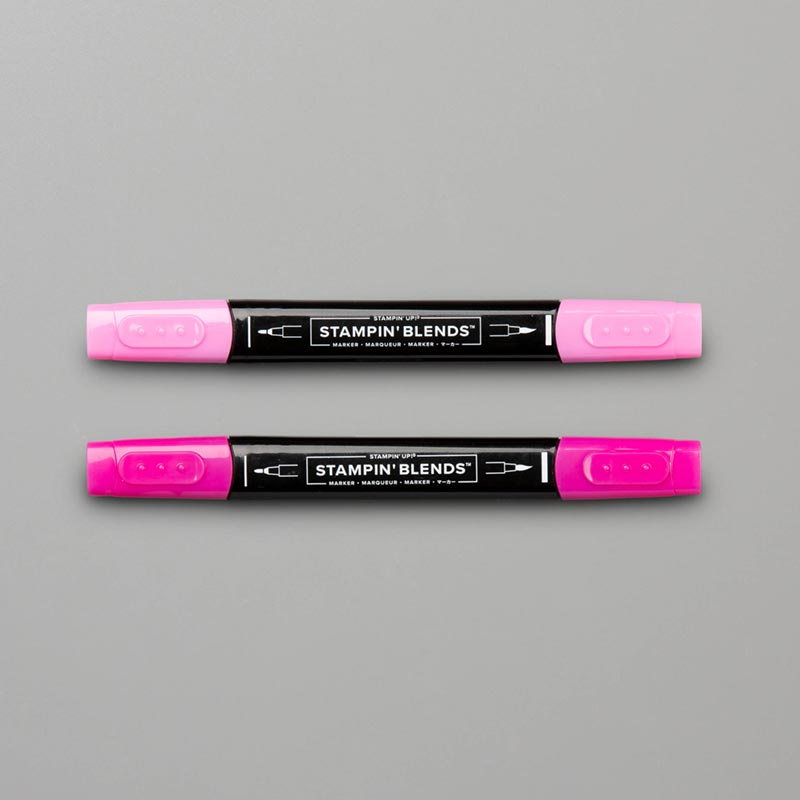
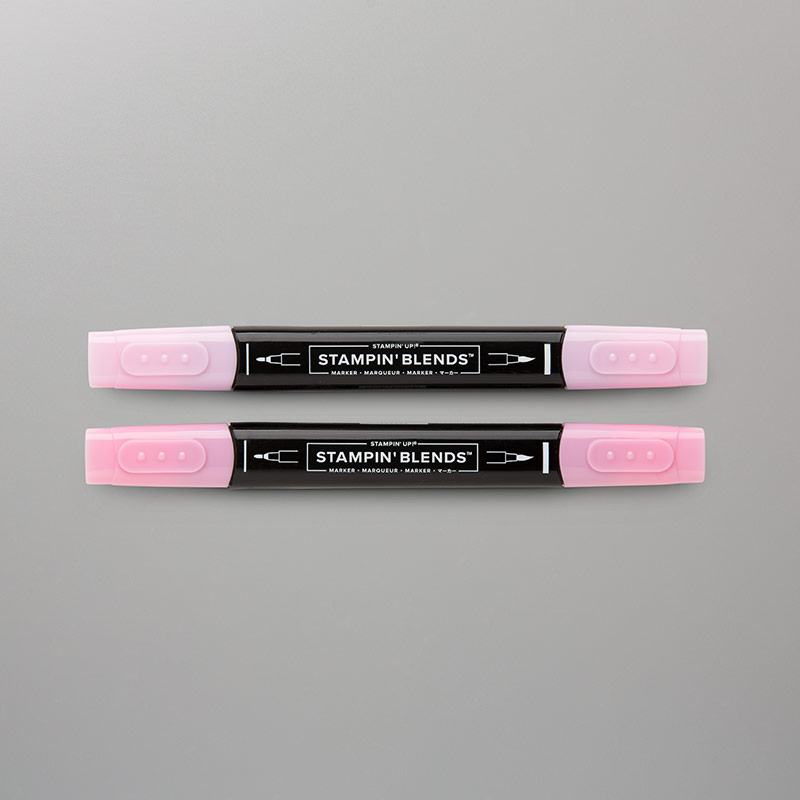
Stampin' Blends everyone agreed colouring was a great excuse to have a play!
I am doing a three month club/class for these pens starting in January. Watch this space for news as I'll be doing both a regular class and an "In The Post" version too!
Sadly I didn't get to order mine 'till this week so have gone with watercolouring for this challenge. Any colouring counts so I do hope all the inspiration as you hop round helps to inspire you to break out your favourite colouring medium this weekend!
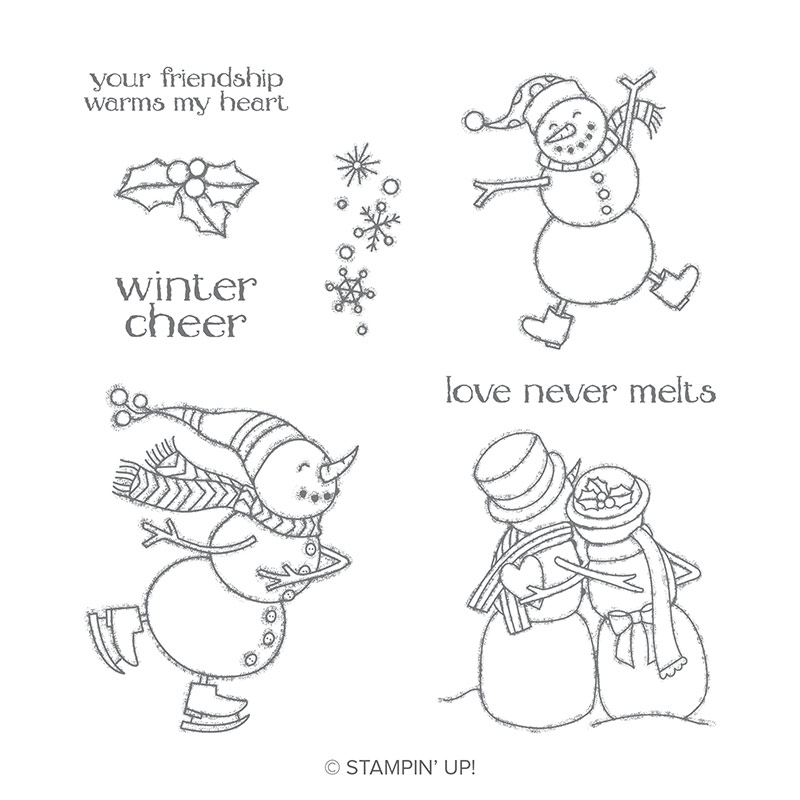
My card today uses the Seasonal Chums bundle with the snowman to make, what I'm calling a "Window Card". I wonder if it already has a name? Answers on a postcard, or in the comments section...
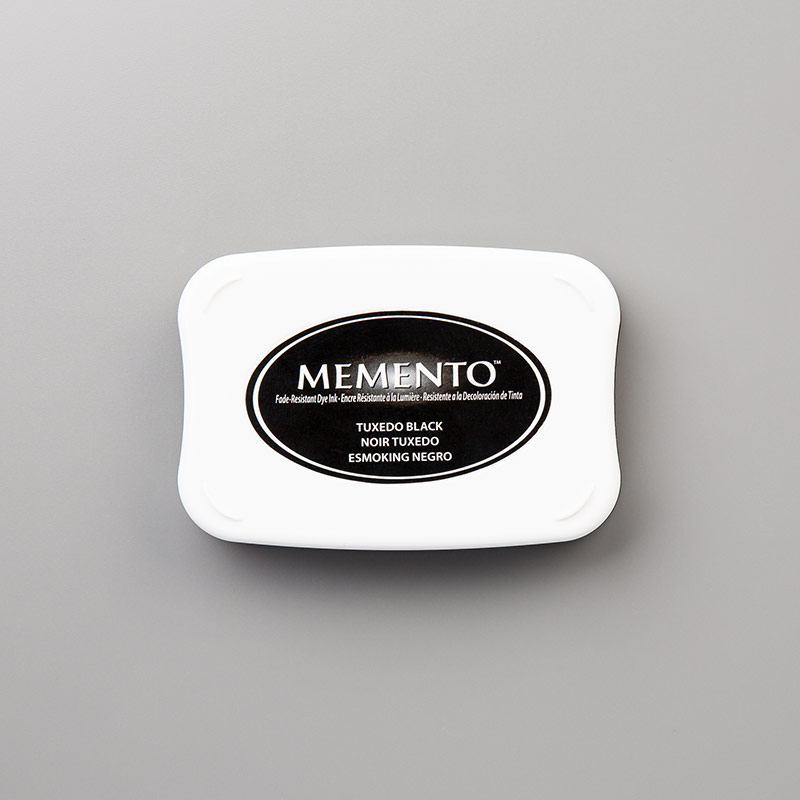
I used ink pads and both blender pens (for the tiny sections) and an aqua painter for the larger areas like his body.
I like to colour like this on either thick whisper white, like here, or shimmer card is great too as it gives you a bit more time to work before the ink soaks in.
As the images in this set have matching backs (that are identical in size and shape) I decided to add this fella either side of a window sheet to make the window card idea.
This is an easy card to make with a glimmer paper frame and the background inside, but there is a particular order to assembling this card...
1. Die cut the scalloped circle and smaller plain circle (from the inside) from glimmer paper. Do these at the same time to save passes through the big shot.
TIP: Use washi or a post it note to hold the circles in the correct place when die cutting.
2. Die cut the smaller, plain circle from your card base.
3. Close the card and add the glimmer circle to the rear, through the front window.
4. Die cut the scalloped circle only from a window sheet and adhere behind the glimmer scalloped circle using fine tip glue pen. Leave to dry.
5. Add the frame and window to the card front. Leave to dry.
6. Trim away the tab on the snowman and cut the front and rear apart. Add the front of the snowman to the window using the fine tip glue sparingly, so it doesn't leak out the sides. Leave to dry.
7. Open up and add the rear of the snowman and leave to dry.
I doubled over and then wrapped a little silver thread around the top of the card.
TIP: To stop the thread unravelling add a dot of Blu Tac to the top of the spool and pop the end in it to hold it!
Finish with a sentiment and a snowflake which are both from the Seasonal Chums bundle too :-)
Phew, that was a lot of chatting! If you managed to stick with me then thanks! Next up is
Umalini and I'm sure she'll have lots to inspire you, do hop over...
Thanks for looking today!
Shop Online With Me
Stampin' Hugs,


 I think the image is supposed to be sort of star-jumping but I added "snow" around his hands and feet to make him look like he's laying in the snow making an angel. Well, that's what I hope I did...
 For the background I stamped snow on a piece of Balmy Blue card and wrapped it with copper thread before adding it to a same colour card base. Topped with the coloured image, layered onto some Lovely Lipstick card to finish :-)
 So, that's all for today from me. We have football again this morning, weather permitting, and I might even make a little roast dinner later too ;-)
 Host code for September spends over £25 and under £150 is KJARMCTQ
 Stampin' Hugs,