Showing posts with label Vintage Vogue. Show all posts

Sunday, 6 November 2011

Note Book.

And so today for the final gift I made for Emma to welcome her to the team!
 I covered a journal with DSP and decorated it ready for Emma to use however she wants!
Her initial was stamped with Broadsheet Alphabet
Crotchet trim and In Colour ruffle ribbon decorate the spine, love both of these ribbons!!
and all three items together looking pretty ;-)
I hope you have enjoyed the last few days projects and if you would like to chat to me about joining the Southern Belles team then I would welcome your call or email :-)
Stampin' Hugs,

Saturday, 5 November 2011

Milk Carton for Emma

Good Morning!
Following on from yesterdays post the first gift I made for Emma was an A4 Milk Carton (tutorial available in the Dazzling Dozen pack) to match the card I made her :-)
Soft Suede and Cameo Coral colour combo was used again with Newsprint DSP,
A cute decorated clip holds it closed, love this crotchet trim!
and what was inside the carton??
Yep! A great selection of lots of the current ribbons I have to get her started on her crafty SU! journey!
Super quick post today but I will be back tomorrow with the final part of Emma's welcome gift
Stampin' Hugs for today,

Friday, 4 November 2011

Welcome to the team Emma :-)

Hello there,
A few days ago I had another lovely downline join my team The Southern Belles, her name is Emma (in case you didn't read the title!) and when any new member joins my team I always like to send them a little "Welcome" gift, some things to help them on their SU! journey!
This is the card I made for Emma in a Cameo Coral and Soft Suede colour way, I am loving both of these colours right now, both together and separately, I can't seem to use anything else! Lol!
Background DSP is the yummy Newsprint, loving this too! and the Fun Flowers Die with an antique brad in the centre,
I used the sadly neglected Vintage Vogue for the vines with Itty Bitty Punched flowers filled with Pearls,
and a little decoration inside too
She liked it, so once again Emma, Welcome!
That's it for today, I will be back tomorrow with more gifts for Emma, if you would like to discuss the benefits of join SU! and turning your crafting hobby into a business or just purchasing your stash a a discount then please email me with any questions or queries and I will call or email you for a chat :-)
Stampin' hugs for today,

Saturday, 1 October 2011

Simply Stampin' Challenge

Good morning!
I you haven't seen it already, the NEW Stampin' Up! catalogue is here!! Please scroll down or click on the "Catalogues and Ordering" tab in the top bar to see it, it's fantastic!!
Anyway, it's time for another Simply Stampin' Challenge and this week the theme is "Swirls and Pearls"
I have used a mix of old (stamp set, Vintage Vogue) and NEW (fabby new In Colours Calypso Coral and Pool Party) I am so in love with this combo and you will definitely be seeing much more of this in the future, you have been warned ;-)
A close up of the 3d flowers and pearls
And a bit of decoration inside to finish
Gosh, it is so nice to have a bit of natural light to take your pictures in at the moment!
 I am sure the other DT members have some more lovely cards to inspire you today, speaking of which have you ever thought of joining a DT?? The team over at Simply Stampin' are having a call out for new members, why not pop over and take a peek?
I will be back tomorrow with some more NEW catalogue ideas, along with 25 or so others, That's right tomorrow is the ILWS blog hop, be sure to hop on by and take a peek!
I will be placing a stampin' Up! order on Wednesday if you need anything from the new catalogue then please message me for more details, or why not join my Stampers 6 Club and get a little SU! goodness delivered every month with hostess benefits for one of those months, but please hurry, we are starting very soon!!
Thanks for visiting today,
Stampin' Hugs,

Sunday, 20 February 2011

Golden Wedding with a Boxelope Mini Tutorial

**EDIT on 12/06/2105 to say: I HAVE NOW MADE A VIDEO TUTORIAL - WHICH CAN BE FOUND HERE - USING THE DIAGONAL SCORE PLATE AND ENVELOPE PUNCH BOARD MAKING THIS BOXELOPE EVEN EASIER TO MAKE**
Good Evening,
I love it when you make projects using my tutorials but please be sure to link back here and give credit when you make and post to your blog.
Thank-you for your understanding and I hope you enjoy this tutorial xx
I have made a newer version of this tutorial and posted about it  HERE, I think it explains it a little better than I have here, I hope you enjoy :-)
I have another long post for you with another little tutorial, I am not sure if it will be of any use to anybody but as I was making the box/envelope I thought I would take pictures just in case ;-)
So, I was asked to make the Golden Wedding card for a friend and I liked the 3d of the flowers from Vintage Vogue I made for this card a while ago, I don't mind admitting I used Vintage Vogue so much for a while there I got a bit sick of it! But after a little break I have really enjoyed playing with it again this week :-D


I stamped 9 of the flowers in So Saffron cutting and layering them to make this 3d flower, tucking in some Very Vanilla satin ribbon in to make "leaves"
A close up of the small hearts with Basic Pearl centres and the inside,

Now to make a deep box/envelope using only 1 sheet of 12x12 card. I hope you can see I lightly marked the card at 6" on each side then I laid the card on top so the corners of the card were in line with the pencil marks. Mark where they sit and then join these up diagonally...
Cut the small triangles in the centre of each side as shown here, erasing the pencil lines at this point.
Score lines parallel to the centre square at a depth to suit your card, I did them at 1" here.
Glue 3 of the 'flaps' to make the box and there you have it, ready for your 3D card. I would like to finish this off by tying this closed with a little more Satin ribbon but I don't know if it will be posted yet :-)

Well, I hope you like the card and this little tutorial is helpful to someone out there, let me know if you have a go ;-)
Thanks for stopping by today,
Stampin' Hugs,

Wednesday, 9 June 2010

Vintage 3D Card

Good morning,
I have scheduled this post as my builders are starting today! how exciting, now I've finished all the prep that is ;-)
Anyways, I have a card to share with you today, I was asked by a friend to make a special card for a special friend of hers and this is what I came up with,


I used the scrummy "bride" papers, although I think they are more like card stock weight, lovely. Sentiment is from Sincere Salutations,


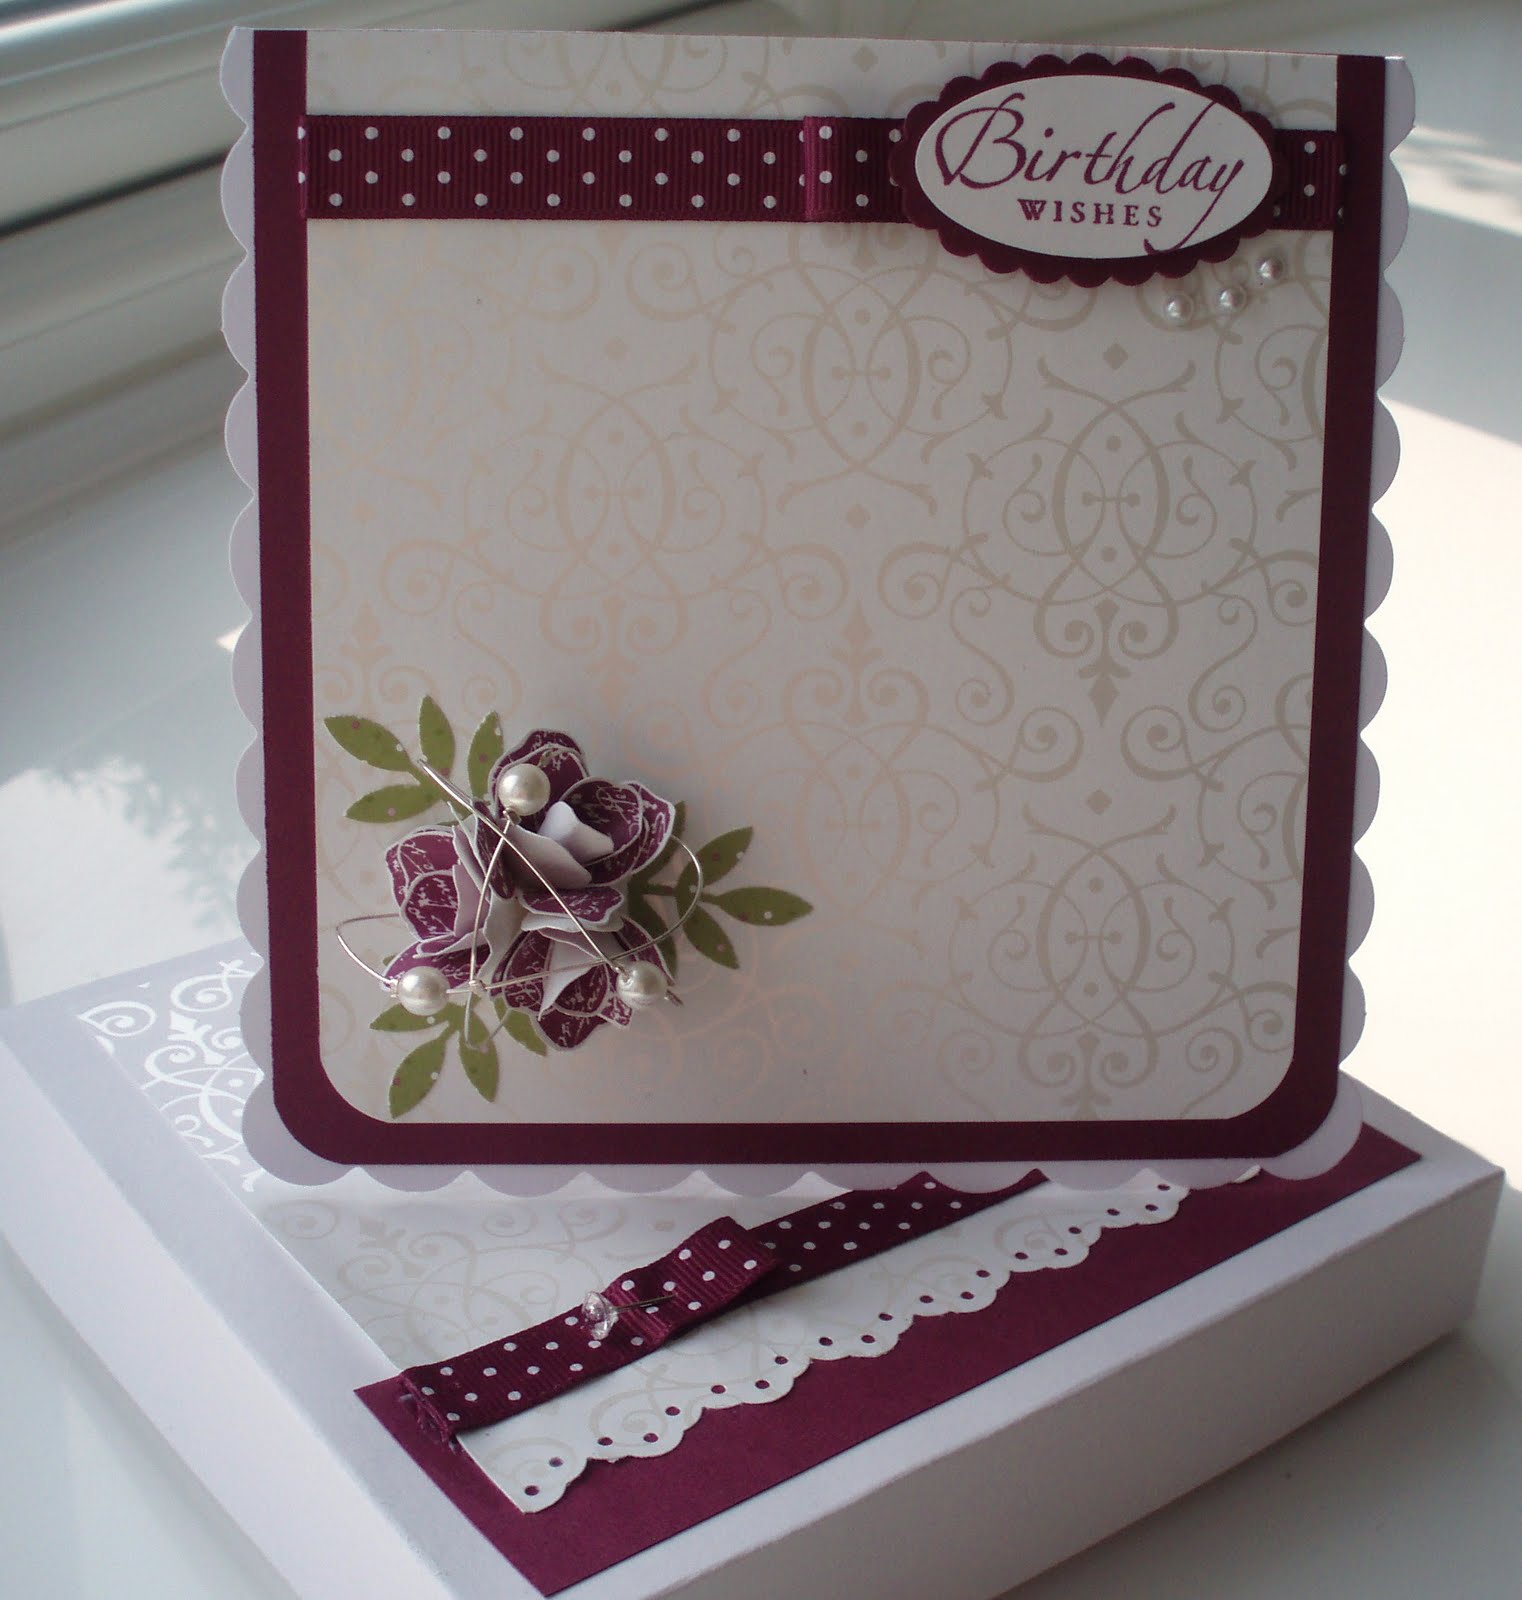
I made the roses using the Vintage Vogue flower and wrapped fine wire threaded with pearl beads to encircle the roses,


The inside,


and finally, I had to make a box to put the card in as it wouldn't go in the envelope!


I think it would also make a great wedding card too, I am so in love with this Rich Razzleberry colour, so rich and yet modern,
So that's it from me today, thanks for dropping by and don't forget to leave a comment so I know you have been,
Stampin' hugs

Friday, 7 May 2010

Bird House Milk Carton


Good Morning to you,
I am off this morning to Weymouth for the weekend, So excited :-)
So anyway, as promised here is the Milk Carton I made the other day using THIS tutorial.
I used So Saffron Card stock with Vintage Vogue stamps with the Bird and Butterfly punches.
Around the back and sides I used the delicate vine stamp and made it trail up the sides rather than all over using Versamark, the long stamp was used along the bottom in So Saffron Ink.
Here is a closer look at the bird, I punched the body from Choc Chip card which I then edged in Platinum shimmer paint. I punched the wing and branch from Sweet Pea DSP. The window behind her is backed with Vellum card stock.
And finally here is the "Roof" it is again made from Sweet Pea DSP as is the butterfly. I didn't attach the roof with adhesive but instead just clipped it on using the paperclip from the clips assortment, these are lovely little clips, strong enough to hold boxes shut but small enough for adding to cards,
So, that's all for today,
I hope you all have a lovely weekend too,
Thanks for dropping by, Hugs Sarah-Jane xxx

Tuesday, 13 April 2010

Vintage Vogue for Sarah

Hello,
What fab weather we are having, please don't tell me this is summer tho! lol!
I am also hoping the sun stays so I can improve the colours of my photos, I took this a couple of weeks ago before I sent it to the lovely Sarah P, {forever known to me as roomie} but as you can probably tell the sun was most definitely hiding this day, tut!
Card base is Chocolate Chip teamed with the fabulously beautiful Bridesmaid papers, Sentiment from Sincere Salutations,
a gorgeous scallop circle flower made using Vellum card stock, stamped with the flower vine in Choc Chip and Close to Cocoa inks before punching,
Inside using the lovely "F" friends stamp, still Vintage Vogue and small strip of Bridesmaid papers again {no waste either!}
and finally Twill Tape tied along the spine which I again stamped with the pretty flowery vine in chocolate chip ink,
That's all for today, I will be back tomorrow with a card which we will be making at this Saturdays class where we will be using some of the gorgeous new products from the new mini catalogue.
If you would like your own copy to drool over then email me your addy and I will pop one in the post to you asap,
Thanks for stopping by,
Hugs Sarah-Jane xxx

Thursday, 25 March 2010

Happy Birthday to Lucy Locket :0)

Good Afternoon to you today,
Did you get that thunder storm just a while ago?? wowzers, loud and flashy woo hoo! he he!
Anyways, what I am here to say is Happy Birthday to the lovely Lucy, hugs babe xx
I decided to make her a very special card, this design is one I saw at training in Reading demonstrated by the very talented and generous Jenny, (she has a great tutorial on her blog, click on her name to go to her blog) thanks for sharing Jenny, I hope I have done it some justice ;0)

I have used the fab Vintage Vogue stamp set with choc chip and so saffron inks,

Choc chip ink, ribbon and card, dazzling diamonds glitter applied using the glue pen, and some yummy Latte buttons,
card base is made using So Saffron Carousel notes (page 80)
The little mugs are from the level 3 hostess set Queue Up,
View from the top showing sentiments from Oval All (p 58), One of a Kind (p 56) and Sincere Salutations (p 62), all punched with the oval and scallop oval punches (p 88),
Now when I folded this card I quickly realised it wouldn't fit in an envelope so I made an easy pizza box, here is the top, {sorry about the dodgy pictures for these last two, it was getting dark!} If you would like the measurements, please email me.
and lastly a dimensional shot to show the layering of the 'F'

Phew, another picture heavy post, I do hope you like, let me know
Thanks for dropping by,
Hugs S.J. xxx

Related Posts Plugin for WordPress, Blogger...